Please read every word carefully.
In order to learn “OpenGL Super Bibliography (Fifth Edition)” must configure OpenGL environment, is the so-called work to do its thing must first benefit its device. Through a lot of online configuration tutorial, have a lot of problems, but also has the essence of the detailed tutorial, such as a blog: http://www.zyh1690.org/build-opengl-super-bible-fifth-edition-development-environment/. While the tutorial is detailed, there are a few details that the blog doesn’t go into. Configuring the OpenGL environment must be careful and patient. Because a little oversight can cause the final configuration environment to fail. Although this is for the “Win7 X64 +VS2010” environment configuration process, but I in VS2012/VS2015 also built successfully, VS2012/VS2015 configuration OpenGL principle is also very simple, is one of the Microsoft Visual Studio 10.0 to add files into Microsoft Visual Studio 12.0 or Microsoft Visual Studio 15.0 to add related files.
Configure environment:
win7 X64 + Visua Studio 2010
win7 X64 + Visua Studio 2012
win7 X64 + Visua Studio 2015
Required configuration files and tools:
Baidu cloud disk Download Address:
Link: http://pan.baidu.com/s/1kVsKUGJ password: XXQQ
Link: http://pan.baidu.com/s/1slu9RK5 password: asj8
Here is the official setup:>; > > > > > > > > > > > > > > > > > > > > > > > Line & gt; > > > > > > > > > > > > > > > > > > > > > > > > Line & gt; > > > > > > > > > > > > > > > > > > > > > > > >
The FreeGLUT configuration
Open the x:\x\ FreeGlut-2.8.1 \VisualStudio\2010\ FreeGlut.SLN project project, (if you are configuring VS2015, you can select x:\x\…. \2015\ FreeGlut.SLN Project Project)
The solution is generated in Debug mode and Release mode, respectively. (You can generate only one. It is recommended to compile in debug mode without execution. If you run the pop-up black box, ignore it. 32-bit operating systems note that eventually, when running the code in Bluebook chapter01\ Block, if you encounter a problem with freeglut_static. Lib not being opened, you should choose Debug_Static mode to recompile and generate the required freeglut_static. Lib and add it to the specified folder.)
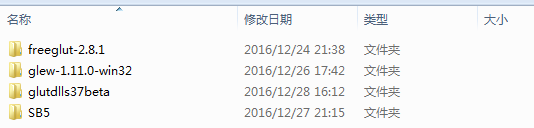
You will see the generated.dll and.lib files in the x:\x\ FreeGlut-2.8.1 \lib\x86 directory. Please add _d to the.dll and.lib files in the Debug directory to distinguish them later. As shown in figure:

X :\x\ FreeGlut-2.8.1 \ Include \GL: :\Program Files (x86)\Microsoft Visual Studio 10.0\VC\ Include \GL: : : : : : : : : : : : : : : : : : : : : : : : : : : : : : : : : : : : : : : : : : : : : : : : : :
Copy the.dll file in the x:\x\ FreeGlut-2.8.1 \ Lib \x86 folder (and the Debug folder) to the C:\ Windows&syswow64 directory (x86 to the System32 directory).
Copy the.lib file in the x:\x\ FreeGlut-2.8.1 \lib\x86 folder (and the Debug folder) to x:\x\Microsoft Visual Studio 10.0\VC\lib.
So now the FreeGlut is done!
(Once you’ve done this, you can code check.
Test 1: build Win32 console project, add test code, compile and run.
Test two: build Win32 console project, add test code, compile and run.
II. GLEW configuration
Copy the.h file in the folder x:\x\glew-1.11.0\include\GL to the directory x:\Program Files (x86)\Microsoft Visual Studio 10.0\VC\include\GL.
Copy the.lib file in the folder x:\x\glew-1.11.0\lib\Release\Win32 to the directory x:\x\Microsoft Visual Studio 10.0\VC\lib.
Copy the.dll file from the x:\x\glew-1.11.0\bin\Release\Win32 folder to the C:\ WindowsSYSWOW64 directory. (If not, skip it.)
(Note that if VS2015 is supplied, you need to put the configuration file in x:\x\Microsoft Visual Studio 15.0…. C)
Third, GLUT configuration
Copy the.h file in the folder x:\x\ Glutdlls37Beta to the directory x:\Program Files (x86)\Microsoft Visual Studio 10.0\VC\include\GL.
Copy the.lib file under the x:\x\ Glutdlls37Beta folder to the x:\x\Microsoft Visual Studio 10.0\VC\lib directory.
Copy the.dll file under the x:\x\ Glutdlls37Beta folder to the C:\ WindowsSYSWOW64 directory.
(Note that if VS2015 is supplied, you need to put the configuration file in x:\x\Microsoft Visual Studio 15.0…. )
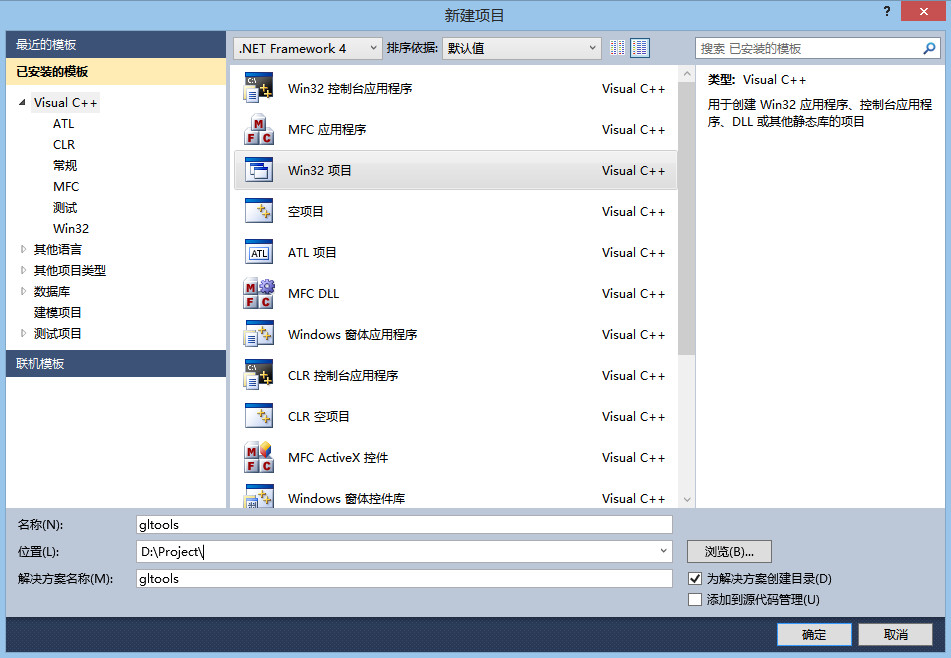
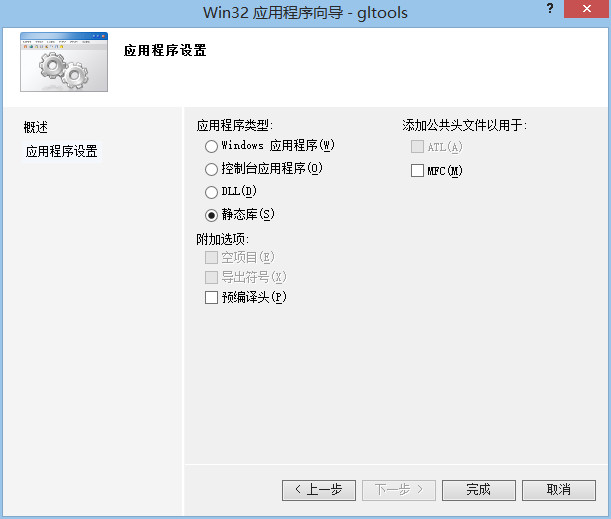
4. Build GLTools library
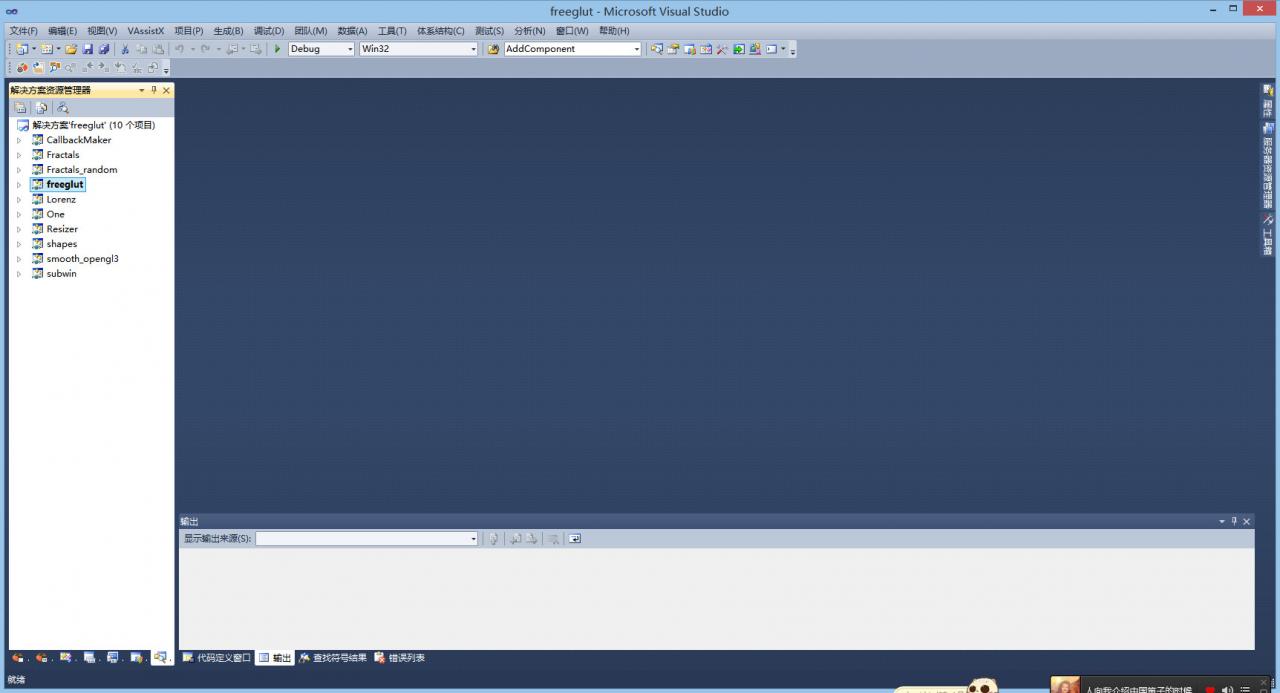
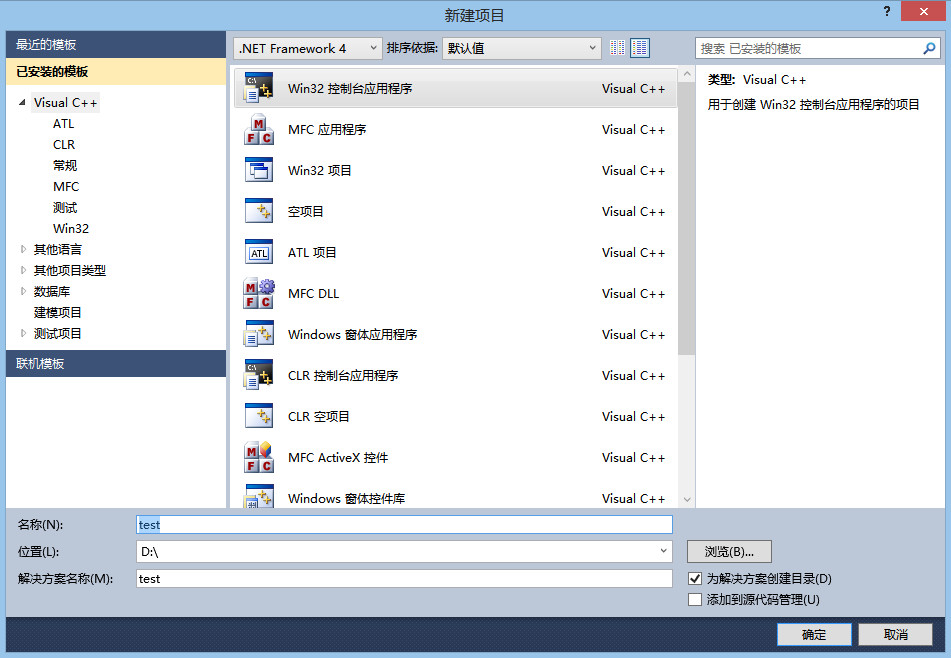
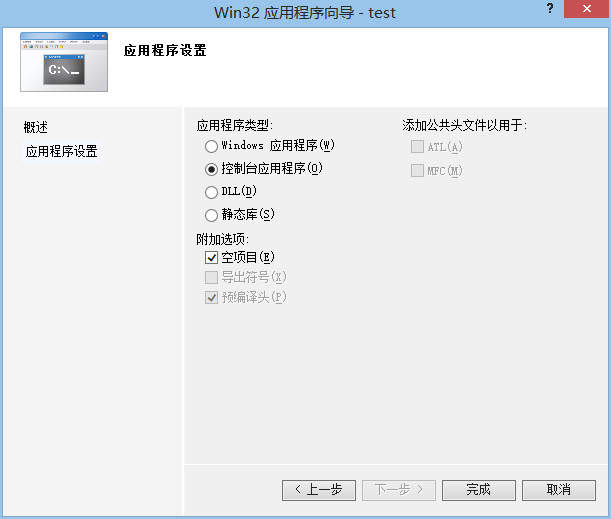
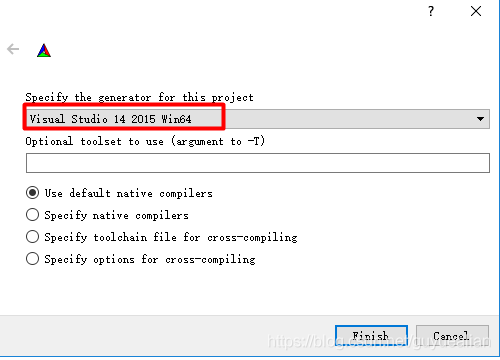
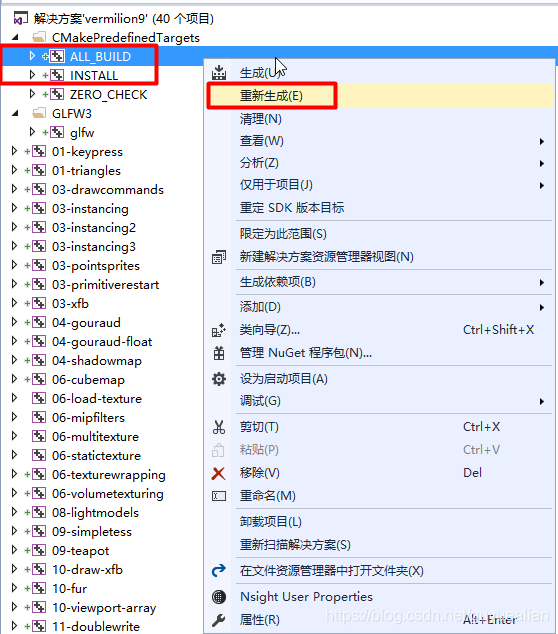
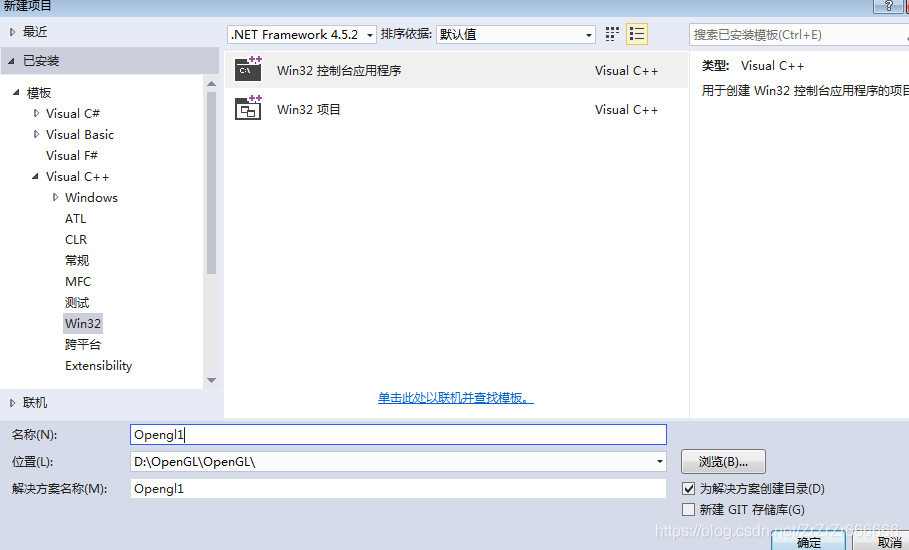
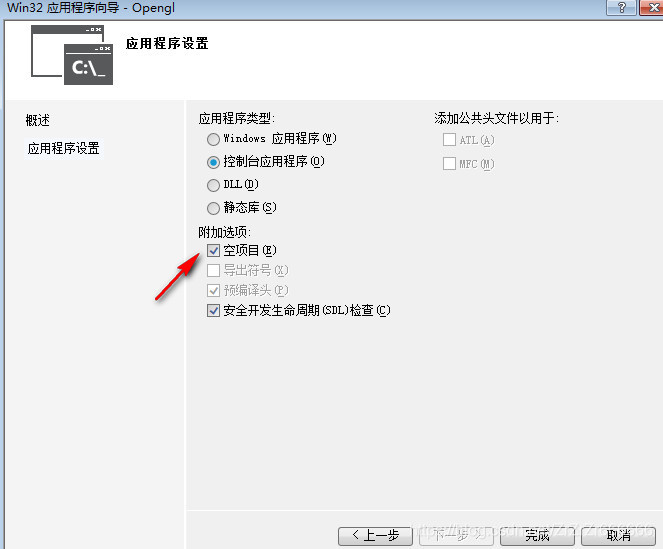
Create a new GLTools Win32 project, as shown in the figure below:
First compile, (original here has error, below is I modify)
Copy the.cpp file (excluding glew.c file) in the x:\x\SB5\Src\GLTools\ Src directory to x:\x\ GLTools\ GLTools.
Copy the.h file (excluding the GL folder) in the x:\x\SB5\Src\GLTools\include directory to x:\x\ GLTools\ GLTools.
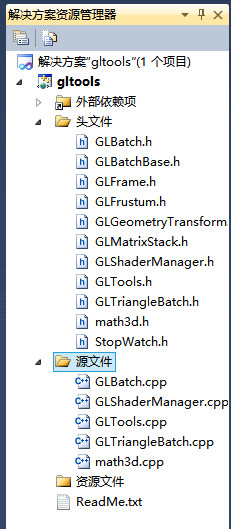
Right-click on the header file and the source file respectively and add ->; The existing item adds.h and.cpp files to the project. As shown in figure:
The compiler prompts are as follows:
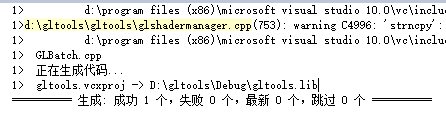
The gltools.lib file was generated successfully. It can be viewed under the x:\x\gltools\Debug directory.
Copy the.lib file to the x:\Program Files (x86)\Microsoft Visual Studio 10.0\VC\lib folder.
Copy the.h file to the x:\Program Files (x86)\Microsoft Visual Studio 10.0\VC\include folder (note that this is not the GL folder).
So gltools is OK.
Five, the test
Let’s test the environment using the examples given in the book. If the test is successful, then the OpenGL environment is ready.
The project of establishing TEST:
We use the example from Chapter 1 to test by copying all the files in the x:\x\SB5\Src\Chapter01\Block into the x:\x\test\test folder. Also right-click on the source file and add ->; The existing entries include the block.cpp file.
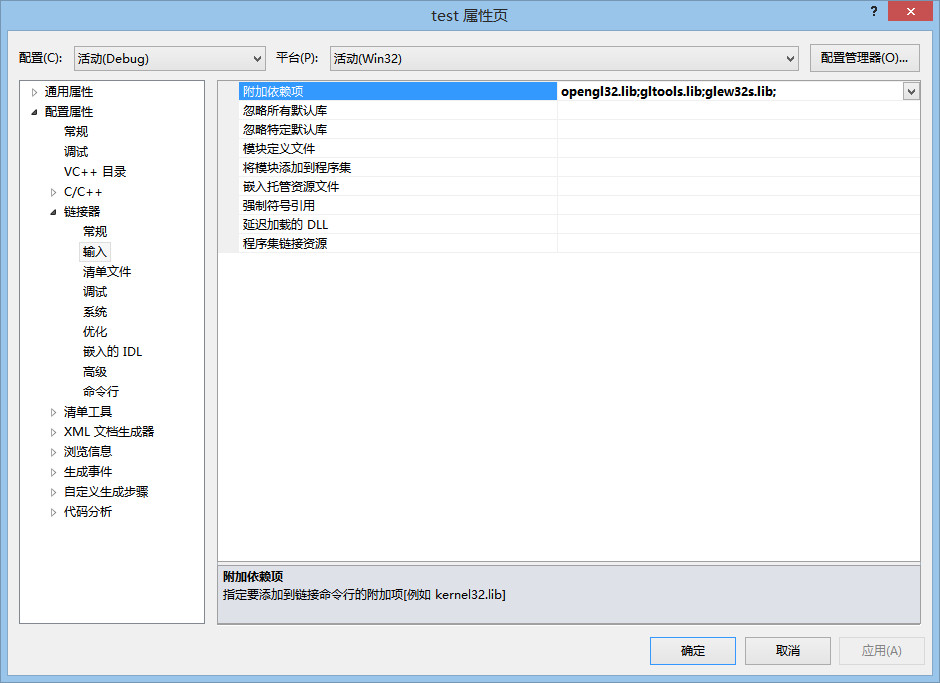
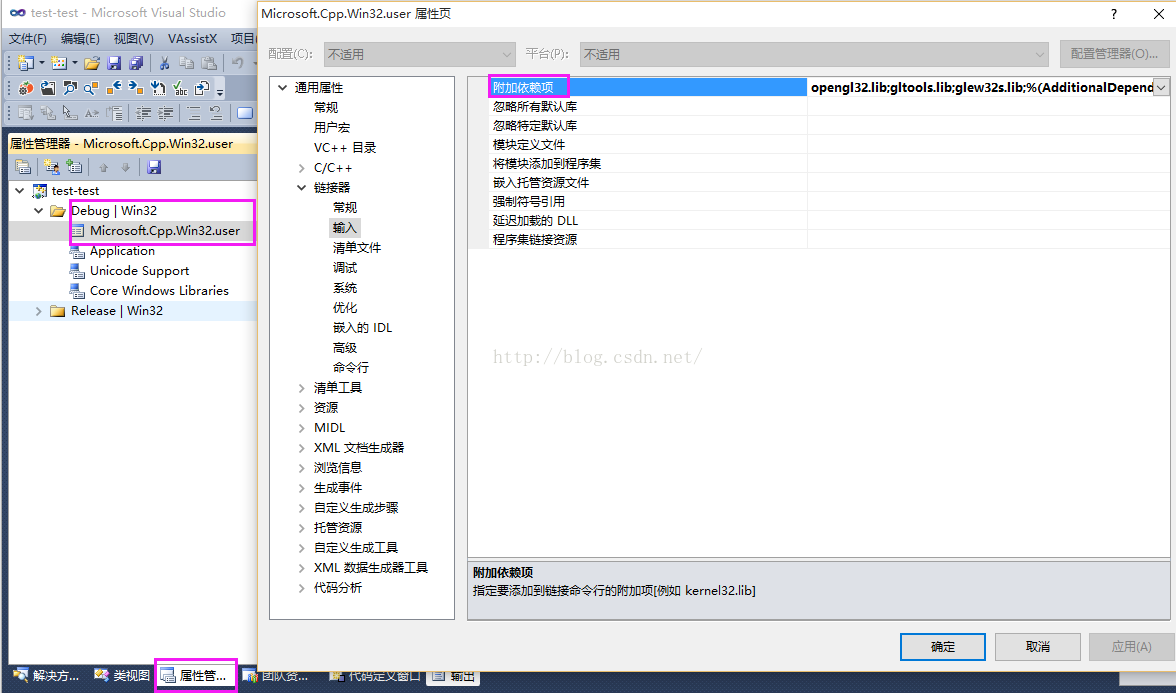
Adding Additional Dependencies (first figure) :(This way of adding dependencies only works for the current Test project. To make these.lib files available to other projects, you should add dependencies to the properties manager, as shown in the second figure below.
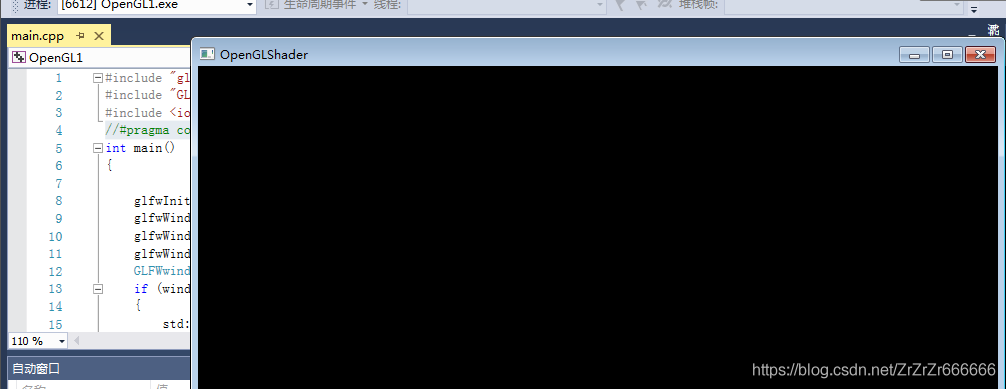
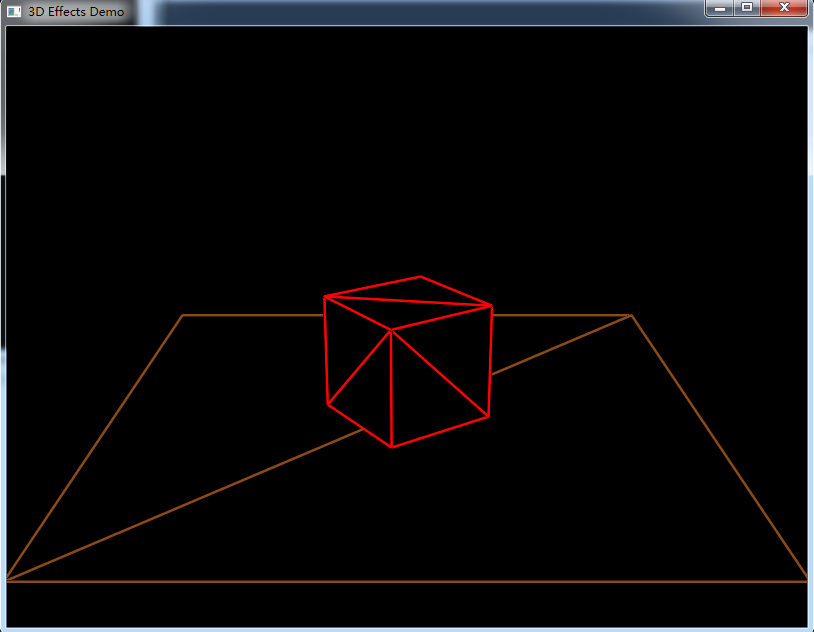
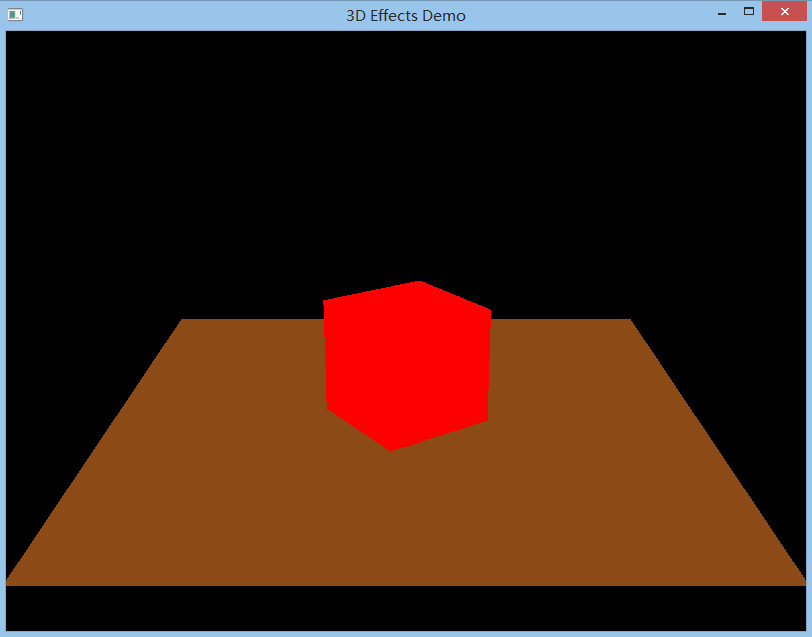
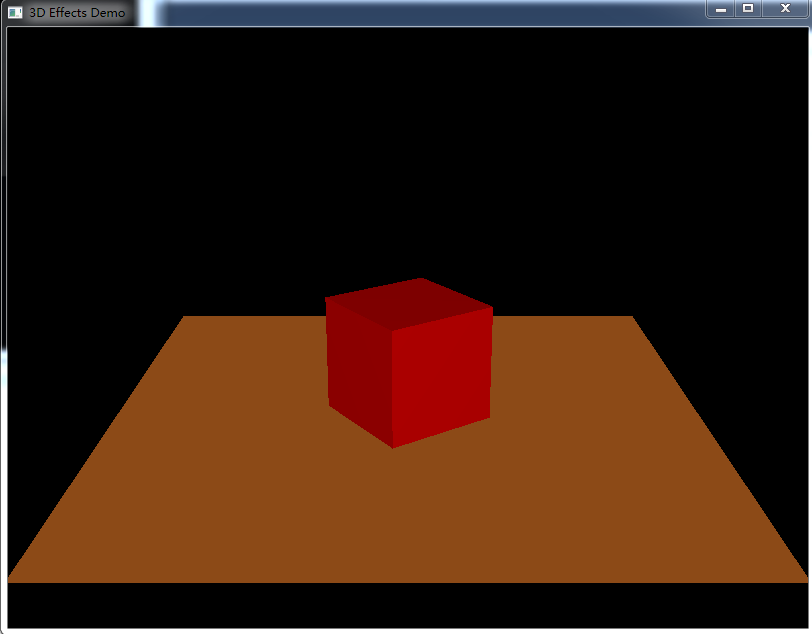
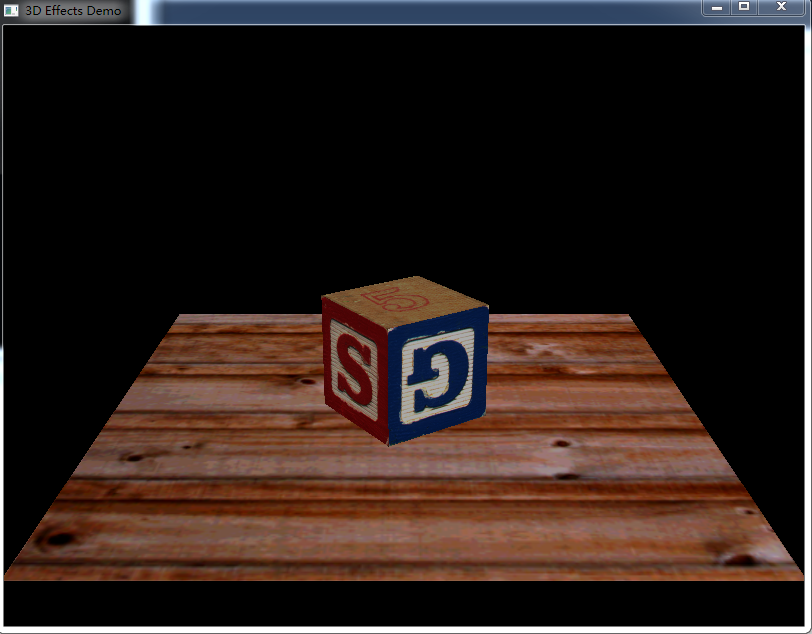
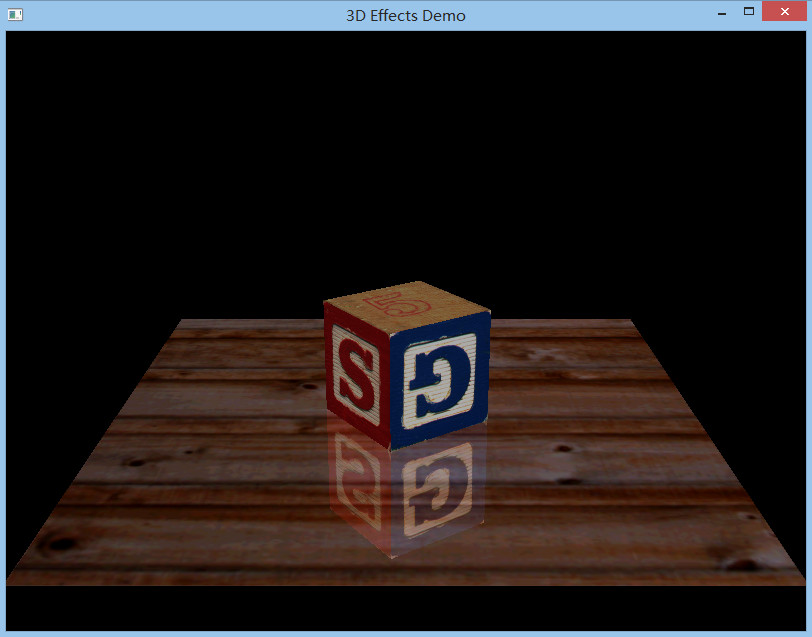
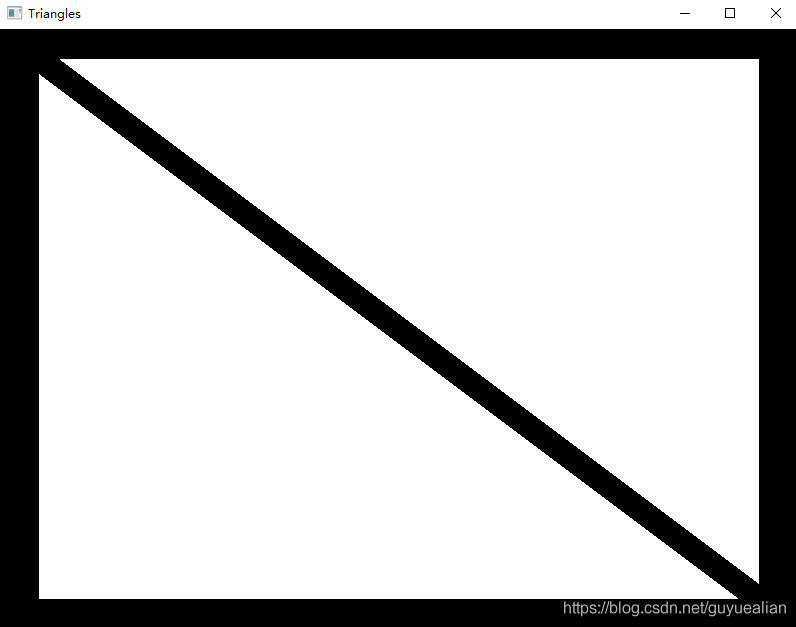
Compile and run the project, and the effect is as follows :(If there is an error in compilation, search the error information with Baidu Browser to find the corresponding solution. Or check out “Some special cases handling” at the end of this blog post for help.)
Press the space bar to transform the display effect, a total of six effects:

VI. Handling of some special cases:
Configuring the OpenGL environment exactly as described above will work on most computers. However, there are always exceptions. If the configuration fails, the following configuration details may help you solve the problem.
Case1: freeglut_static.lib could not open the problem
OpenGL SuperBibliography \SB5\SB5\ FreeGlut-2.6.0 \VisualStudio2008Static\Release FreeGlut_Static. Lib to X :\Program Files (x86)\Microsoft VisualStudio 10.0\VC\ Lib If you fail, try Plan 2.
Solution 2: Take a closer look at the FreeGLUT configuration section of this blog post, which is highlighted in bold red. Pay attention to configuration details.
case2: “math3d.h” : No such file or directory
C :\project\gltools\gltools\math3d.cpp(45): fatal error C1083: failed to open the “math3d.h” : No such file or directory header file.
Case3: UCrtBased. DLL missing
in Visual Studio 2015
Can follow this link: http://blog.csdn.net/so_geili/article/details/53009680, choose the “solution” to solve the problem.


 ## 2.1.3
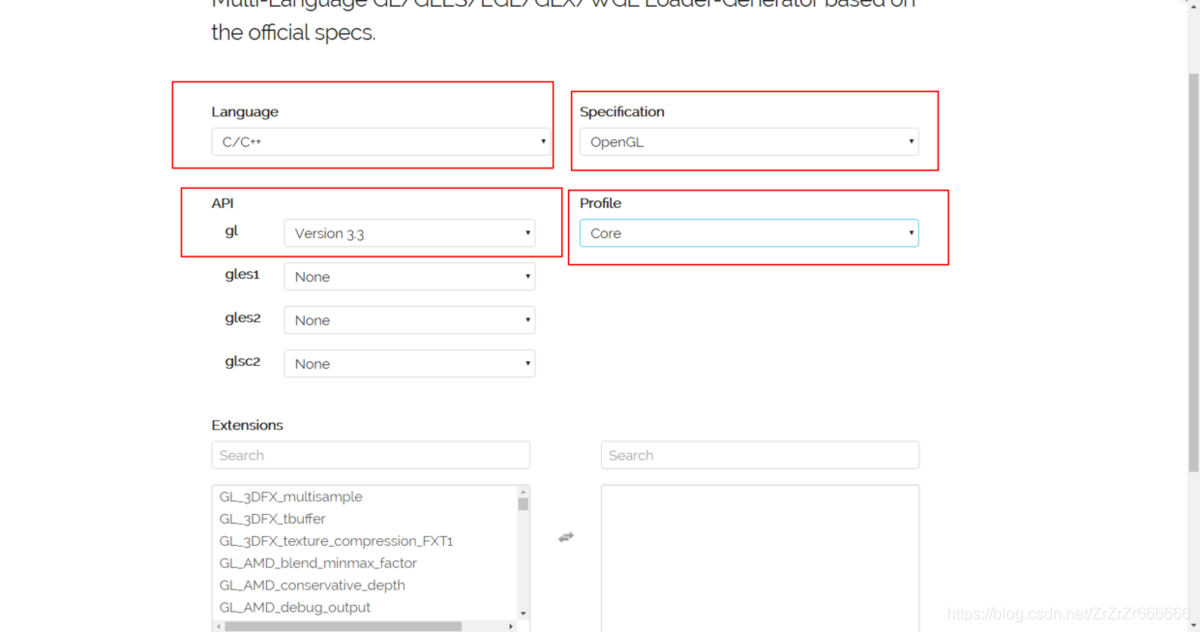
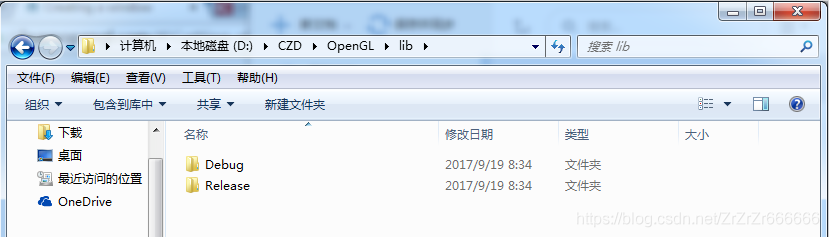
 lib
lib 
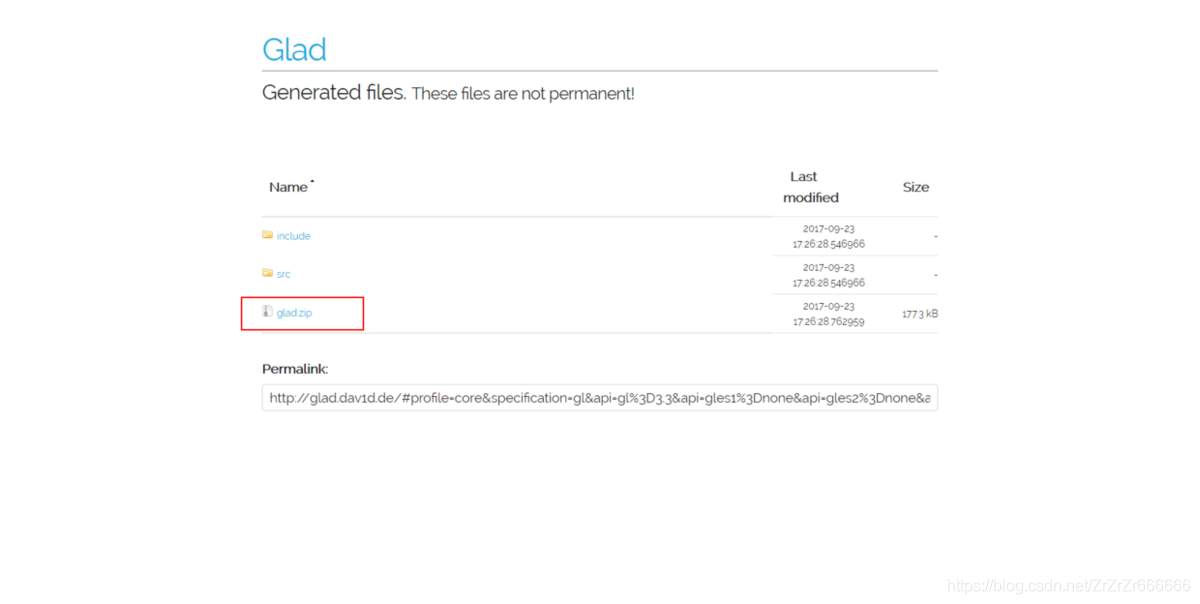
 copy from glad folder to project source file.
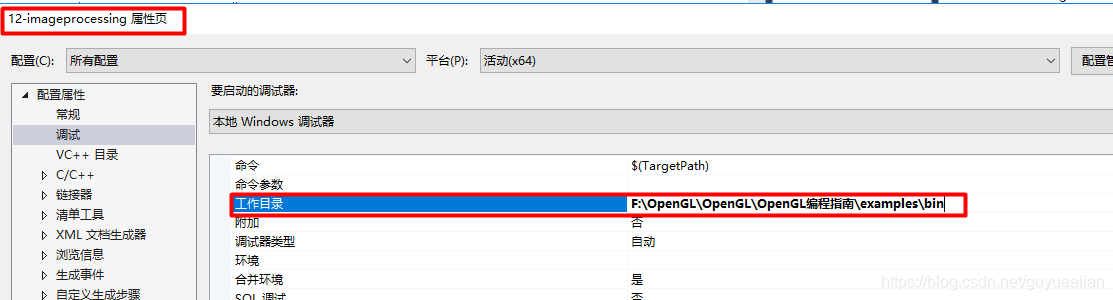
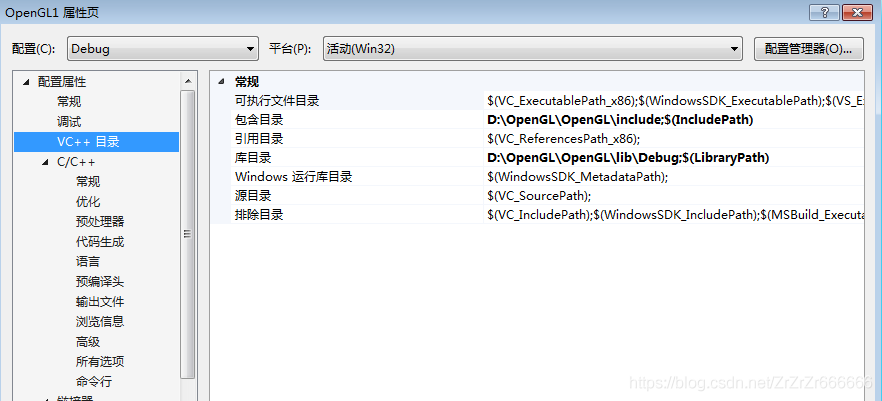
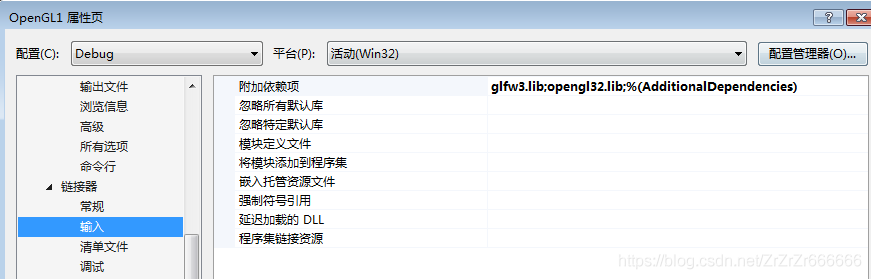 click on the project, set the properties, VC ++ directory, set respectively