After extracting filebeat from the virtual machine, enter #: ./filebeat -c filebeat.yml
Encountered the following problems!!!!!!
![]()
Exiting: error unpacking config data: more than one namespace configured accessing ‘output’ (source:’filebeat.yml’)
resolvent:
#Note that you must install filebeat in your own directory to modify filebeat.yml
[filebeat directory] #: VIM filebeat.yml
After entering, find the following configuration location
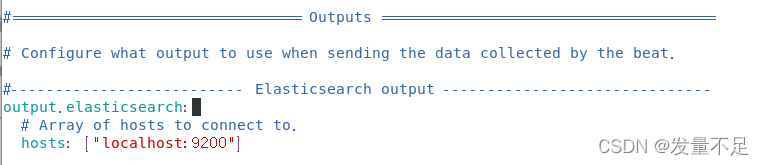
#—————————-Elasticsearch output ———————————-
output. elasticsearch:
#Array of hosts to connecr to.
hosts: [“localhost:9200”]
=====================Modification====================
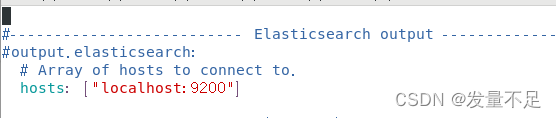
Just comment out the contents under Elasticsearch output
#—————————-Elasticsearch output ———————————-
#output. elasticsearch:
#Array of hosts to connecr to.
hosts: [“localhost:9200”]
Save exit after modification
Restart filebeat
Enter #:/ filebeat -c filebeat.yml

View process
Enter #:/ filebeat -e -c filebeat.yml
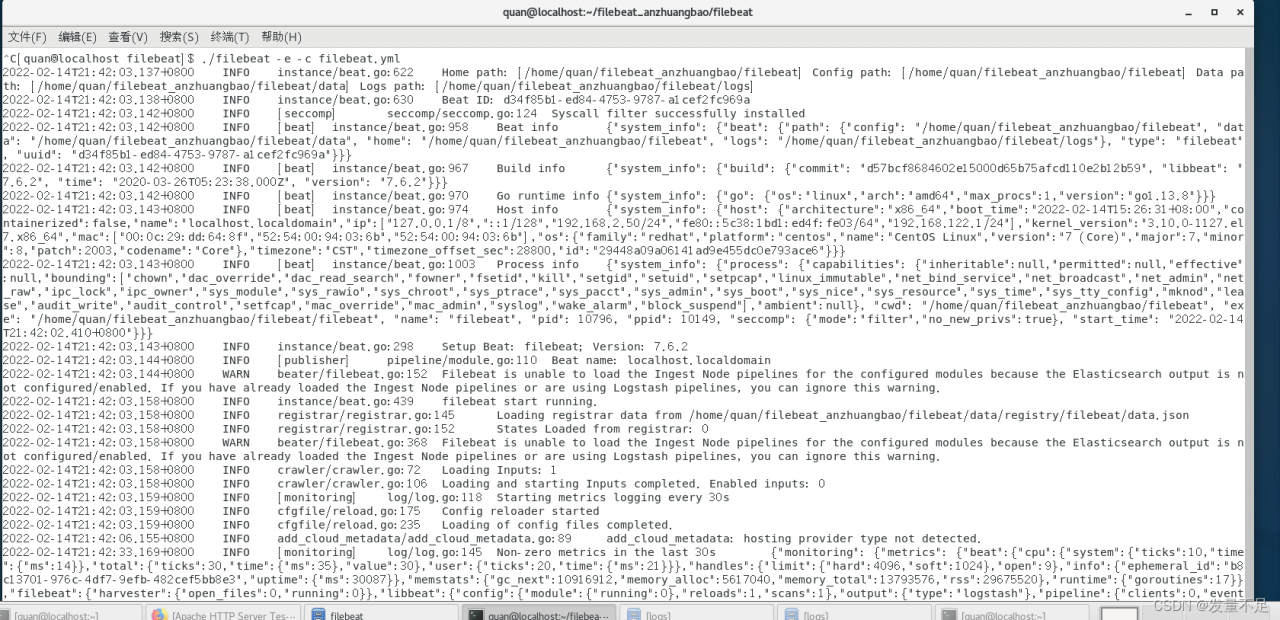
Successfully started filebeat!!!!!

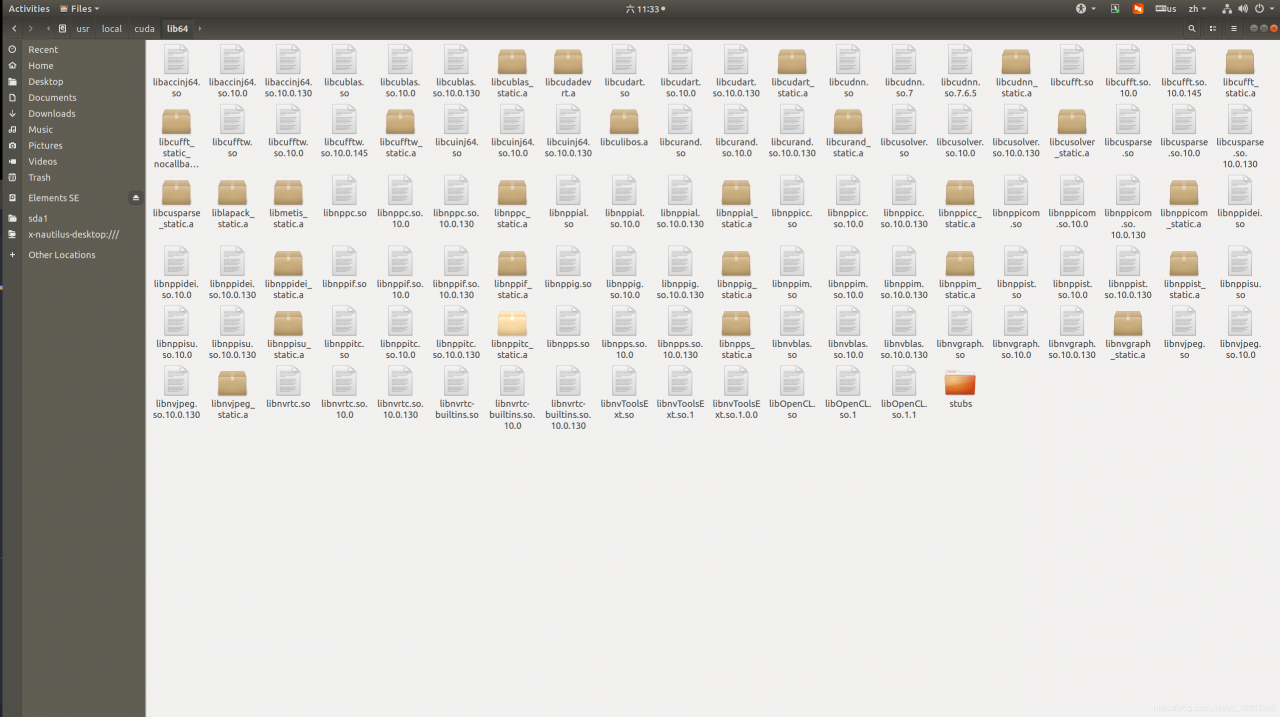 . According to the above figure, I find that my computer’s CUDA version is 10.0, so I will report an error at runtime. At this time, there are two solutions.