Use Fiddler to capture mobile APP package detailed tutorial
There were two very difficult problems in the process of grasping the package in the mobile APP with Fiddler. One was that the phone could not connect To the network after setting the proxy, and the download certificate on the phone always indicated that the download failed. The other was that the information of grasping the package on the Fiddler was all displayed as Tunnel To. It took a long time to solve, and now share it to let some novices walk less detours, maybe my method can solve your problem, may not solve it, but also provide a way to try.
To set the fiddler
1. Download Fiddler from the website and install it. https://www.telerik.com/download/fiddler
2. First configure Fiddler, open Fiddler, and then click Tools –>; The Options… – & gt; HTTPS, check and install the certificate as shown in the installation diagram.
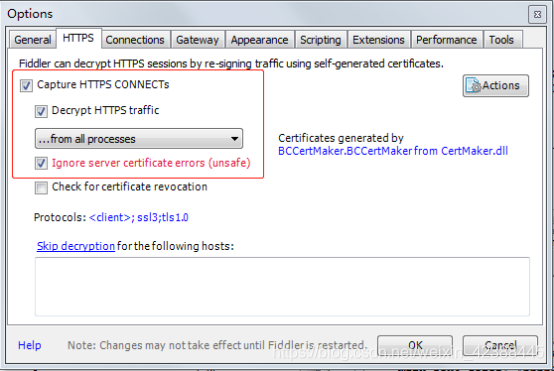
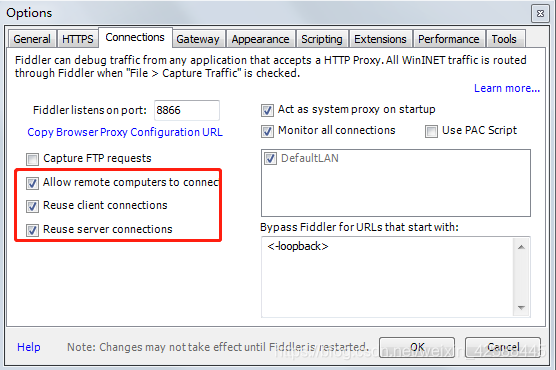
3 4.
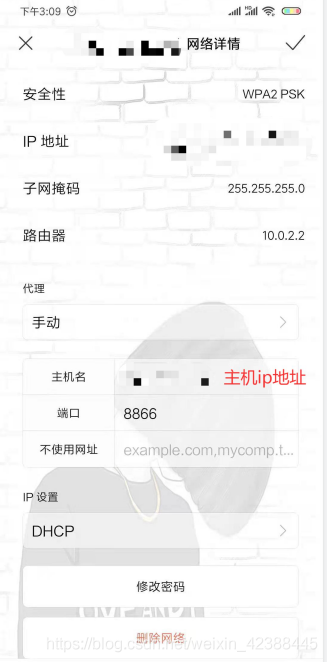
3 4.
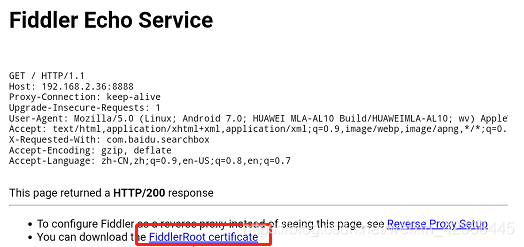
3 4 Click the OK button to close Fiddler and reopen it again. At this point, the Fiddler part is set up in the normal way, followed by some Settings on the phone.
5. Here I use millet portable WiFi, mobile phone connected to millet portable WiFi, so that the phone and computer connected is the same network segment.
Set the cell phone
6. Go to the WiFi Settings page on the mobile phone, change the agent to “Manual”, and the hostname is the IP address

after the computer is connected to the WiFi network. Open the mobile browser, enter the address open http://ipv4.fiddler:8866, (because I set the port number is 8866), click in the page FiddlerRoot certificate, certificate of download. I have encountered a problem here, is the certificate can not download, keep telling download failed. Up to now, I have encountered two problems that are difficult to solve. One is that the download certificate in the webpage fails to download; the second is that after opening the APP on the mobile phone, all the packages caught in Fiddler are displayed as Tunnelto. Now, how do I solve these two problems
Solution to the problem:
1. Download Cermaker from the Fiddler website, download it and run the plug-in.
download address: https://www.telerik.com/fiddler/add-ons

2. After the installation, we found that the TunnelTo problem was still not solved, and there is a new problem. On the mobile phone, open http://ipv4.fiddler:8866, instead, it shows No Root Certificate was found.Have you enabled HTTPS traffic decryption in fiddler yet?
3. So I tried the following solutions.
makecert.exe-r-ss my-n “CN= do_not_trust_fiddlerRoot, O=DO_NOT_TRUST, OU=Created by http://www.fiddler2.com “-Sky Signature -EKU 1.3.6.1.5.5.7.3.1-h 1-cy Authority -a sha1-m 120-b 09/05/2012
If you want to run the fiddler, you can restart the fiddler
4. Then open http://ipv4.fiddler:8866 in the browser on the phone, download the certificate, download and install it successfully, open the test APP, and find that the packet was captured successfully. HTTPS can catch the packet normally, but HTTP still shows Tunnel to, but it does not affect the use.
Tag Archives: Android
Get the startup activity of Android apk
Get the Start Activity for Android APK
adb connect phone open APP
adb -s 192.168.0.11:6688 shell dumpsys window Windows | grep “mCurrent” # gets the package name of the current APP
adb shell dumpsys activity > Act.txt # gets the activity information
# on the act. TXT find android. Intent. The category. The LAUNCHER behind the name of the activity is to start the activity
Adb -s 192.168.0.11:6688 shell am start – n com. Dragon. Read/pages. Splash. SplashActivity #
Command not found: ADB appears on Mac
Method one:
- open the MAC terminal, enter CD ~ enter
touch.bash_profile [if you don’t have .bash_profile , create this file] enter open.bash_profile [open the file we created, a text edit box should pop up, if this is the first time to configure the environment, Write the following code in the open text editor: • export ANDROID_HOME=/usr/local/opt/android-sdk
• export PATH=${PATH}:${ANDROID_HOME}/tools
• export PATH=${PATH}:${ANDROID_HOME}/platform-tools
- note that
in [4] ANDROID_HOME should be filled in according to its own SDK path, the rest can be copied directly. As for the SDK path, you can open Android Studio and view in the Preference [Android SDK] and enter source.bash_profile in the terminal and enter adb [verify that the configuration is complete and if not show adb: command not found that the configuration is complete] Method 2:
- make sure whether to install the adb,
/Library/Android/SDK/platform - the tools/adb  if there is, if there is a skip the following steps, directly to the last step 5; Open [Android Studio]; Open the SDK Manager check 】 【 SDK Platform - the Tools), run the following command on the Mac
  echo export "PATH = ~/Library/Android/SDK/Platform - the Tools: $PATH" & gt; > ~/. Bash_profile
 6. Restart the terminal
after completing the above steps
Note: if ZSH is used, replace .bash_profile with .zshenv
Quote from: https://stackoverflow.com/questions/10303639/adb-command-not-found/45063101#45063101?newreg=f632609fe6154f9580a49153cb0387e5
Modifying the default style of scrollbar in Android
Well, I met the requirement again, and needed to modify the style of ScrollBar, so I looked up a lot of documents, I think the summary of this great cow is good, by the way, I took a look at his home page, wow, great ~!! Attach great god article links: http://likfe.com/archives/
knowledge points in the ListView/ScrollView/RecyclerView add attributes:
android: vertical scrollbars = “”
android: scrollbarTrackVertical =” @ drawable/xxx_vertical_track “
android: scrollbarThumbVertical =” @ drawable/xxx_vertical_thumb “
B: Horizontal scroll bar
android: horizontal scrollbars = “”
android: scrollbarTrackHorizontal =” @ drawable/xxx_horizontal_track “
android: scrollbarThumbHorizontal =” @ drawable/xxx_horizontal_thum “
other common attributes
defines the style and position of the scrollbar
android:scrollbarStyle= “outsideInset”
2. Define the size of the scroll bar, refers to the width, when the vertical level refers to the height of the
android: dp scrollbarSilbarSize = “4”
| attributes | effects | ||||||||||
|---|---|---|---|---|---|---|---|---|---|---|---|
| 1 scrollbarThumbVertical[Horizontal] | 3 short bars | ||||||||||
| 7 scrollbarTrackVertical[Horizontal] | 9 long bars, The background Note that where scrollbaTrackxxx, scrollbarThumbxxx can use: ◦ custom Shape ◦ ◦. ◦ can be registered for use.9. PNG @color/ XXX to use color values You cannot use the # XXXXXX color value directly Android :scrollbarStyle can define the style and position of the scrollbar with four optional values including insideOverlay, insideInset, outsideOverlay and outsideInset. Where inside and outside respectively mean whether the overlay is inside the padding of the view, overlay and inset mean whether the overlay is on the view or inserted behind the view, so the four values respectively represent:
Demo Demo 2 default: and rebuilding the project, but I still get the Android Studio IDE throwing up some errors. and rebuild projects, but I still get the Android Studio IDE throw out some mistakes. I presume I have to set the min SDK in ‘project properties’ or something similar so the IDE recognizes the change, But I can’t find where this is done in Android Studio. I think I have to set the min SDK in project properties or something similar so that the IDE can recognize changes, but I can’t find anything done in Android Studio. # 1/f, # 2 floor The # 3 floor # 4 floor An example of build.gradle: build.gradle :
For beginners in Android Studio "Sync gradle button" is located in Tools -> Android -> Sync Project with Gradle Files "Rebuild project" Build -> Rebuild Project for beginners in Android Studio, the "sync gradle button" is located in the tool -> Android-> Use Gradle file to synchronize the project "Rebuild Project" build-& gt; Rebuild Project
After updating the build.gradle 's The # 5 floor The gradle will rebuild The project automatically. gradle will automatically rebuild The project. # 6 building So you have just picked up the Samsung phablet — Galaxy Note 2 — and wondering if you could have root-access on it so you can unlock the true potential of it?You’re in luck. Chainfire, a known name in Android industry, has come up with a root method for the device and this guide shows exactly how you can use it to root your Samsung Galaxy Note 2 device. After rooting your device, you’ll have access to hundreds of root-only apps available in the store as well as you can flash a custom recovery and enjoy custom ROMs. But before doing any of these, you need to root your device so get onto the procedure below and do that first.
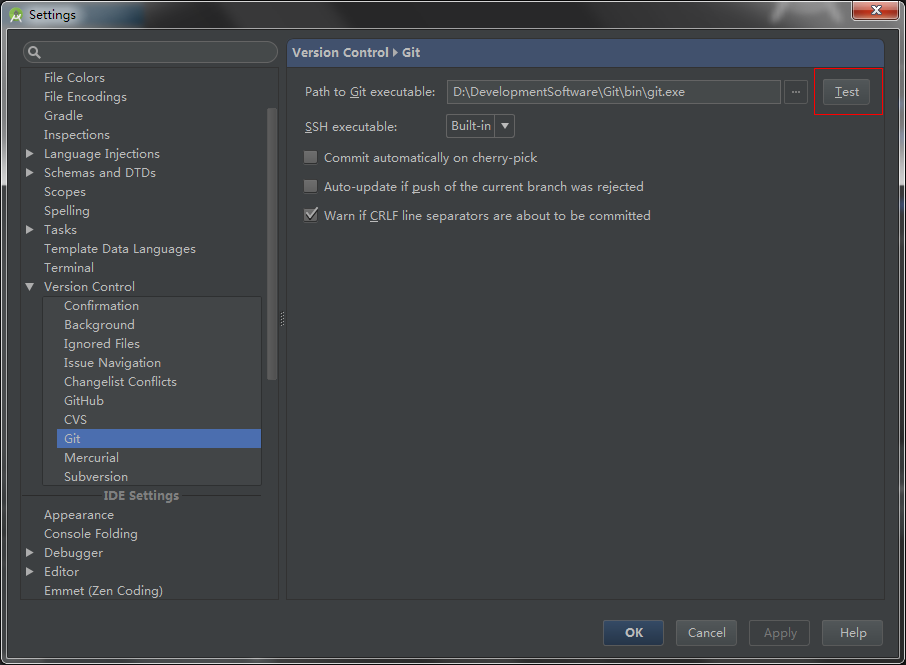
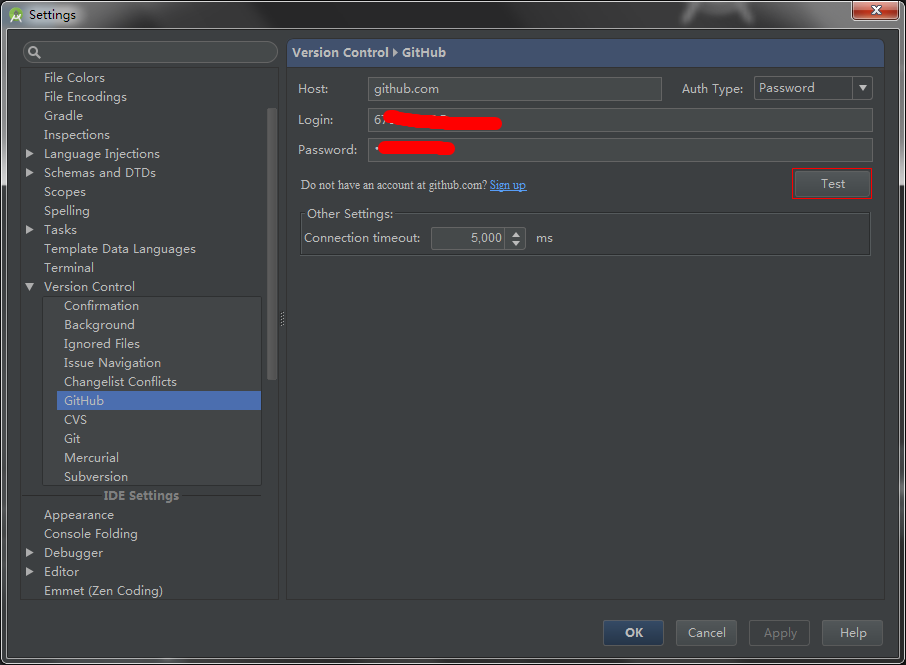
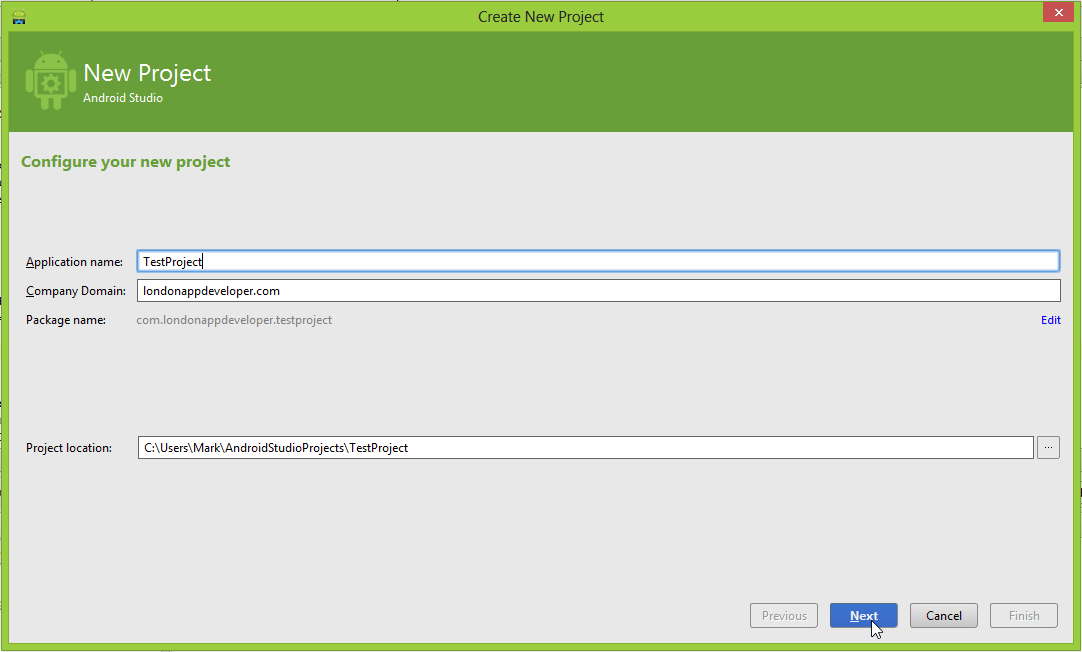
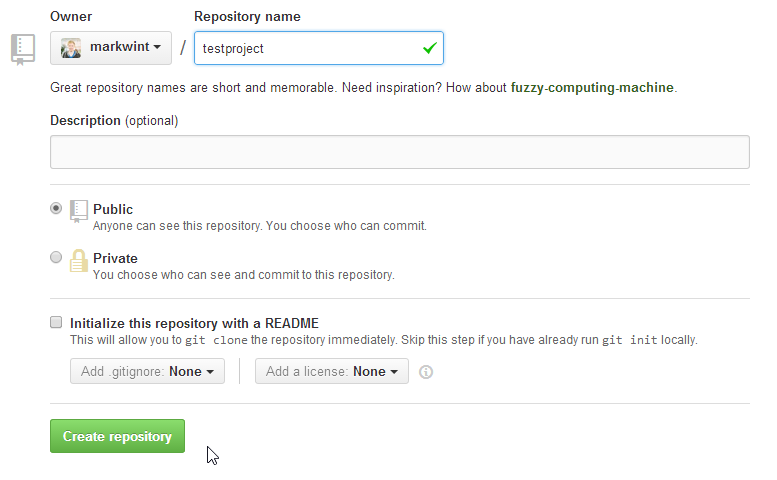
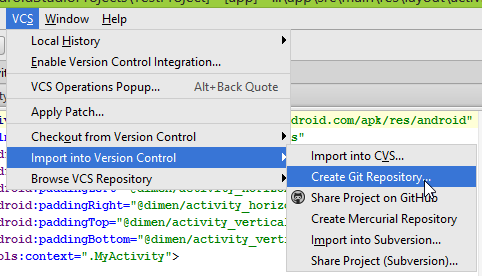
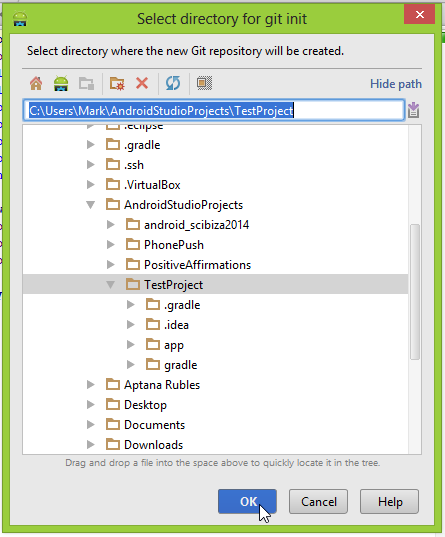
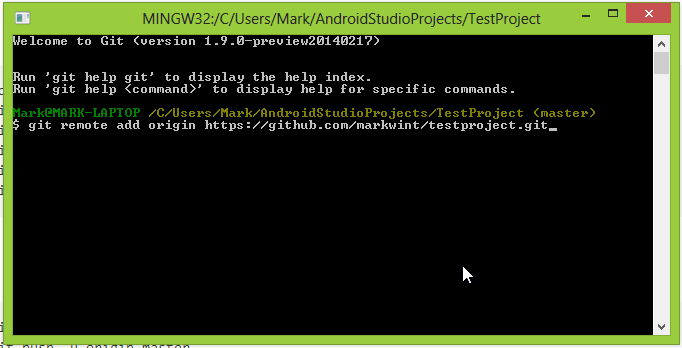
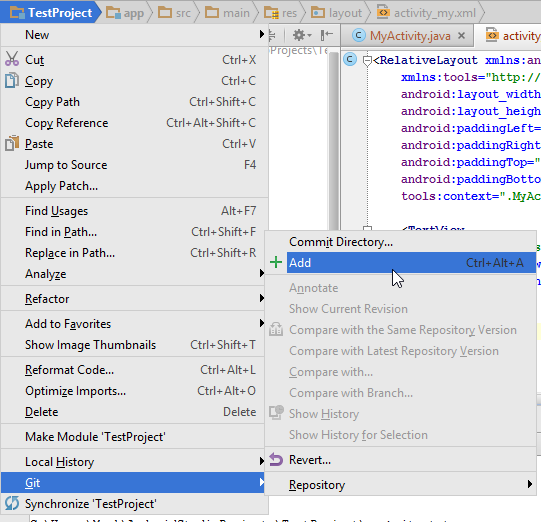
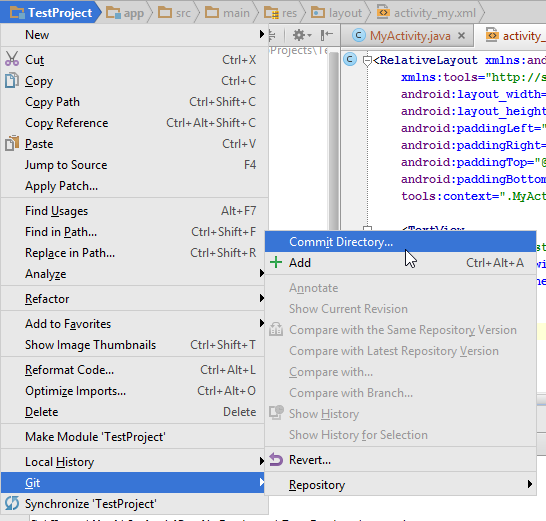
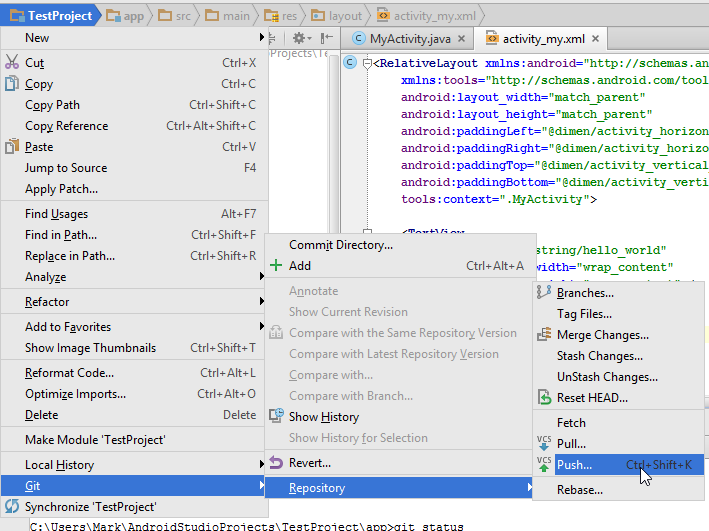
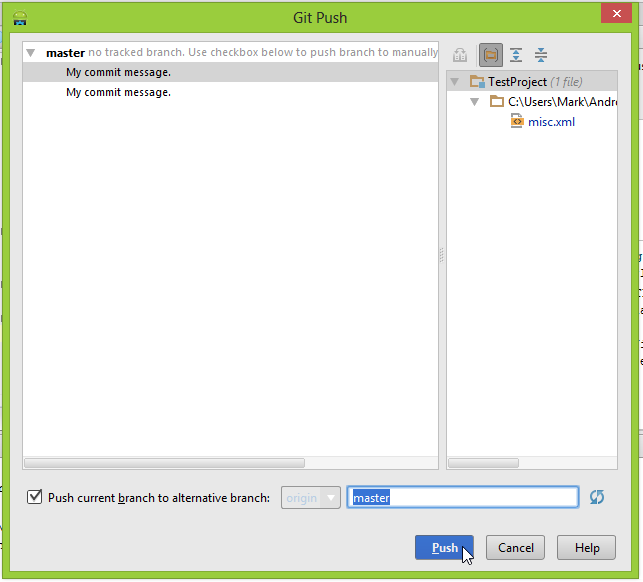
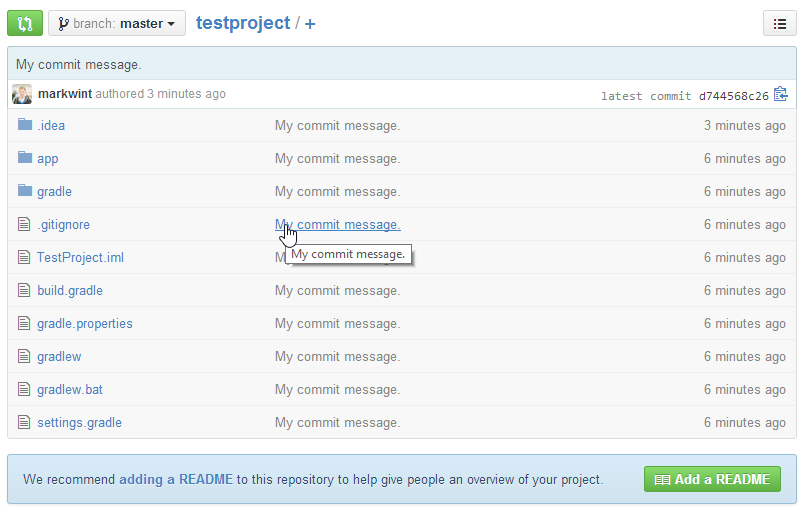
Introduction :Android Studio itself supports Github. So it’s easy to push direct code onto Github.
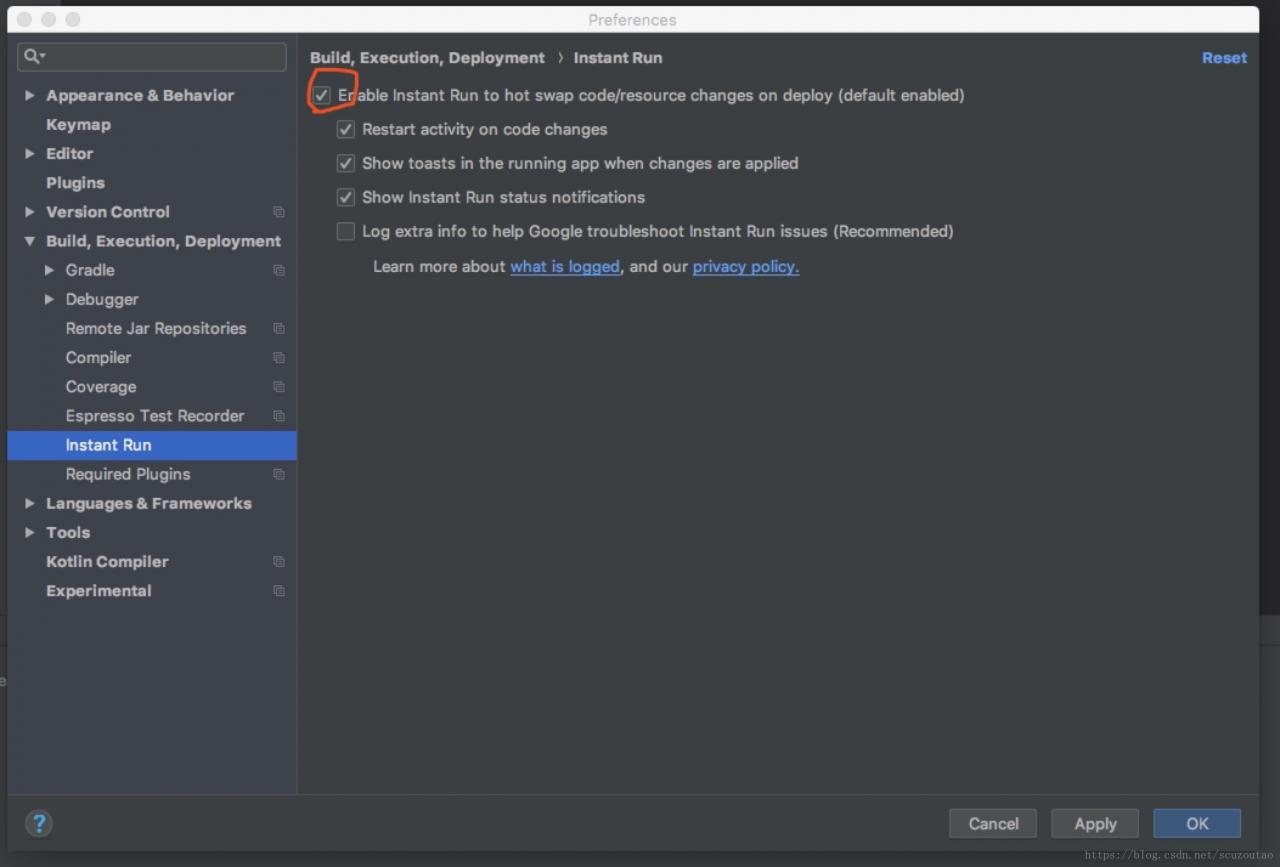
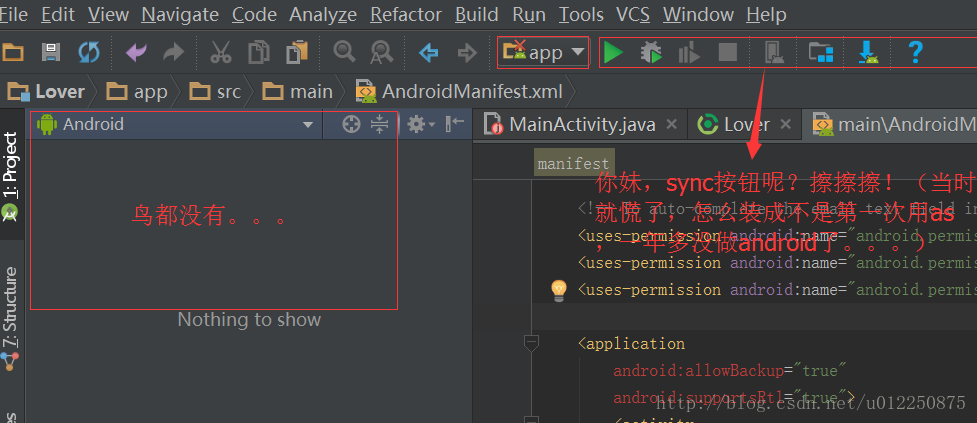
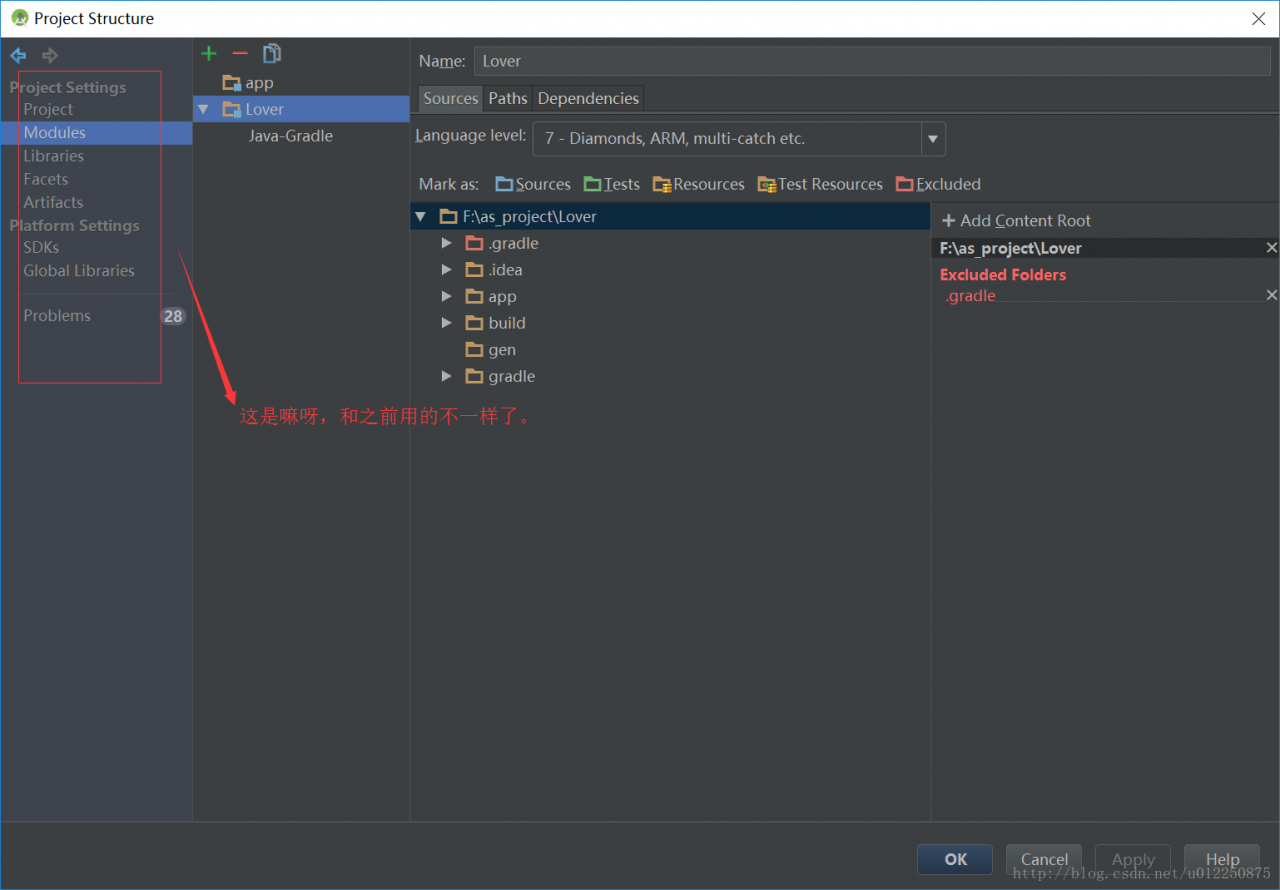
Prepare _ configuration account Open Device File Explorer-& GT; Locate the MNT folder -> Find the SDCard folder -> Find storage – & gt; Find your file in turn (add it if you don’t have one) -> Just put the full path in your code. In Eclipse, when debugging an Android project, the following information appears: The connection to adb is down, and a severe error has occured. Open the process manager, there will be *adb.exe process, because I opened the cool dog to listen to music, so kadb.exe process appears, close it, and type adb Start-up server in the command window; With successFuly displayed, you find that you are ready to debug. After restarting Cool dog, the debugging failed, so kadb. Exe was deleted from the installation path of Kugou (cool dog can still listen to music), and the debugging will not be disturbed by cool dog in the future. Android in the Studio, in the debug Android project, if the pop-up Recently, I have been trying to access Tencent’s hot fix solution -Tinker in the project So go ahead and disable install Run, The menu bar – & gt; Android Studio -> The Preferences… -> Then it is shown as follows: In the process of using Android studio today, I suddenly found a project error. The sync project button appeared and disappeared. My confusion was over. |


 ?
?