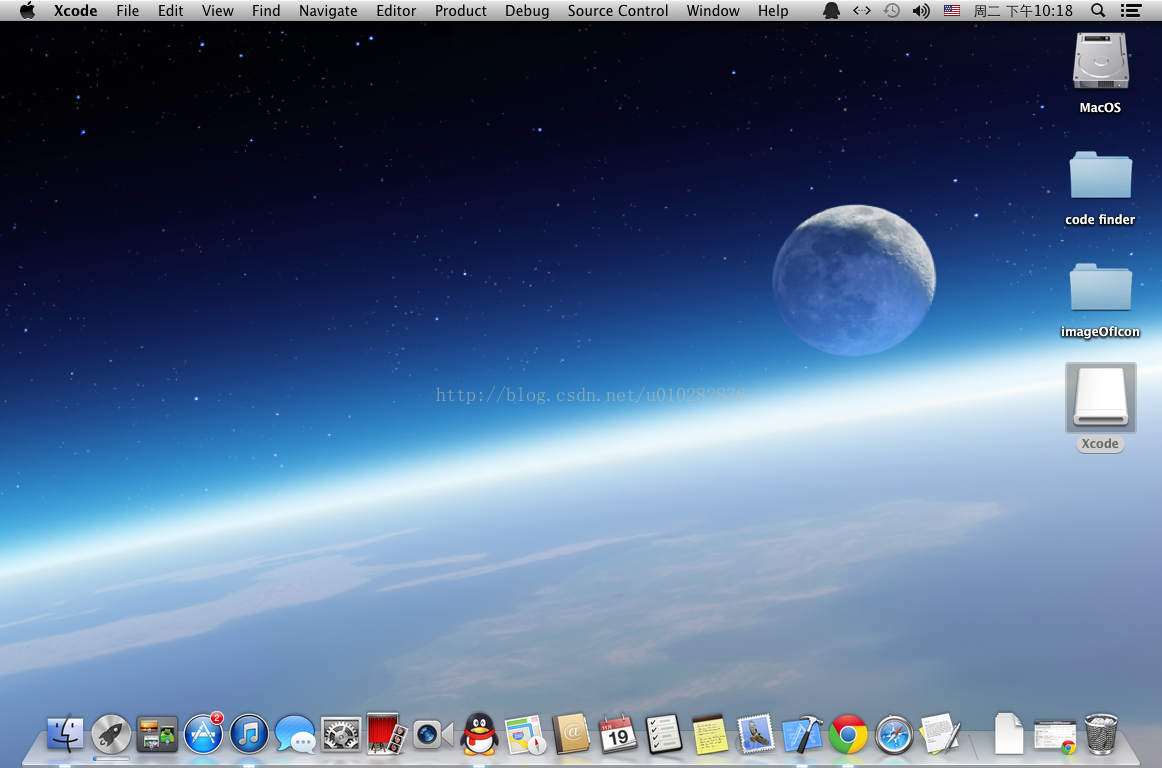
Dbeaver started up today with an error “Fail to create Java Virtual Machine” and no other notifications. I remember that I installed Hadoop and Spark on my computer last week. During the process, I downloaded the JDK. It may be the Java version.
When it comes to environmental problems, there is no trick, but to search for the solutions of predecessors on the Internet.
1. Search for solutions
I looked at several scenarios and said that I wanted to modify the parameters in the myeclipse.ini file. So I went to see what’s in the Dbeaver package Contents, and I found the dbeaver.ini file in Eclipse.
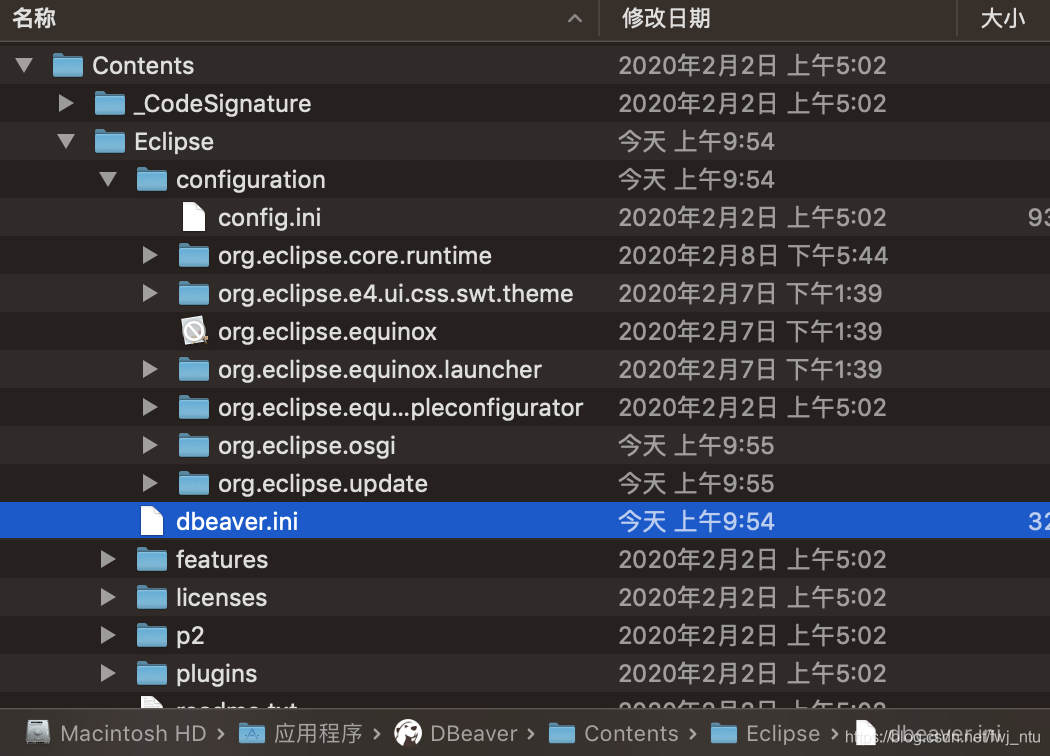
opens the dbeaver.ini file and sees the following configuration information:
-startup
../Eclipse/plugins/org.eclipse.equinox.launcher_1.5.600.v20191014-2022.jar
--launcher.library
../Eclipse/plugins/org.eclipse.equinox.launcher.cocoa.macosx.x86_64_1.1.1100.v20190907-0426
-vmargs
-XX:+IgnoreUnrecognizedVMOptions
--add-modules=ALL-SYSTEM
-Xms64m
-Xmx1024m
-XstartOnFirstThread
There is a lot of talk on the Internet about modifying Xmx parameters, and reducing the maximum memory size by half would solve the problem. I tried it, but it didn’t work. Some other means can only be sought. Another solution was found, which meant manually specifying the Java installation directory in the.ini file.
Taking another look at the dbeaver.ini file indicates that you don’t understand the configuration files, so you open readme.txt. To be honest, after installing software that is used to fooling around, we don’t think about reading these very detailed readme.txt files, but there is a lot of useful information.
  -vm <java vm path>
    Use Java VM installed in <java vm path> folder instead of default
    location.

  -vmargs <jvm parameters>
    Allows to pass any number of additional parameters to JVM.
    Additional parameters may be used to customize environment or
    3-rd party jdbc drivers.
– VM is used to specify the location of the Java Virtual Machine installation:
If this parameter is configured, the specified < is used; java vm path> Java Virtual Machine installed in; If you do not configure this parameter, you will go to the default path for the JVM. So far, the dbeaver.ini file already has the -vmargs parameter, but it doesn’t have any value after it, and there’s no -VM in the file.
2. Solve problems
The JDK is already installed on this machine, so open the path information previously configured in the ~ /.bash_profile file and add the JDK path to the dbeaver.ini file.
-vm
/Library/Java/JavaVirtualMachines/openjdk-14.jdk/Contents/Home
Turn on Dbeaver again. However, instead of succeeding, I reported another error, saying that the Java version did not match, directly providing a JRE download link to download – Java for OS X 2017-001.
Ini file – The Java Virtual Machine installation directory after vm is /Applications/ JRE, after saving the file, open Dbeave again, success!
-vm
/Applications/jre
This article in my Java version conflict problems of MAC played an important role, can refer to:
https://blog.csdn.net/gaofenglxx/article/details/102565883
Welcome to WeChat official number
“data analyst notes”


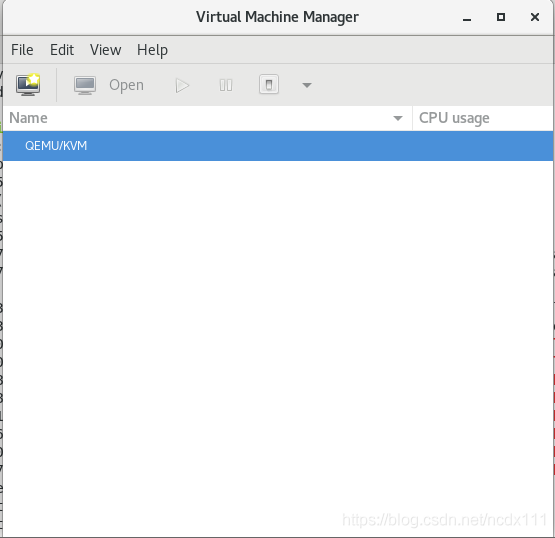
 create virtual machine, right click
 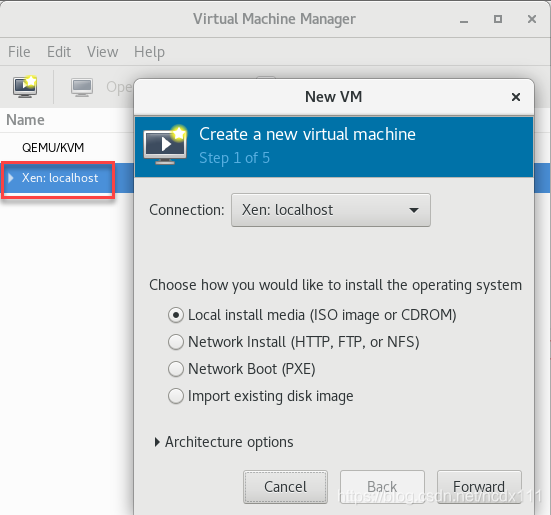 input
input 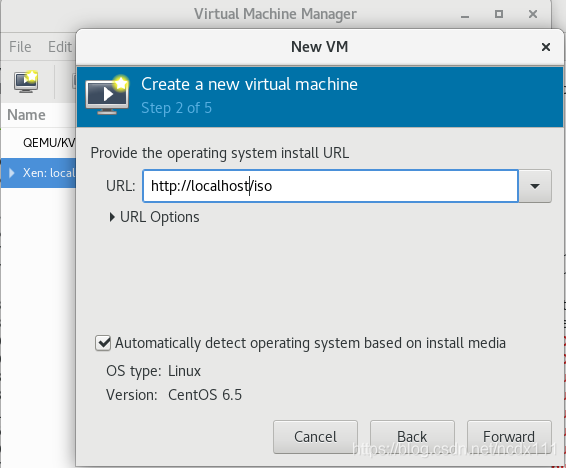 select the virtual machine memory and CPU configuration, the image installed in this paper is centos6.5-minnal version
 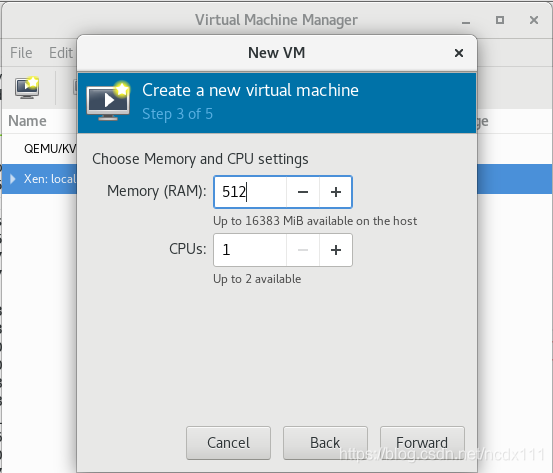 select the virtual machine disk size
 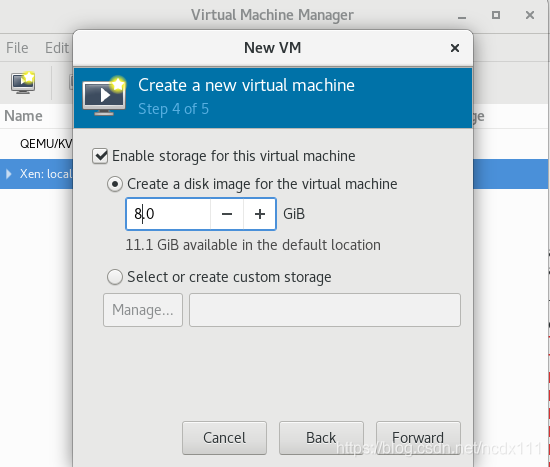 confirm the installation information (including the selection of Network configuration, whether to customize the configuration information), Check the first red box in the figure below if there is a custom requirement.
 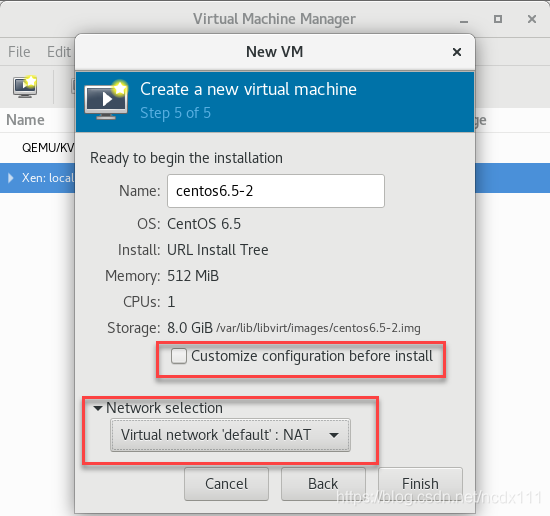 click
click 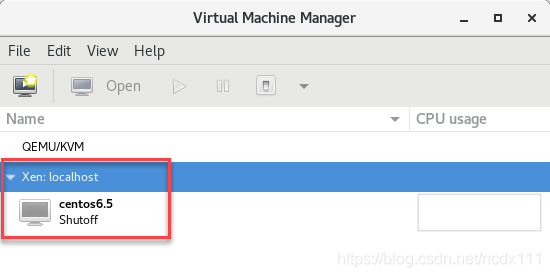 can be viewed through the virt-manager to enter the virtual machine command line by entering the following command