Tag Archives: Computer vision

[Solved] OpenCV Error: AttributeError: module ‘cv2‘ has no attribute ‘data‘

Opencv error: attributeerror: module ‘CV2’ has no attribute ‘data’
the following error will appear when running the face detection code:

face_detector = cv.CascadeClassifier(cv.data.haarcascades + "haarcascade_frontalface_alt2.xml")
eye_detector = cv.CascadeClassifier(cv.data.haarcascades + "haarcascade_eye.xml")
smile_detector = cv.CascadeClassifier(cv.data.haarcascades + "haarcascade_smile.xml")


AttributeError: module 'cv2' has no attribute 'data'

Solution: uninstall your existing opencv Python and install my version of OpenCV

1. Open Anaconda prompt and enter

pip uninstall opencv-python

2. Re input

pip install opencv-python -i http://mirrors.aliyun.com/pypi/simple --trusted-host mirrors.aliyun.com

Note: when uninstalling opencv, select y, and don’t worry about red explosion

How to Solve Opencv Error: CPP: 1557 error

Opencv Error:
ret2, th2 = cv.threshold(img, 0, 255, cv.THRESH_BINARY + cv.THRESH_OTSU)
cv2.error: OpenCV(4.5.3) C:\Users\runneradmin\AppData\Local\Temp\pip-req-build-c2l3r8zm\opencv\modules\imgproc\src\thresh.cpp:1557: error: (-2:Unspecified error) in function ‘double __cdecl cv::threshold(const class cv::_InputArray &,const class cv::_OutputArray &,double,double,int)’

THRESH_OTSU mode:
‘src_type == CV_8UC1 || src_type == CV_16UC1’
where
‘src_type’ is 16 (CV_8UC3)

Original Codes:

img = cv.imread('noisy.jpg')  
  
# Fixed threshold method
ret1, th1 = cv.threshold(img, 105, 255, cv.THRESH_BINARY)
# Otsu threshold method
ret2, th2 = cv.threshold(img, 0, 255, cv.THRESH_BINARY + cv.THRESH_OTSU)
# Perform Gaussian filtering first, and then use Otsu threshold method  
blur = cv.GaussianBlur(img, (5, 5), 0)  
ret3, th3 = cv.threshold(blur, 105, 255, cv.THRESH_BINARY)  
ret4, th4 = cv.threshold(blur, 0, 255, cv.THRESH_BINARY + cv.THRESH_OTSU) 

Problem analysis

The CV2.Threshold() function inputs graphics in the form of single channel, while the image in the above code is input in the form of color three channels, resulting in an error.

Solution:

Convert the color image into a single channel gray image for input.

img = cv.imread('noisy.jpg',0)

Rerun the program

Run successfully

[Solved] Pyinstaller package opencv error: ImportError: OpenCV loader: missing configuration file: [‘config.py’]. Check OpenCV installation.

Before packaging, it was OK. After upgrading pyinstaller and opencv, an error will be reported. I looked up a circle of information and found the answer on GitHub.

ImportError: OpenCV loader: missing configuration file: [‘config.py’]. Check OpenCV installation.

In

Pyinstaller 4.6
opencv Python 4.5.3.58
encountered a problem


Solution:

Solution 1

Reduce the opencv Python version to 4.5.3.56. This small version iteration actually changed something, resulting in packaging failure.

Solution 2

PS: I tried this method several times and failed

import cv2
print(cv2.__file__)

Execute these two sentences to find the path where CV2 is located:

D:\anaconda\64\lib\site-packages\cv2\cv2.cp38-win_ AMD64. PYD
this is my path
when packaging:

pyinstaller -F -w --key '12345678' --clean main.py --paths="D:\anaconda\64\lib\site-packages\cv2"

Remove the last file name from the path and keep the whole folder.

I suggest using the second scheme, because it is not constrained by the version, and this problem can be solved in a similar way in other packages in the future.

AttributeError: ‘NoneType‘ object has no attribute ‘shape‘

When training poly-yolo, the environment is debugged, but this bug will appear in the training. Generally, the picture path is not set or set incorrectly.

solve:

In the simulator_ Absolute path is added in front of each line of image in dataset/simulator-train.txt file, such as:

/home/arl/lc/poly-yolo-master/simulator_ dataset/imgs/img_ r_ 12.png

The validation set is the same as above

cv2.error: OpenCV(4.5.1) C:\Users\appveyor\AppData\Local\Temp\1\pip-req-buil

catalogue

The following operations are carried out under the windows environment.  

one   Change single slash to double slash

2. The modified path is in English

3. Delete CV2. Imshow ()


When I use CV2 to save pictures to a new price asking folder, I report an error CV2. Error: opencv (4.5.1) C: \ users \ appveyor \ appdata \ local \ temp \ 1 \ PIP req build

The solution is as follows:

The following operations are carried out under the windows environment.  

one   Change single slash to double slash

Some people on the Internet say that the path reading error is caused by the number in the path. Correction method: change the single slash in the path into double slash.

For example:

cv2.imwrite(save_dir + '\\' + img_name, img)

However, the same error is reported later, so read the following comments for 2 operations:  

2. The modified path is in English

I reported a similar error here because Chinese appears in the quoted picture path. If you change the picture path to an all English path, there will be no problem.   

for i in ori_imgs_single:
    img_name = i.split('\\')[-1]
    img = cv2.imread(i)
    cv2.imwrite(save_dir + '\\' + img_name, img)
print('save OK!')

OK:

3. Delete CV2. Imshow ()

Maybe there is something wrong with my environment. If you still report an error, try deleting CV2. Imshow (). If I delete it, it will be OK:  


  OK:


Opencv453 drawing rectangle function error reporting solution

# draw gt
cv2.rectangle(img, (gt[0], gt[1]), (gt[2], gt[3]), (0,255,0), 1)

The following error occurred while running:

The rectangle function in opencv453 is incompatible with floating-point data  

terms of settlement:

It is OK to convert the two coordinate data types in the rectangle function to int

cv2.rectangle(img, (int(gt[0]), int(gt[1])), (int(gt[2]), int(gt[3])),(0,255,0), 1)

RuntimeError: stack expects each tensor to be equal size [How to Solve]

When debugging the code of densenet for classification task, the following errors are encountered in the process of image preprocessing:
runtimeerror: stack expectations each tensor to be equal size, but got [640, 640] at entry 0 and [560, 560] at entry 2
it means that the size of the loaded sheets is inconsistent
after searching, it is found that there should be a problem in the preprocessing process when I load the image
the following is the instantiation part of training data preprocessing.

train_transform = Compose(
        [
            LoadImaged(keys=keys),
            AddChanneld(keys=keys),
            CropForegroundd(keys=keys[:-1], source_key="tumor"),
            ScaleIntensityd(keys=keys[:-1]),
            # # Orientationd(keys=keys[:-1], axcodes="RAI"),
            Resized(keys=keys[:-1], spatial_size=(64, 64), mode='bilinear'),
            ConcatItemsd(keys=keys[:-1], name="image"),
            RandGaussianNoised(keys=["image"], std=0.01, prob=0.15),
            RandFlipd(keys=["image"], prob=0.5),  # , spatial_axis=[0, 1]
            RandAffined(keys=["image"], mode='bilinear', prob=1.0, spatial_size=[64, 64],    # The 3 here is because we don't know what the size of the three modal images will be after stitching, so we first use
                        rotate_range=(0, 0, np.pi/15), scale_range=(0.1, 0.1)),
            ToTensord(keys=keys),
        ]

    )

My keys are [“t2_img”, “dwi_img”, “adc_img”, “tumor”]
the error shows that the loaded tensor has dimensions [640, 640] and [560, 560], which are the dimensions of my original image, which indicates that there may be a problem in my clipping step or resize step. Finally, after screening, it is found that there is a problem in my resize step. In the resize step, I selected keys = keys [: – 1], that is, it does not contain “tumor”. Therefore, when resizing, my tumor image will still maintain the size of the original image, and the data contained in this dictionary will still be a whole when loaded, The dimensions of each dimension of the whole will automatically expand to the largest of the corresponding dimensions of all objects, so the data I loaded will still be the size of the original drawing. Make the following corrections:

 train_transform = Compose(
        [
            LoadImaged(keys=keys),
            AddChanneld(keys=keys),
            CropForegroundd(keys=keys[:-1], source_key="tumor"),
            ScaleIntensityd(keys=keys[:-1]),
            # # Orientationd(keys=keys[:-1], axcodes="RAI"),
            Resized(keys=keys, spatial_size=(64, 64), mode='bilinear'),  # remove [:-1]
            ConcatItemsd(keys=keys[:-1], name="image"),
            RandGaussianNoised(keys=["image"], std=0.01, prob=0.15),
            RandFlipd(keys=["image"], prob=0.5),  # , spatial_axis=[0, 1]
            RandAffined(keys=["image"], mode='bilinear', prob=1.0, spatial_size=[64, 64],    # The 3 here is because we don't know what the size of the three modal images will be after stitching, so we first use
                        rotate_range=(0, 0, np.pi/15), scale_range=(0.1, 0.1)),
            ToTensord(keys=keys),
        ]

    )

Run successfully!

Maskrcnn-benchmark Error: KeyError “Non-existent config key: MODEL.BACKBONE.OUT_CHANNELS“

When trying to extract visual features using VQA maskrcnn benchmark: files · master · vedanuj Goswami/VQA maskrcnn benchmark · gitlab,

After compiling maskrcnn benchmark according to the instructions of install, run

python script/extract_features.py ... 

An error occurred:

KeyError "Non-existent config key: MODEL.BACKBONE.OUT_CHANNELS"

The problem is: instead of compiling maskrcnn benchmark, you can compile setup.py under VQA maskrcnn benchmark

PS: the author has made corresponding fine adjustments to the network structure and code. The structure in the original maskrcnn library does not correspond to config

ModuleNotFoundError: No module named ‘notebook‘

ModuleNotFoundError: No module named ‘notebook’

Problem modulenotfounderror: no module named ‘notebook’

This problem occurred when running notebook today. Now I’d like to share with you how to solve this problem

terms of settlement

    open the terminal: Win + R, enter “CMD”, then “enter”
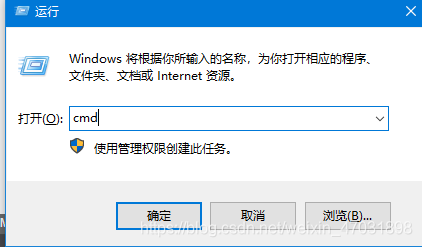
    activate the environment when you run the code: “CONDA activate + your environment name”
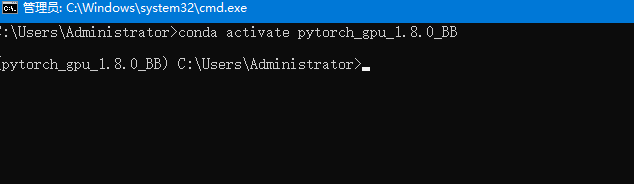
    after entering your environment, enter “Python – M PIP install Jupiter”, and then “enter”
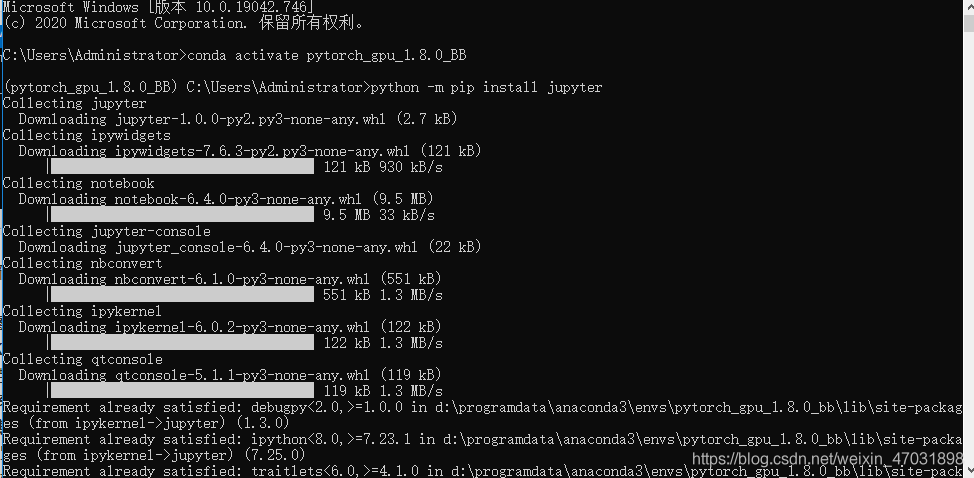
    appears at the bottom to indicate that the installation is successful
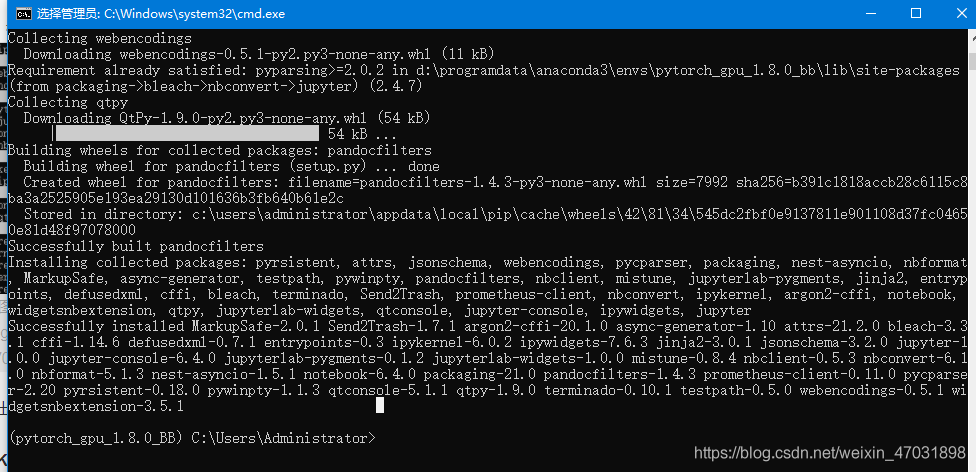
    then enter: IPython notebook
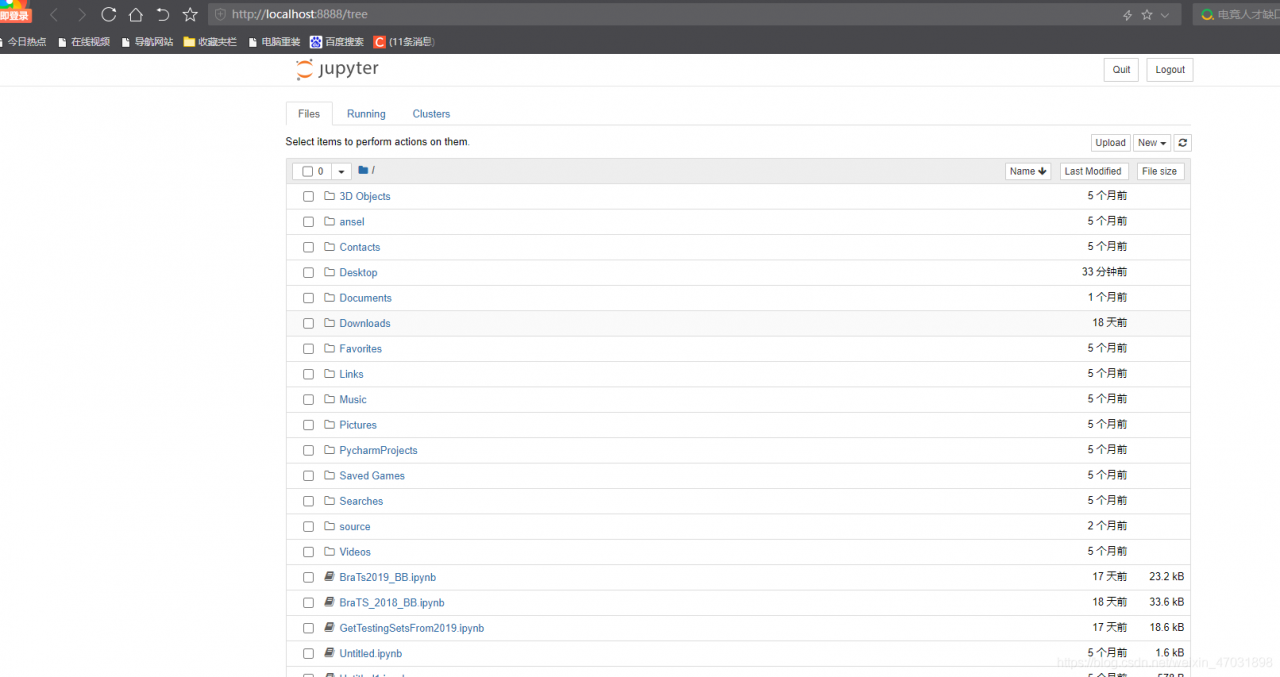
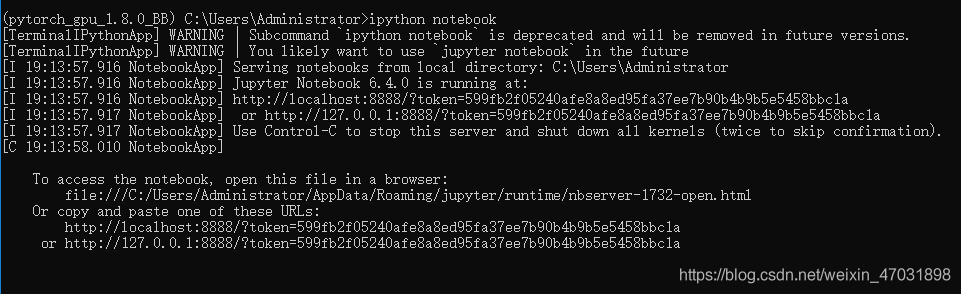
    . This page indicates that the problem has been solved