Android Studio Error: AAPT: error: file failed to compile
Solution:
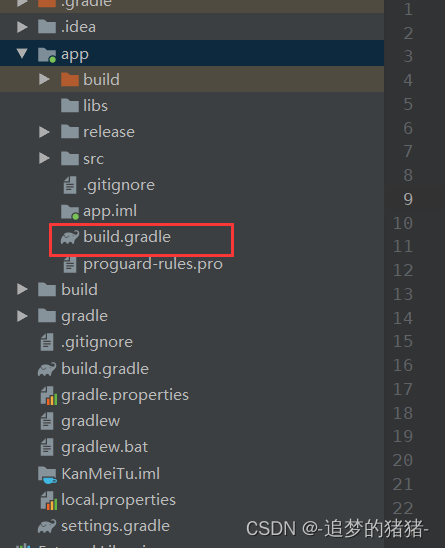
1. Find the build.gradle under the project
2. Add the following code to the android chunk
aaptOptions.cruncherEnabled = false
aaptOptions.useNewCruncher = false

Android Studio Error: AAPT: error: file failed to compile
Solution:
1. Find the build.gradle under the project
2. Add the following code to the android chunk
aaptOptions.cruncherEnabled = false
aaptOptions.useNewCruncher = false
1. Error reporting
Attempt to invoke virtual method ‘android.view.Window android.app.Activity.getWindow()’ on a null object reference

2. Cause
VideoAdapter.java file code:
@Override
    public View getView(int position, View convertView, ViewGroup parent) {
        ViewHolder holder = null;
        if (convertView == null) {
            convertView = LayoutInflater.from(context).inflate(R.layout.item_mainlv,parent,false);
            holder = new ViewHolder(convertView);
            convertView.setTag(holder);
        }else {
            holder = (ViewHolder) convertView.getTag();
        }

        // Get the data source of the specified location
        String path = "xxxx";
        holder.jzvdStd.setUp(path,"test",JzvdStd.SCREEN_NORMAL);

        holder.jzvdStd.positionInList = position;

        return convertView;
    }

    class ViewHolder{
        JzvdStd jzvdStd;
        public ViewHolder(View view){
            jzvdStd = view.findViewById(R.id.item_main_jzvd);
        }
    }
Since jzvdStd has released the jzvdStd window when the full screen is cut to a small screen, and the subsequent if (convertView == null) judgment, directly to the else statement, so the window that has been released cannot be obtained by the statement in the else in the window, so the error is reported. (The above is a personal opinion)
3. Solution
Replace the above code with the following code
    @Override
    public View getView(int position, View convertView, ViewGroup parent) {

        ViewHolder viewHolder;
        if (null == convertView) {
            viewHolder = new ViewHolder();
            LayoutInflater mInflater = LayoutInflater.from(context);
            convertView = mInflater.inflate(R.layout.item_mainlv, null);
            convertView.setTag(viewHolder);
        } else {
            viewHolder = (ViewHolder) convertView.getTag();
        }
        viewHolder.jzvdStd = convertView.findViewById(R.id.item_main_jzvd);


        // Get the data source of the specified location
        String path = "xxx";
        viewHolder.jzvdStd.setUp(path,"test",JzvdStd.SCREEN_NORMAL);

        return convertView;
    }

    class ViewHolder{
        JzvdStd jzvdStd;
}The android project added an activity written in kotlin code and tried to launch the page.
The error is reported as follows:
C:\Users\15901\Desktop\ShangXueTang\app\src\main\java\com\example\shangxuetang\MainActivity.java:41: ����: �Ҳ������� startActivity(new Intent(MainActivity.this, LifecycleActivity.class)); ^ ����: �� LifecycleActivity λ��: �� MainActivity 1 ������
Solution:
apply plugin: 'kotlin-android'
apply plugin: 'kotlin-android-extensions'
dependencies {
        classpath "org.jetbrains.kotlin:kotlin-gradle-plugin:$kotlin_version"
        }
Error Messages:
Installed Build Tools revision 32.0.0 rc1 is corrupted. Remove and install again using the SDK Manager.
Problem Cause.
File corruption in buildTools after AndroidSutdio version upgrade.
Solution:
1 Modify d8.bat to dx.bat
2 Modify d8.jar to dx.jar
Another error was reported during Android development. This is a version error. The first step is to synchronize the versions
error message:
Android studio error: gradle project sync failed. Please fix your project and try again
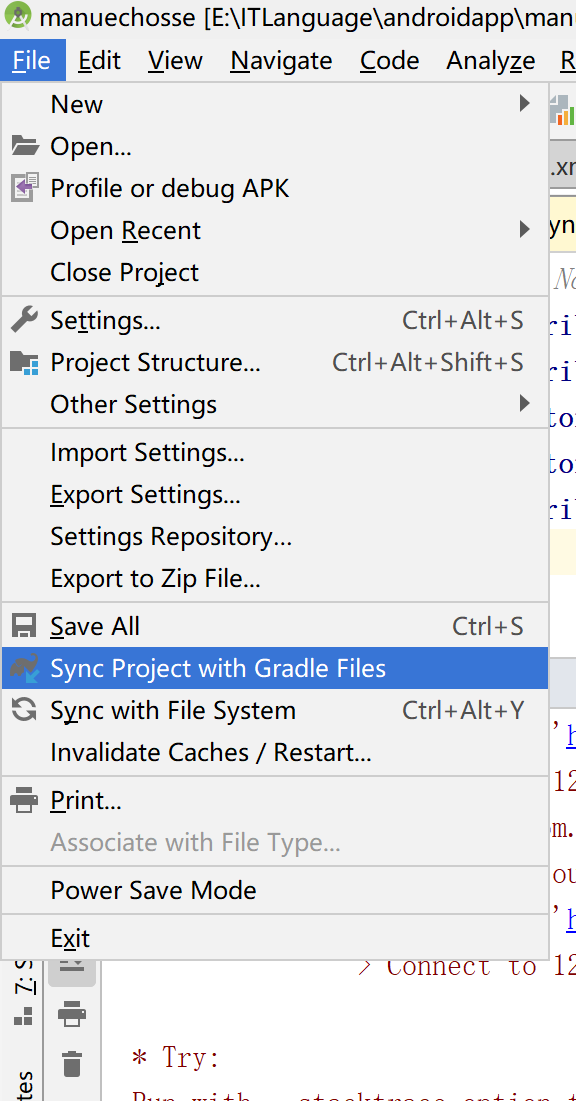
1. Version synchronization:
1.1 file> sync project with android gradle
If you succeed, you don’t have to look at the following
1.2 error reporting:
It can be seen or not solved:
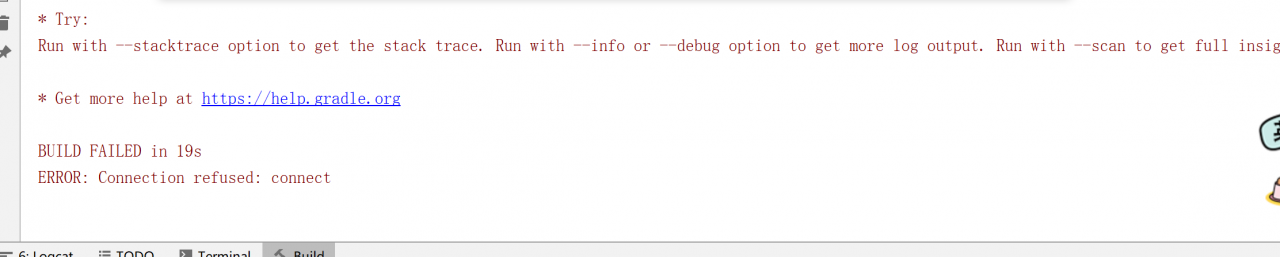
It should be the version problem. If we can’t download it, we can download it directly manually (check the network first, and the agent has no problem, but it still can’t be solved)
2. Modify proxy parameters:
Agent:
2.1 open file> setting> Search proxy
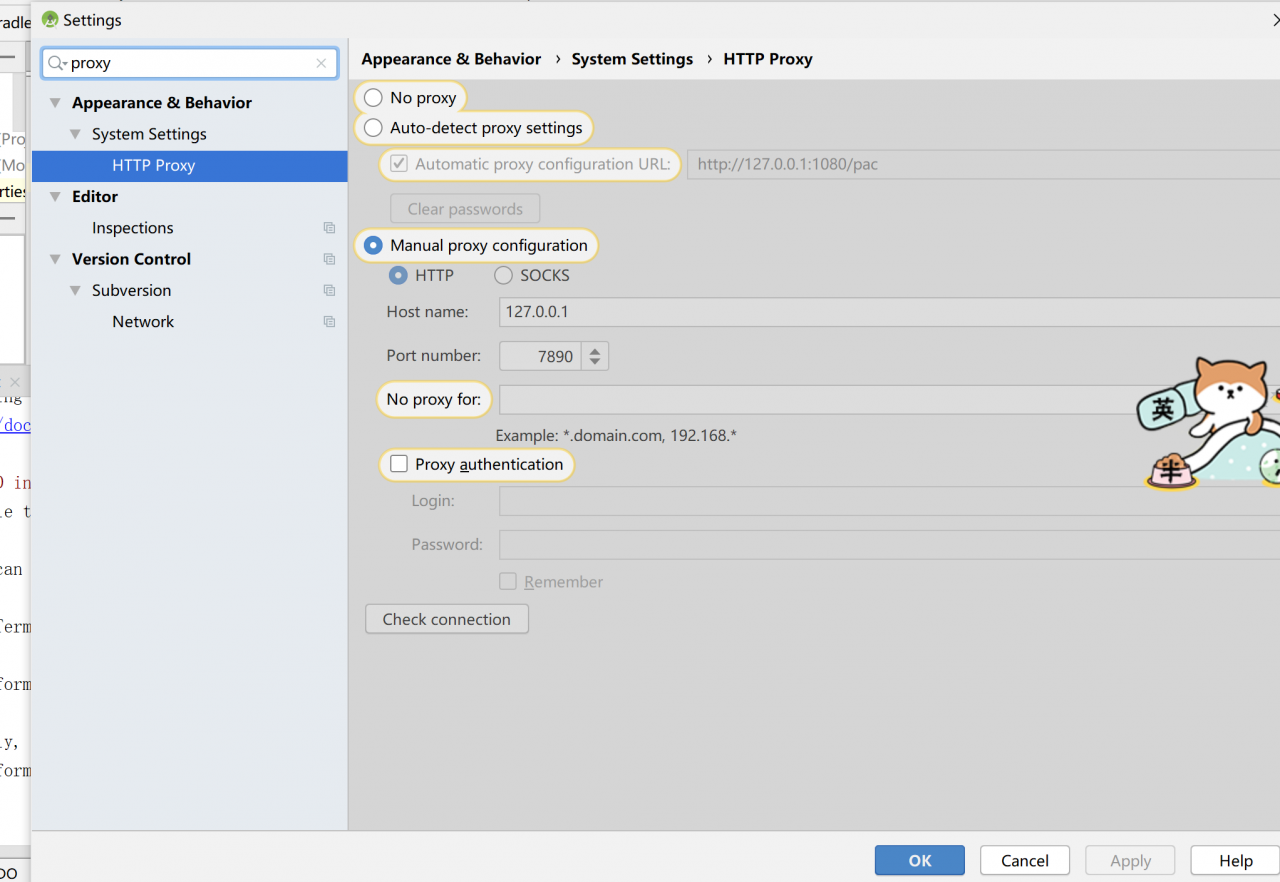
2.2 configuration information
The address and port of the agent shall be filled in as follows:
URL: http://127.0.0.1:1080/pac
2.3 check whether the Ping is connected
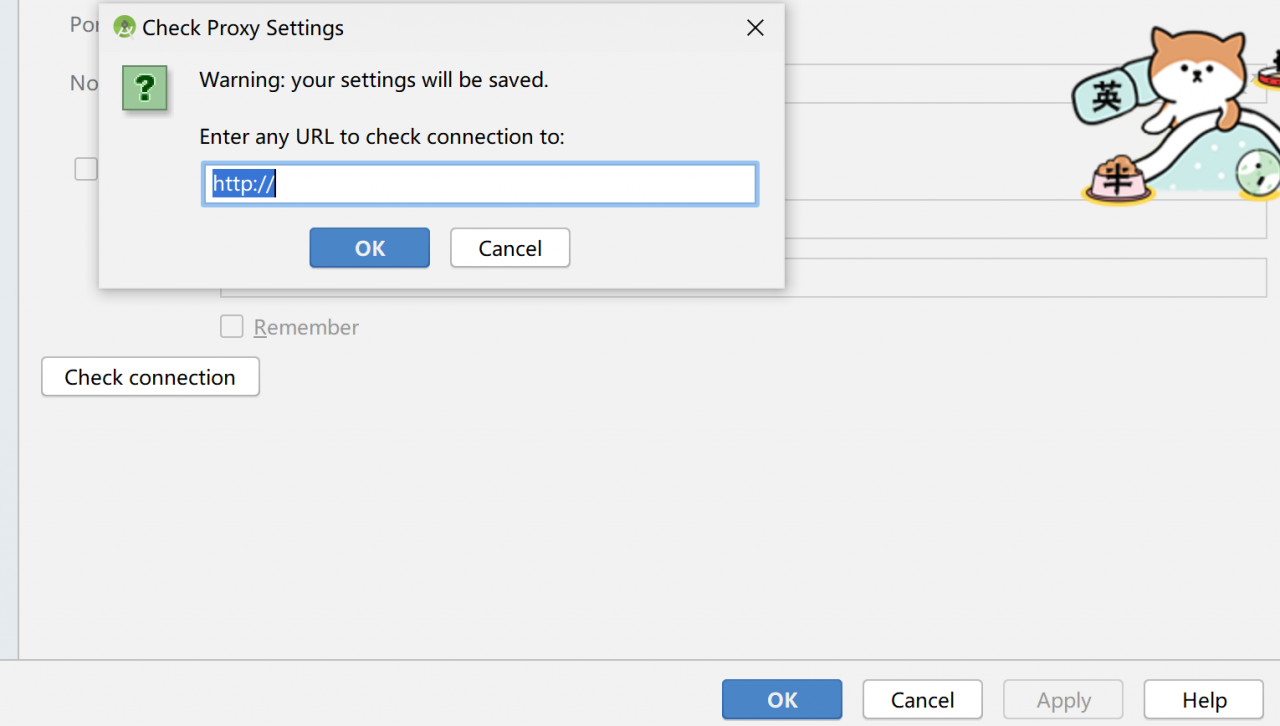
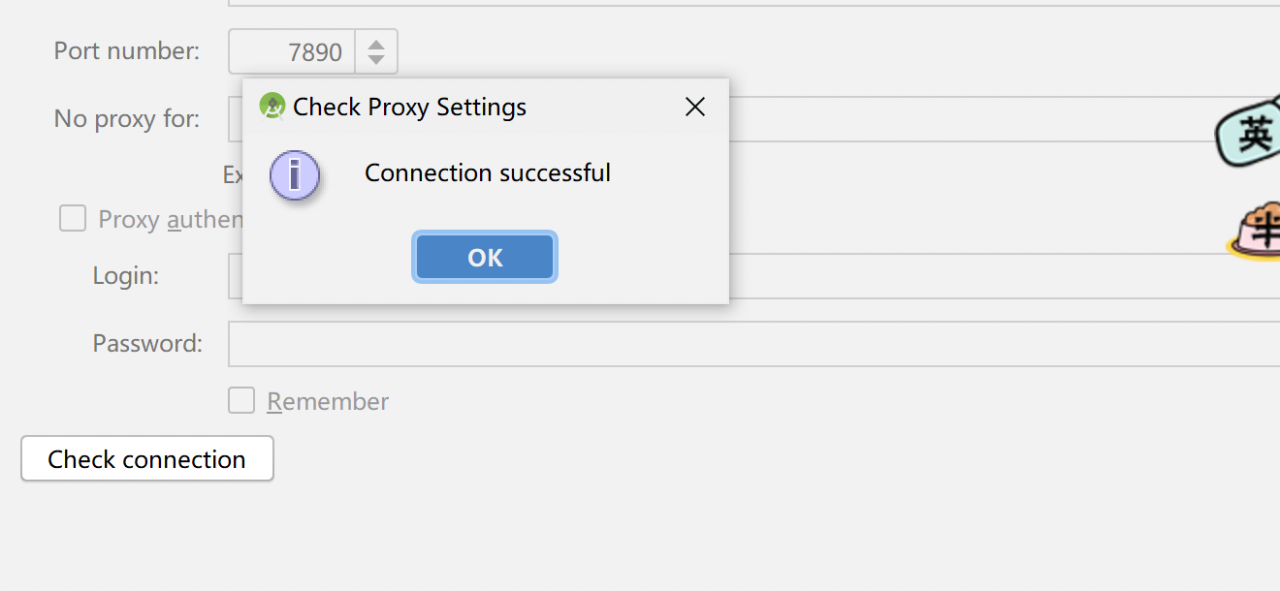
Still not!
3. Manual Download
So let’s continue:
3.1 open the gradle wrapper properties file
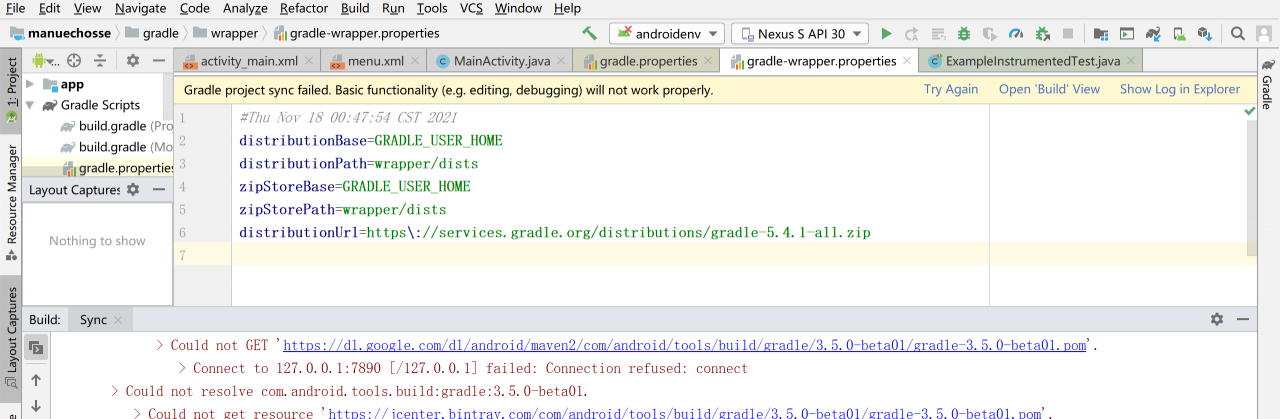
3.2 download
Download the gradle in the last line of the website. Note that the version must be consistent. Download whatever he puts down.

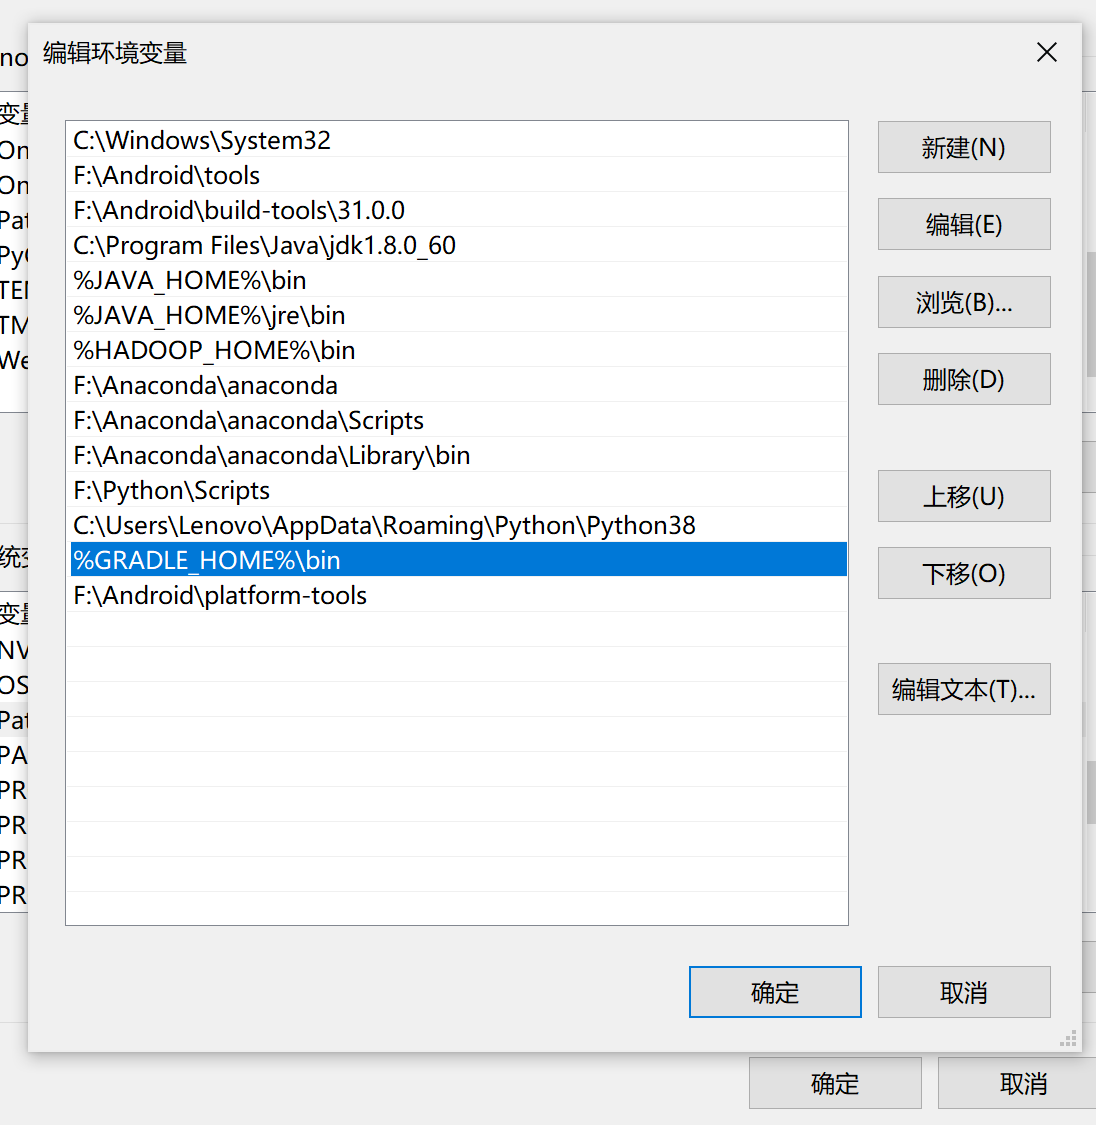
3.3 modifying environment variables
Remember to modify the gradle environment variable in the computer:
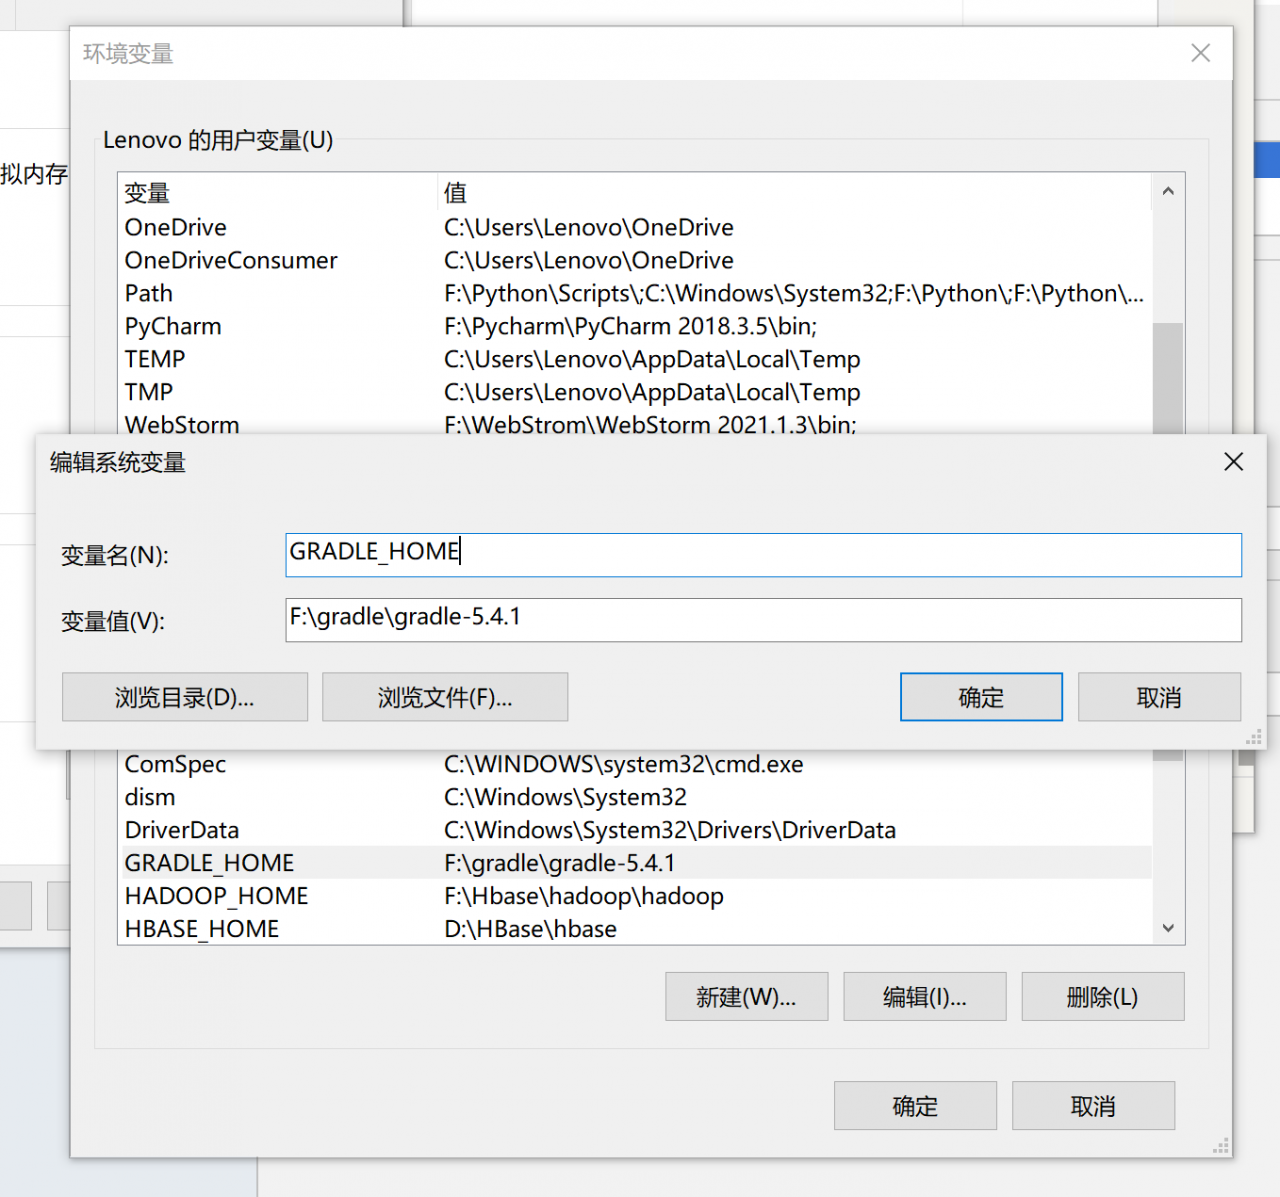
 3.4 modify the compilation environment configuration
Then unzip it, modify the gradle configuration in the environment, and it’s OK.
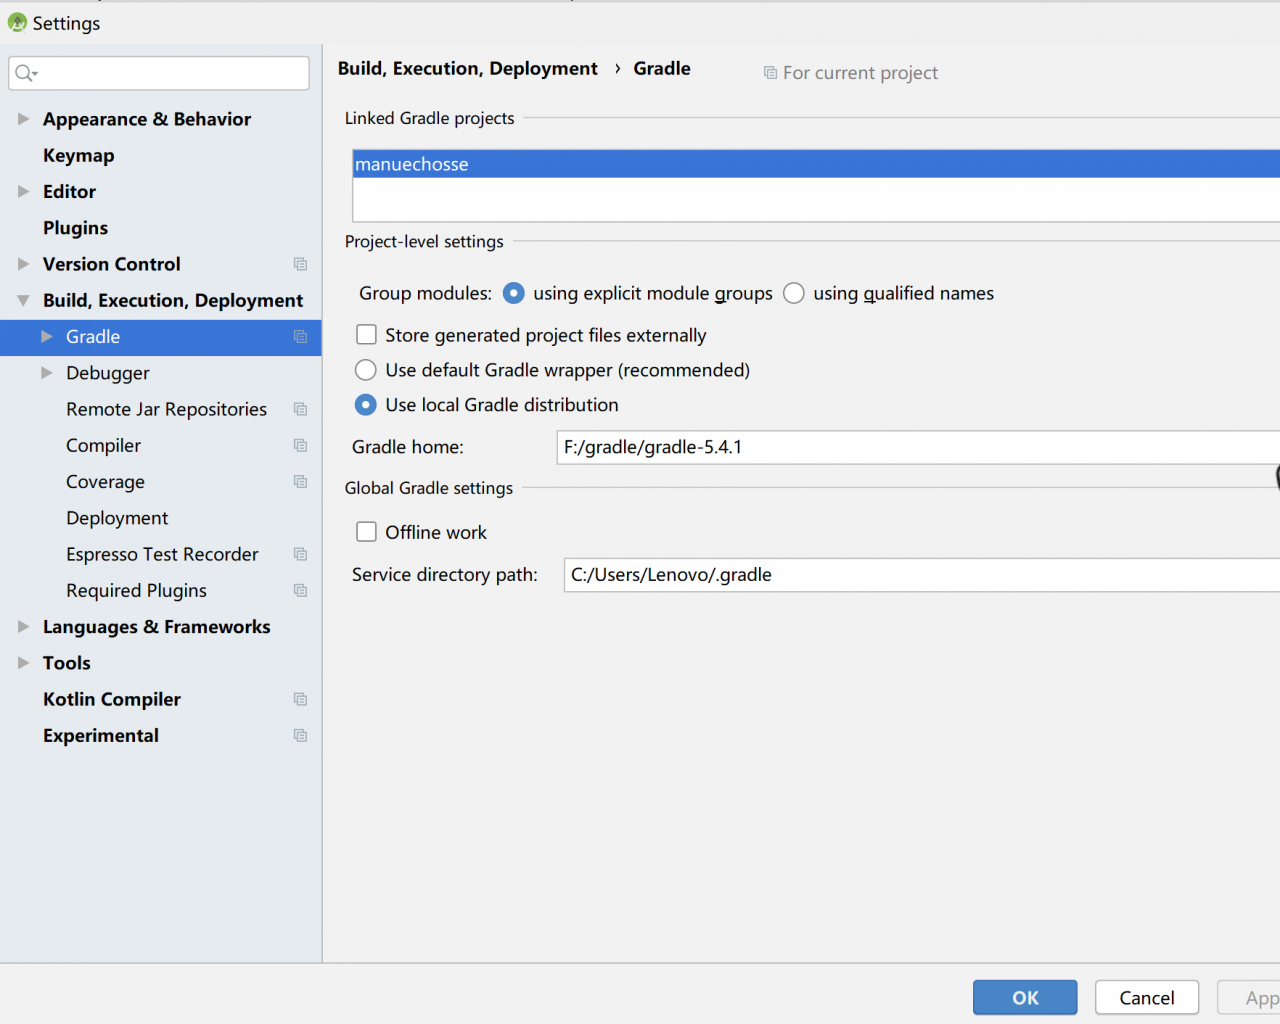
You can see that my environment is OK now:

It took a long time today to find out the real problem.
There are two situations most likely to cause the whole exception:
1. No permission is given;
a. Permission application is not added in androidmanifest.xml;
<uses-permission android:name="android.permission.INTERNET"/>b. The format of permission application is incorrect
<!-- Mistake -->
<uses-permission android:name="android.permission.INTERNET"></uses-permission>
c. The permission is manually shielded by the user;
2. Port less than 1024; Set a larger one, not more than the largest one;
Android studio gives the following error after clicking “run app”
Installation did not succeed.
The application could not be installed: INSTALL_FAILED_USER_RESTRICTED

List of apks:
[0] 'E:\MyProject\xxx\app\build\outputs\apk\debug\xxxxx_.apk'
Installation via USB is disabled.
Troubleshooting steps:
1. It may be that the USB installation is not enabled in the developer option. Check whether it is enabled and try again
2. It is possible that the application tag of androidmanifest.xml has been added
android:appComponentFactory=""
tools:replace="android:appComponentFactory"
Delete this attribute and try again.
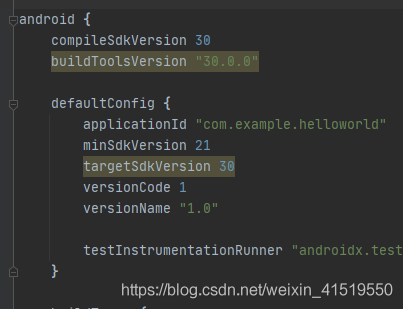
The IDE advised me to reinstall the build tools. After many times of reinstallation, I still reported an error. Then I saw that there was an error in the version 30 of my brother online, and then it was reduced to 29. If I had passed the build, I reduced 31 to 30, and then it passed
obviously, the compatibility and stability of the new version are poor
in the Android of the global build.gradle,
change 31 to 30, as shown in the figure below.
resync and then build.
Encountered this problem, as a result, no blog is the right way to deal with it
Error reporting reason
Mismatched configuration files are generated after directly opening the project or importing the project with an incorrect JDK path
Solution
Delete the file with the suffix “. IML” under the. Idea path, and then set the correct JDK path. A JDK is available in the Android studio directory. Then file – & gt; Sync project with gradle files, the IDE will regenerate a matching configuration file and solve the problem.
app.gradle
Code snippet 1:
repositories {
    flatDir {
        dirs 'libs'
    }
}
Code snippet 2:
dependencies {
    classpath "com.android.tools.build:gradle:4.2.2"
}
After gradle is upgraded to 4.2.2, the following prompt message will appear during compilation. Delete & lt; Code snippet 1 & gt; The problem can be solved
Using flatDir should be avoided because it doesn’t support any meta-data formats.
Affected Modules: APP
Use the LIBS directory if necessary
Add the following code to the project module.gradle
android {

    ...

    sourceSets {
        main {
            jniLibs.srcDirs = ['libs']
        }
    }
}
Problem solving.
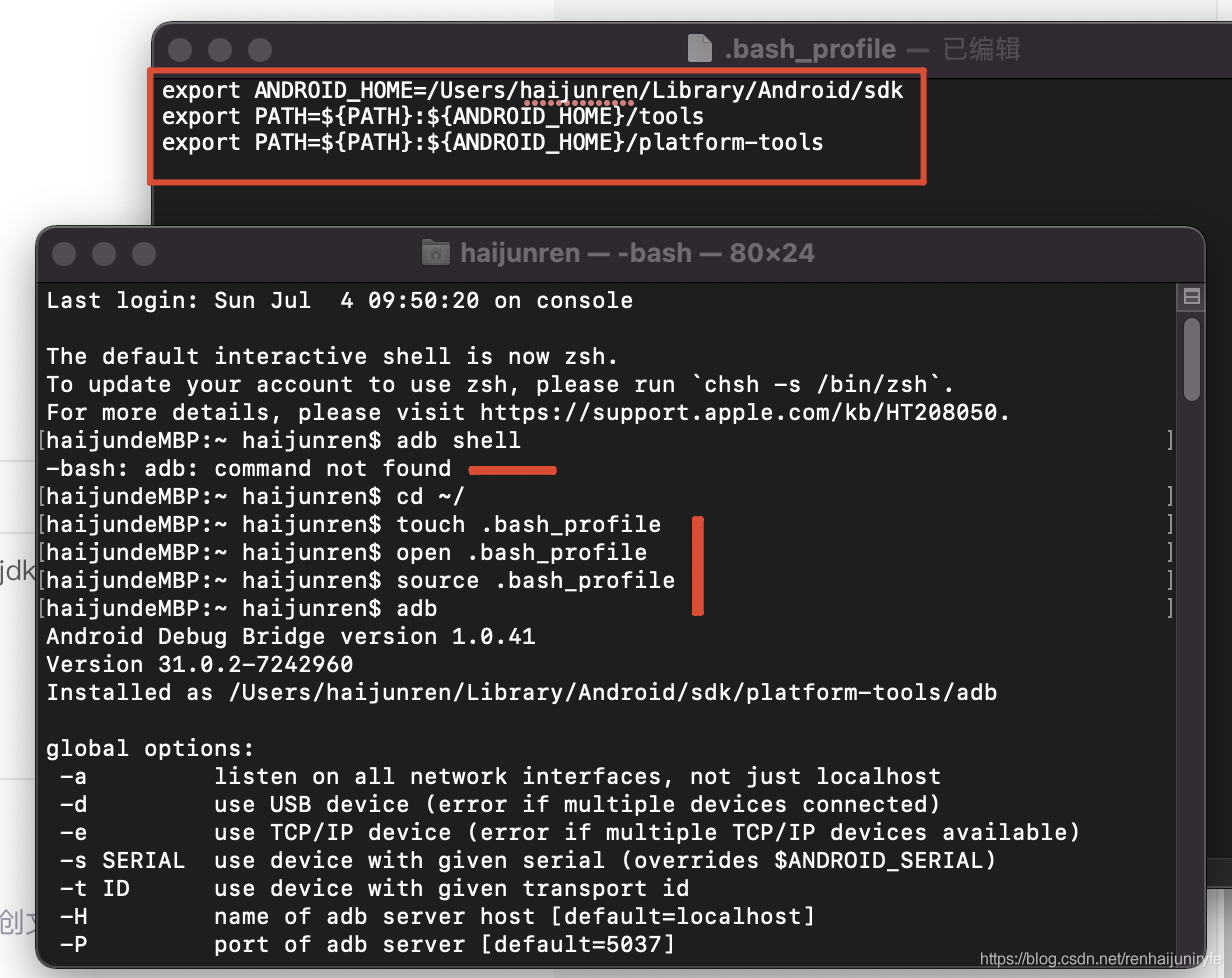
When the MAC system uses ADB for the first time, it reports an error because it needs to configure tools,
When using the MAC for development, you use the ADB instruction to perform some operations. If you have not configured the Android environment variables, you will encounter the problem of ADB: command not found. You need to configure the Android environment variables on the Mac
Operation steps:
1. Open the terminal terminal of the Mac and enter Cd ~/[enter the home directory of the current user]
2. Enter touch. Bash_ Profile [if not. Bash_ Profile, create a file]
3. Enter open. Bash_ Open the file we created and a text edit box will pop up. If the environment is configured for the first time, the text edit box will be blank.
4 . export ANDROID_ HOME=/Users/haijunren/Library/Android/sdk
export PATH=${PATH}:${ANDROID_ HOME}/tools
export PATH=${PATH}:${ANDROID_ Home}/platform tools
note: Android in 4_ Home should be filled in according to its own SDK path, and the rest can be copied directly. As for the SDK path, you can open Android studio and search the SDK in preference (Windows setting) to view it
Enter source. Bash in the terminal_ Profile [make our changes effective]
Enter ADB [verify whether the configuration is complete, if the ADB: command not found is not displayed, the configuration is complete]
It’s no use opening Android studio for a day. Error: unknown host ‘Maven. Aliyun. Com’. You may need to adjust the proxy settings in gradle
But it was always good before, so restart Android studio, open any class and click “try again”,
After try again, try packing, and the packing is successful