At the beginning, you will be prompted what to install DKMS, and then you will see the error as shown in the figure after downloading and installing, that is
sincerefly@linux-eq1f:~/Downloads/iso$ sudo rpm -Uivh dkms-2.2.0.3-1.noarch.rpm
root's password:
Ready... ################################# [100%]
package dkms-2.2.0.3-1.noarch is already installed
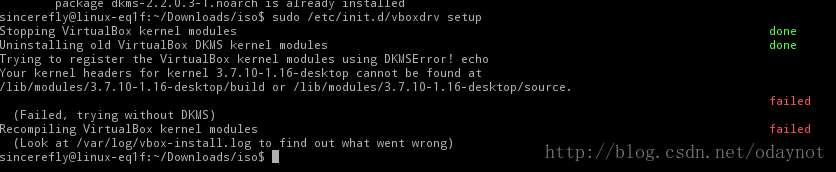
sincerefly@linux-eq1f:~/Downloads/iso$ sudo /etc/init.d/vboxdrv setup
Stopping VirtualBox kernel modules done
Uninstalling old VirtualBox DKMS kernel modules done
Trying to register the VirtualBox kernel modules using DKMSError! echo
Your kernel headers for kernel 3.7.10-1.16-desktop cannot be found at
/lib/modules/3.7.10-1.16-desktop/build or /lib/modules/3.7.10-1.16-desktop/source.
failed
(Failed, trying without DKMS)
Recompiling VirtualBox kernel modules failed
I don’t know what’s the reason. It’s not good to worry about virtual machines. One is to learn from CentOS. The other is to do experiments. It’s not safe in the physical system, but it’s OK. There’s Baidu. If there is a problem, it needs to be solved
Search for
   sudo apt-get install dkms build-essential linux-headers-$(uname -r)
   sudo /etc/init.d/vboxdrv setup
It’s just a Debian command
I see such a sentence in it
The reason is that the corresponding package for the corresponding kernel is missing. Although I have executed the install command for kernel-devel before, the corresponding kernel-devel for the uek kernel is not installed, the correct one should be kernel-uek-devel.
That “kernel devel installation command” misled me for a long time, suddenly woke up, it was the package.
This is easy to do. Use zypper search kernel devel to search, and it is
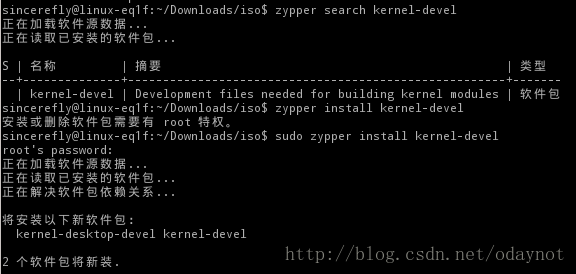
After the installation, run it again
sudo /etc/init.d/vboxdrv setup
success!

Then my VB can run.


 , open the server manager, click “add roles or functions”
 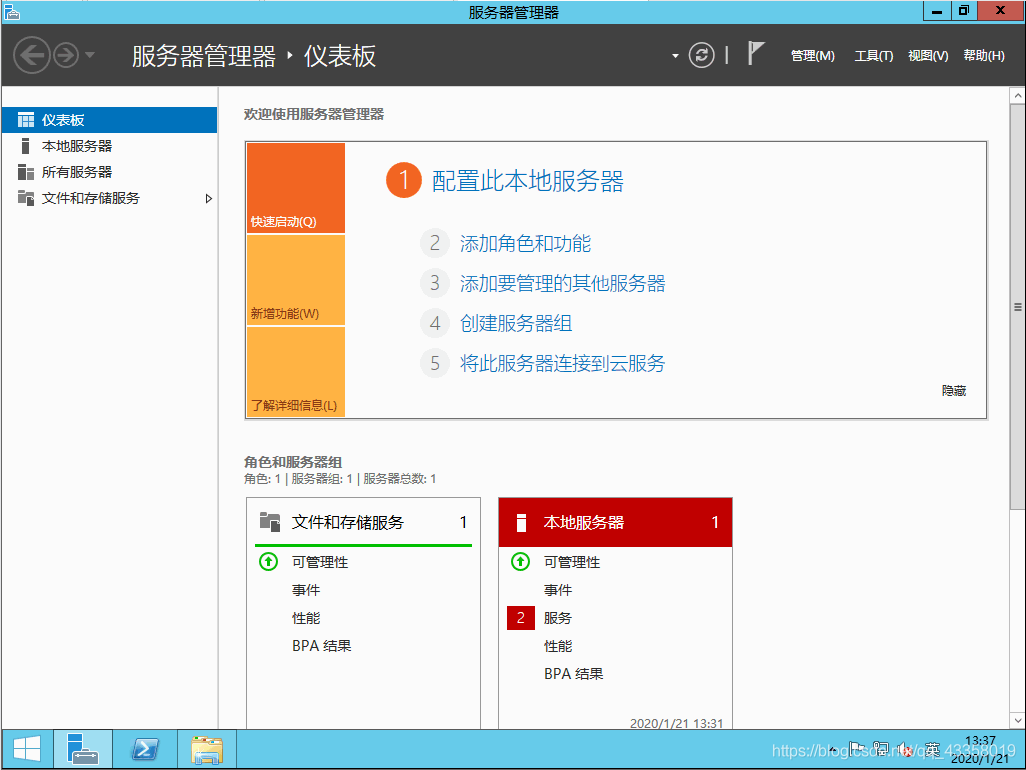 next
next 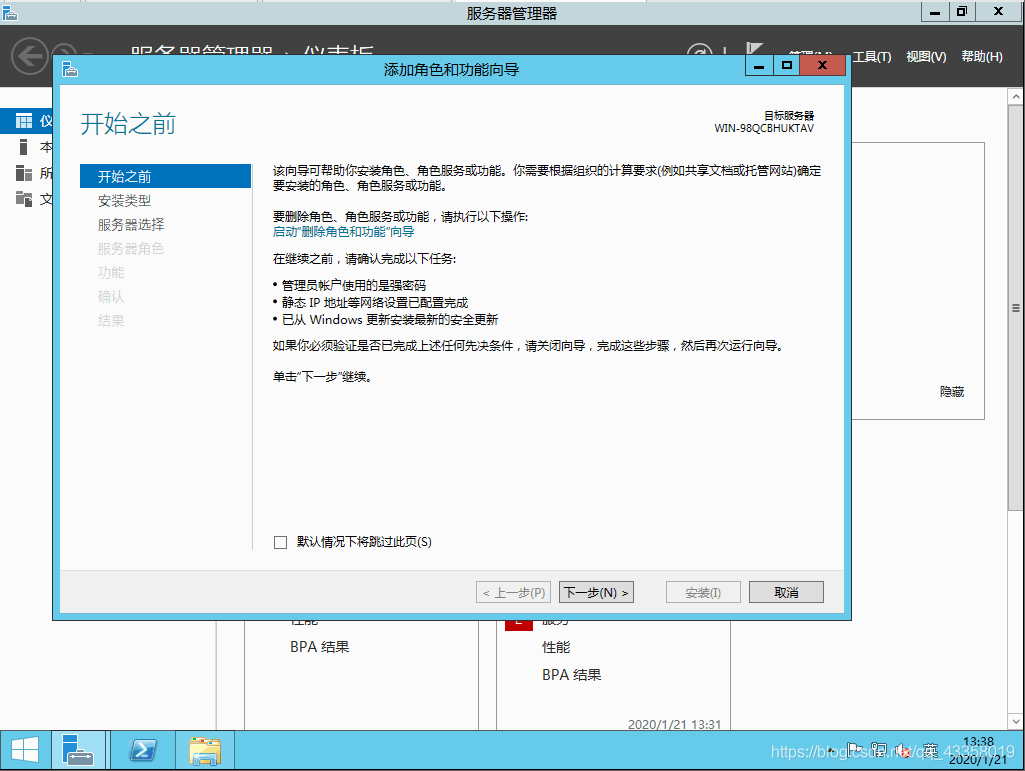 next
next 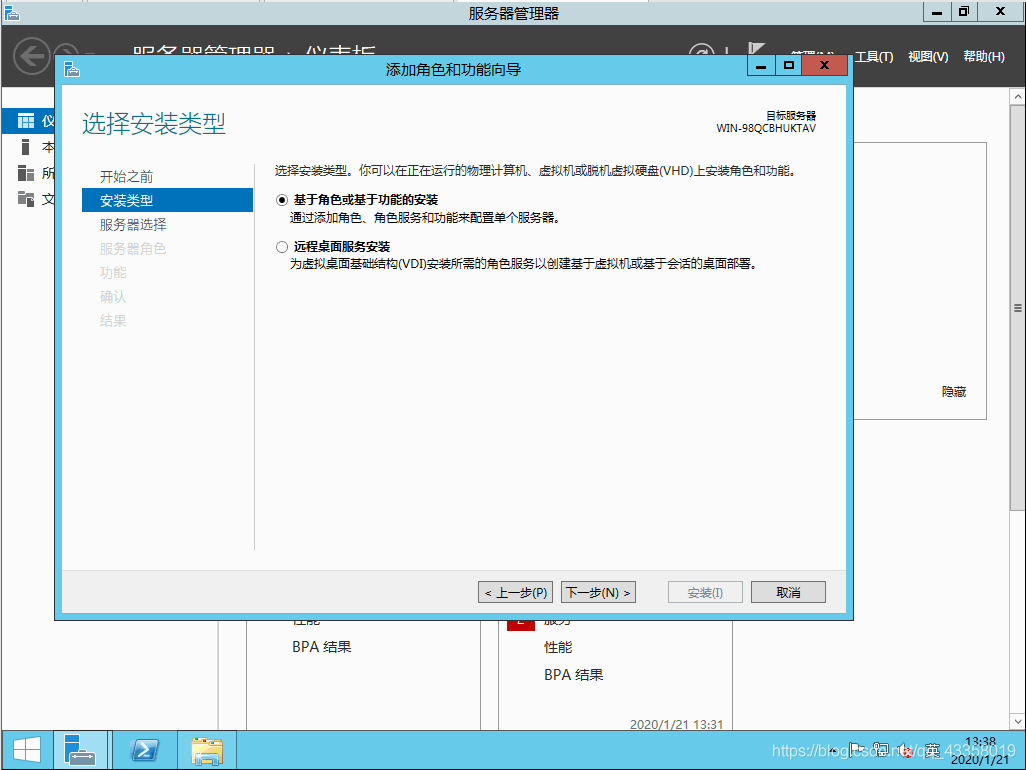 next
next 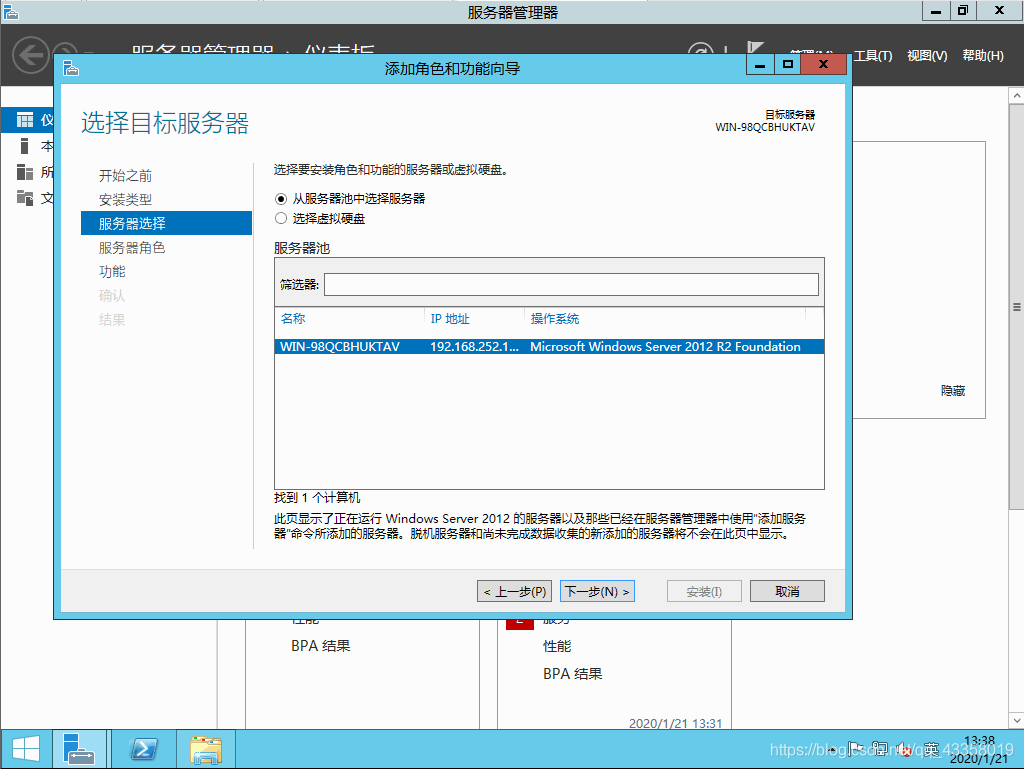 do not need to operate here, directly next
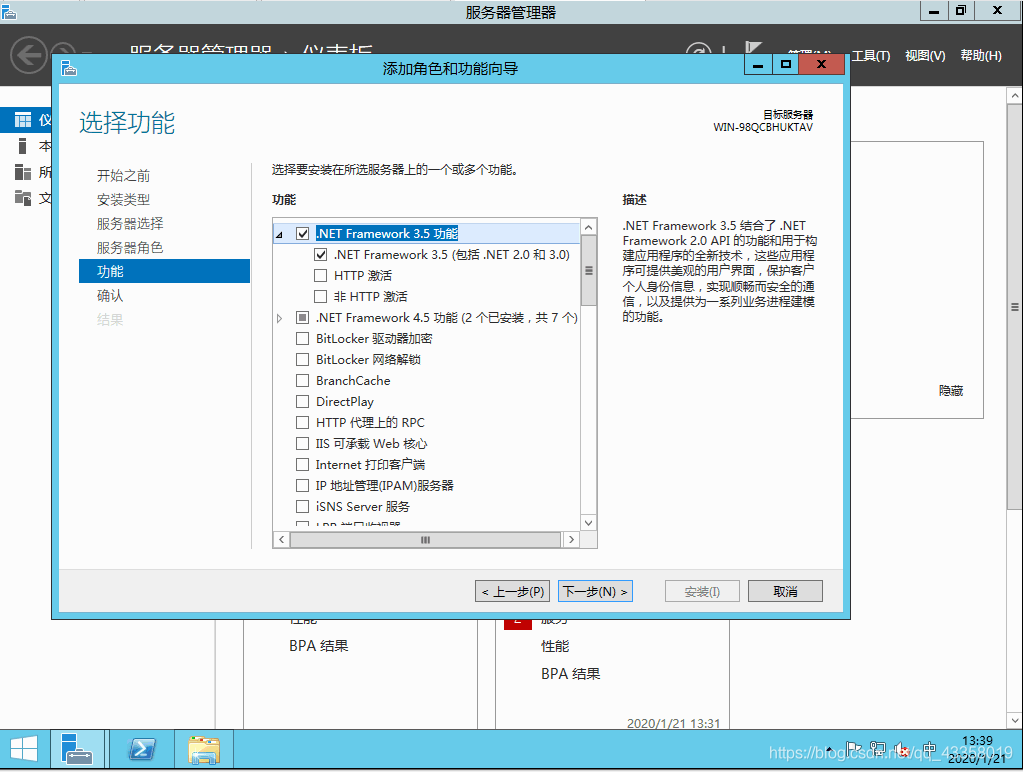
 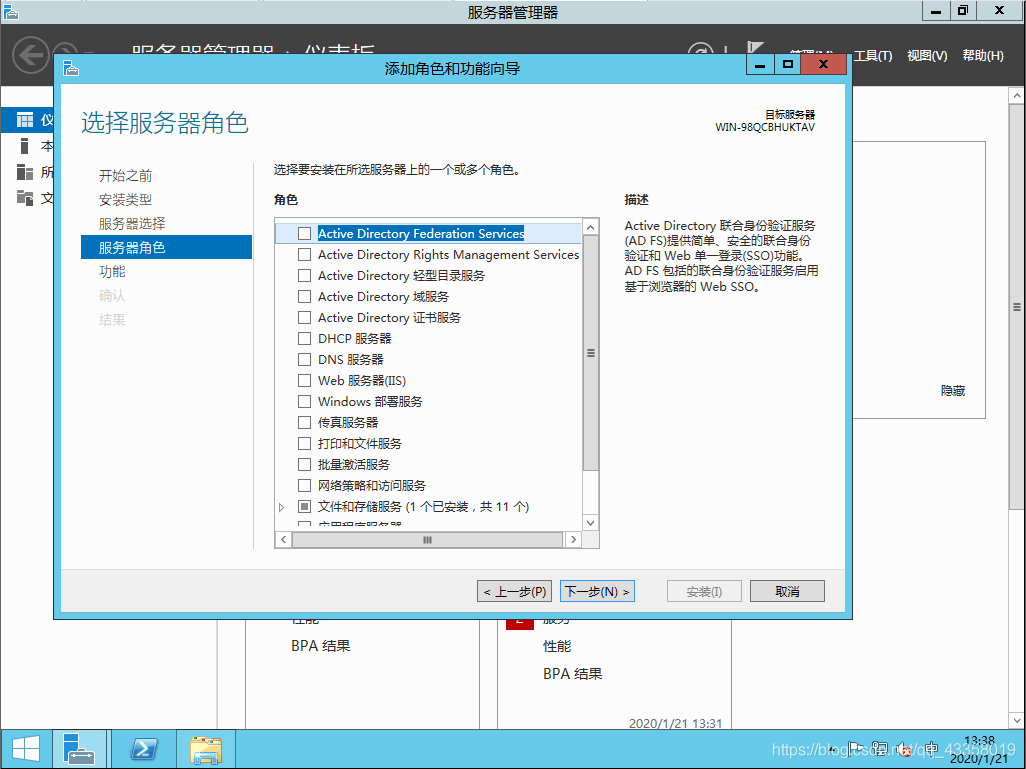 check Framework 3.5 here, and then next
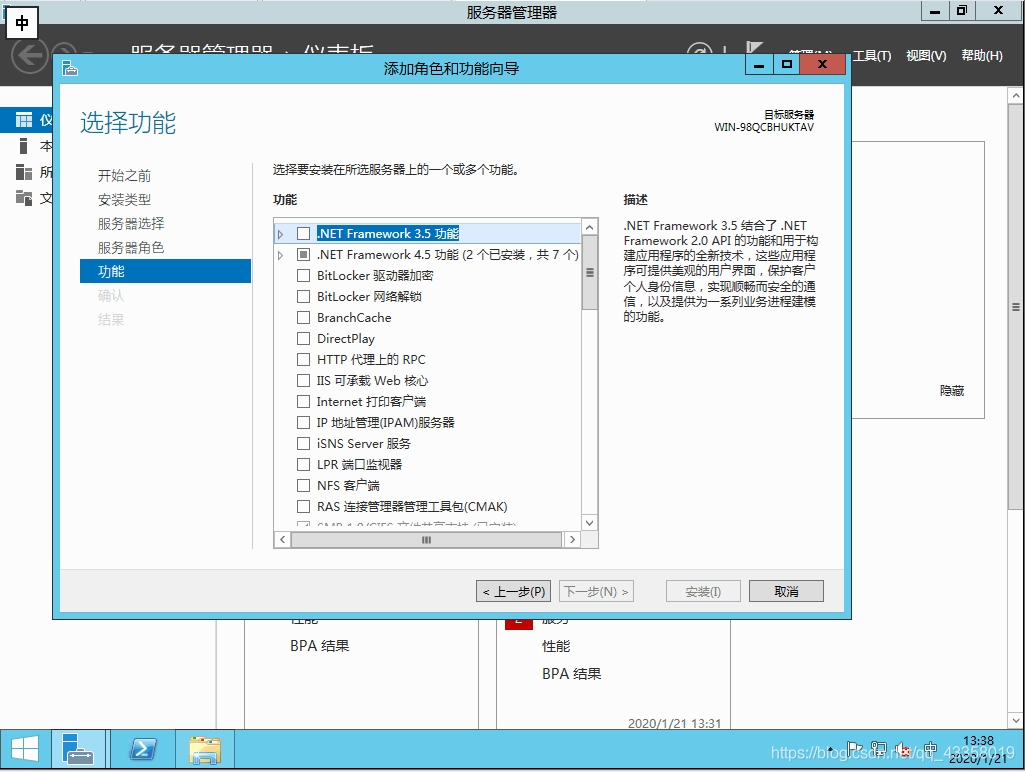
 click specify alternate source path option
 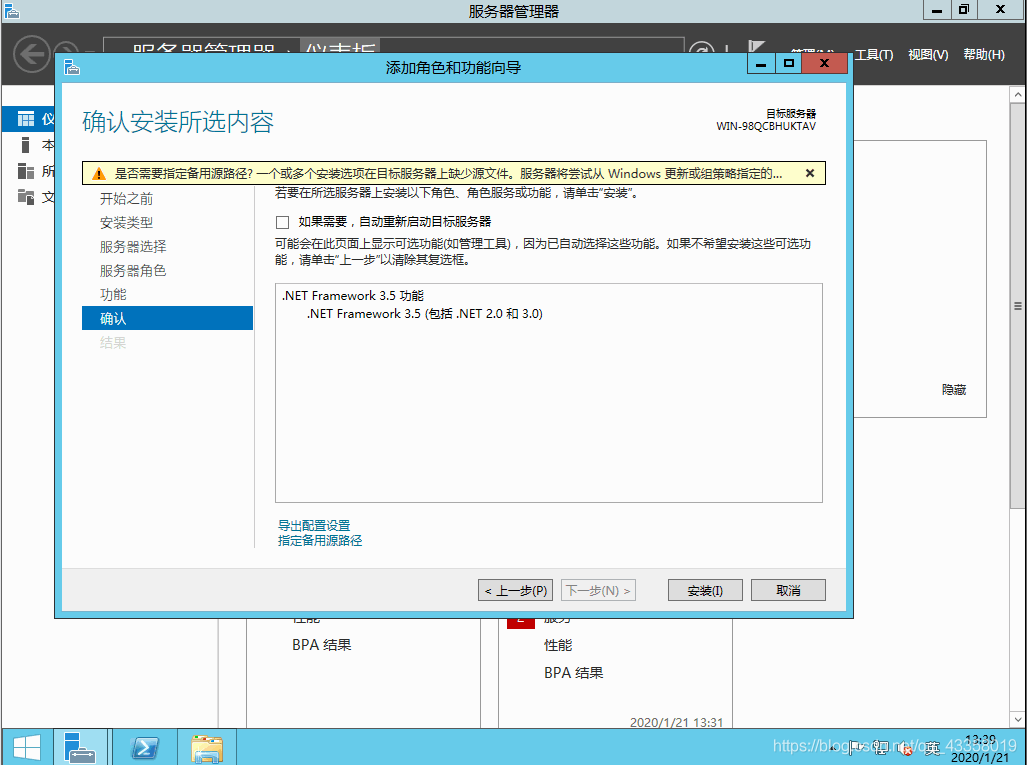 A289885427 here you need to fill in the alternate source path
 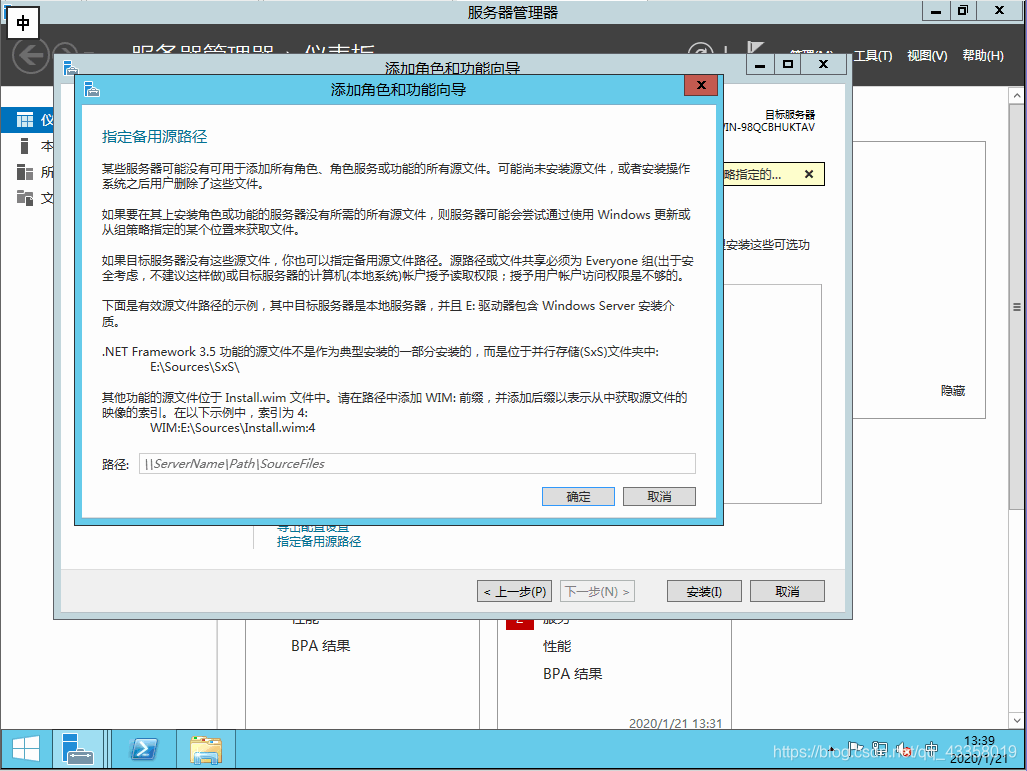 open the mounted system image, enter the specified location, copy the path
  fill in the alternate source path, confirm, and then click Install
 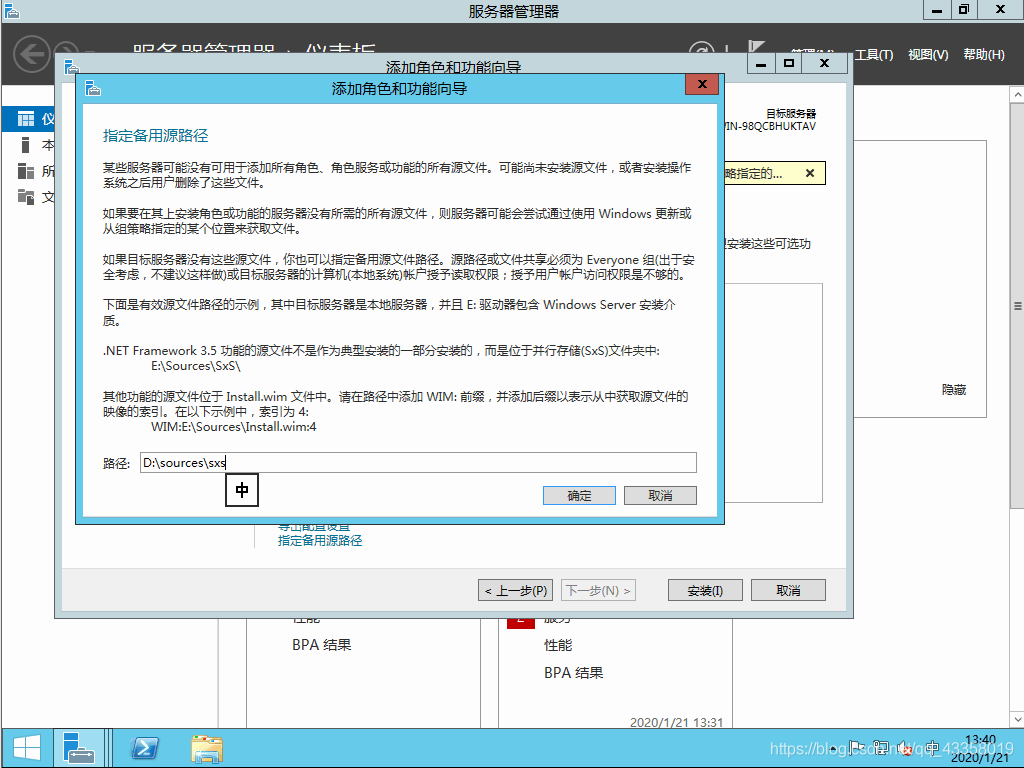 to start the installation, wait for the installation to complete
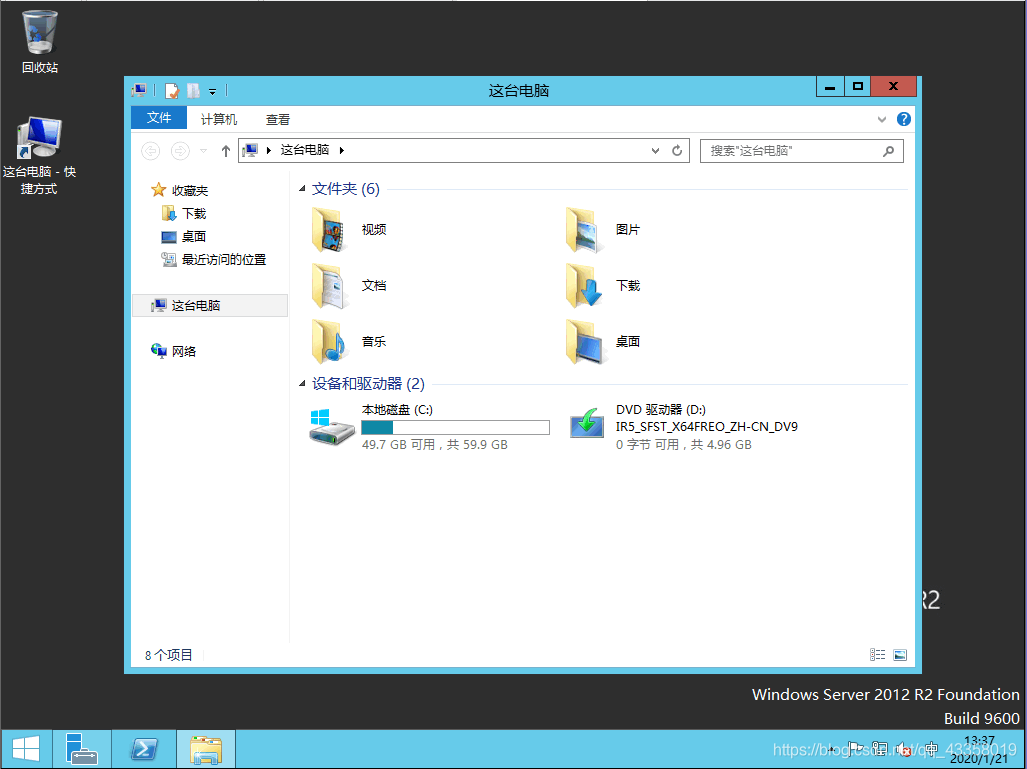
 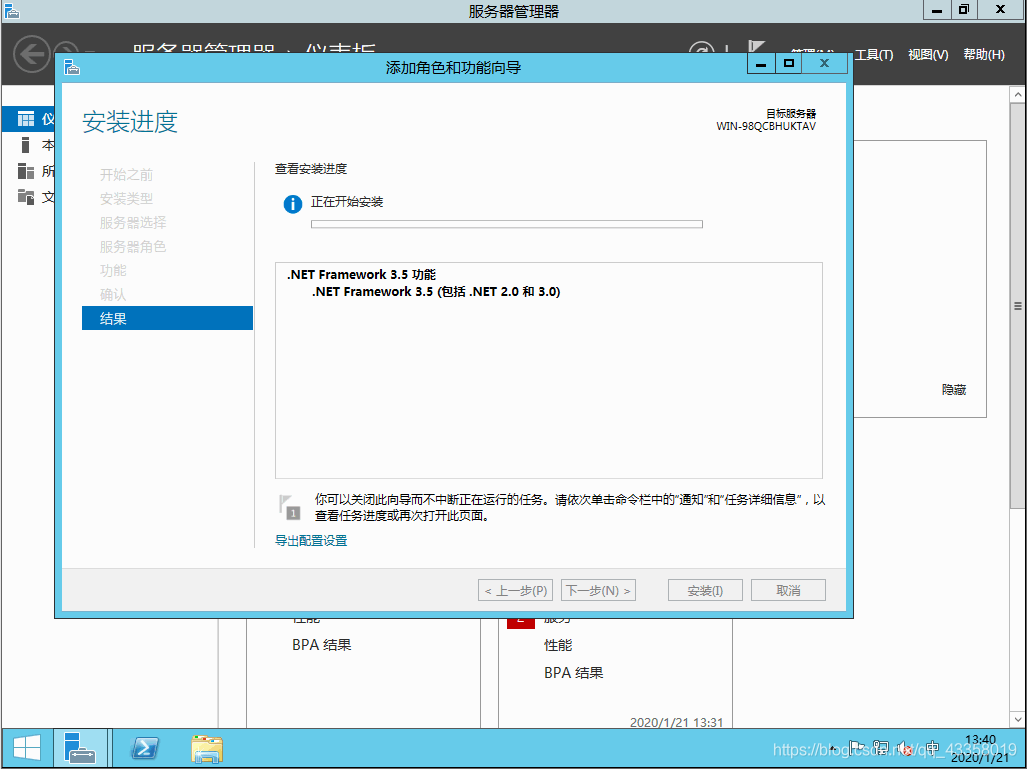 to finish the installation, and then close VMware.
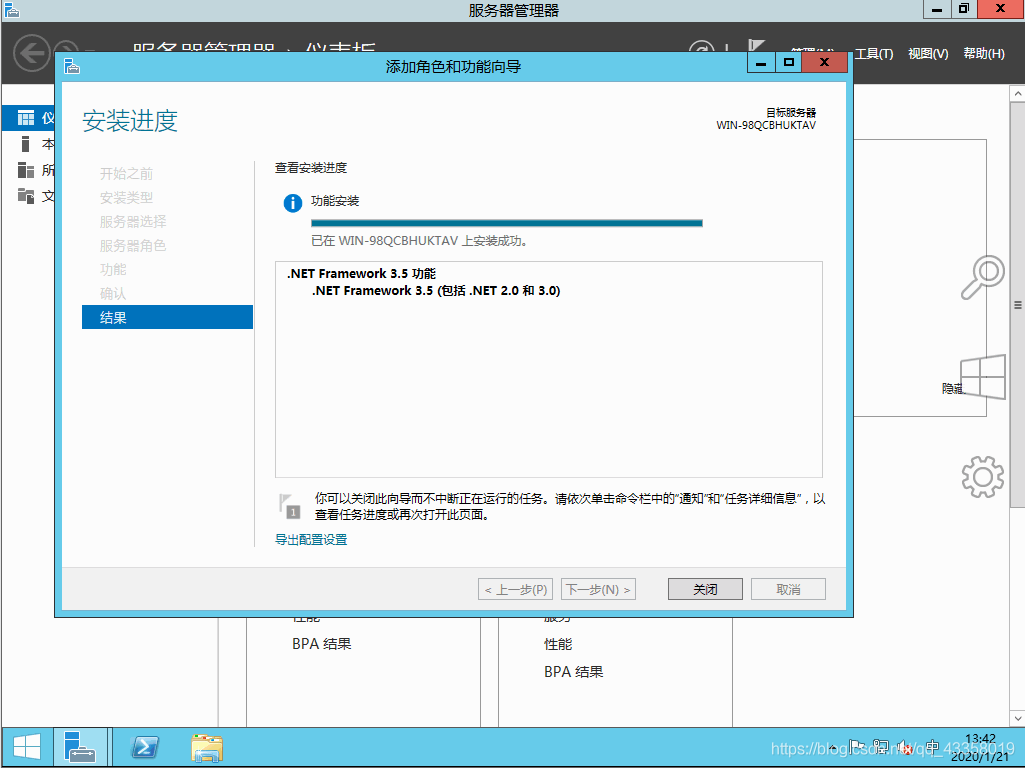
 first install windows8.1-kb2919442-x64.msu, then install windows8.1-kb2919255-x64.msu, and restart the system after installation. Install vmware tools.