introduction
car doing a little boring, maybe temporarily stop for a while. Just picked up trash on Taobao, ESP8266 and other boards arrived. I’m going to try out Arduino, learn a wave of STM32 charging, and follow someone else’s tutorial at Station B (which is known as the place to learn) to experiment with ESP8266 and then start working on a wave of Awtrix-like gadgets. The first day it rolled over, and the blinking example of the car didn’t burn in.
ESP8266
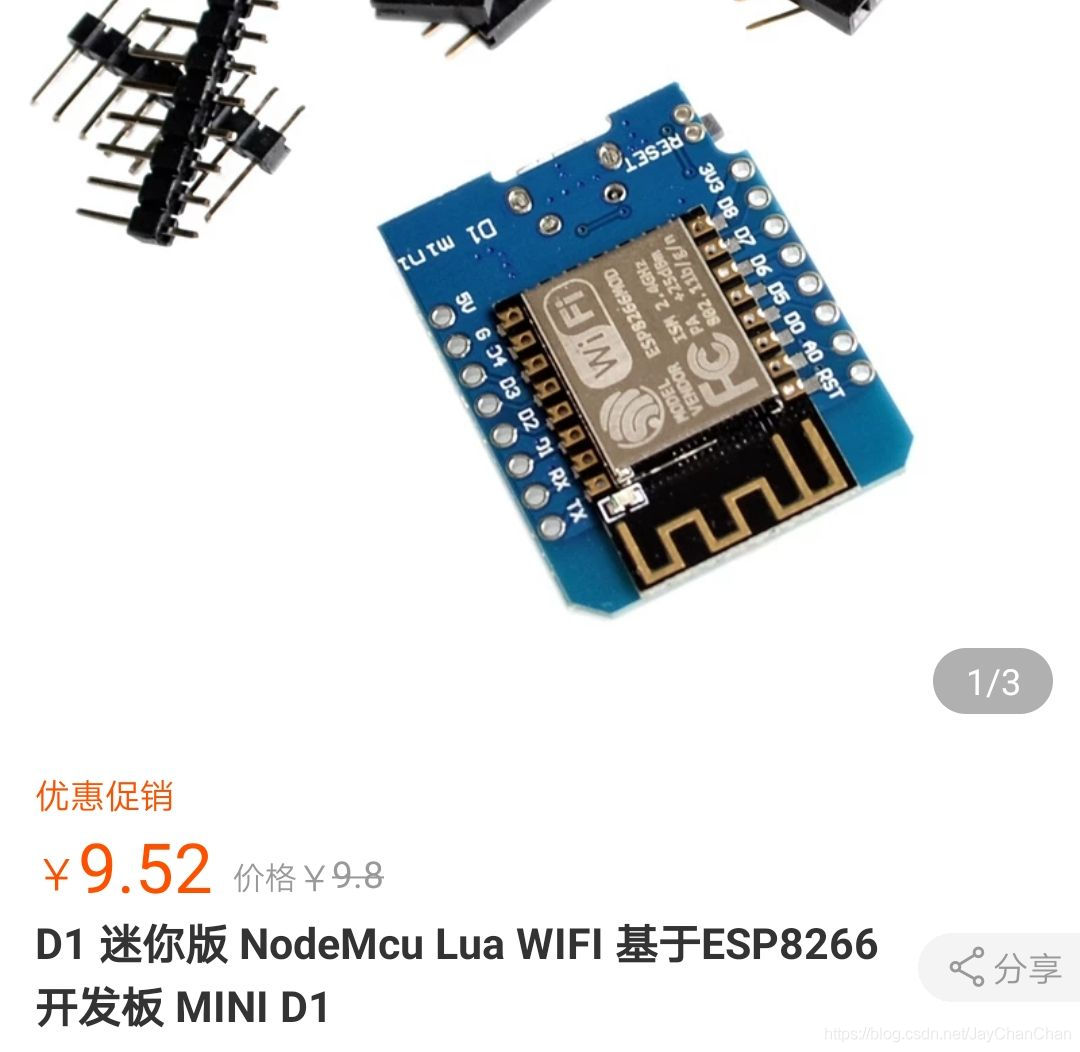
ps: with a micro port and a usb cable, it saves the TTL to usb module and dupont cable. Sweet.
The correct
warning: espcomm_sync failed
error: espcomm_open failed
error: espcomm_upload_mem failed
error: espcomm_upload_mem failed
blogger was watching a tutorial, for several mainstream ESP8266 introduction, relevant information can also be found inside the
https://www.bilibili.com/video/BV1kf4y1y7GZ?t=680
the blogger tried to download the Bin file with the official loader provided in the tutorial, but the reset was successful, but the error was reported in the Arduino download.
solution: find the tool in Arduino => Reset Method => Nodemcu
problem solved!

if you buy the D1mini ESP8266 module in a certain treasure, you should switch the Rest Method mode
Remember to install the ESP8266 driver and select the correct serial port
is described in the recommended tutorials for installing drivers and burning using TTL to USB ports.
turn on TTL USB attachment:
UTXD, RXD
URXD – TXD
CH_PD — –
VCC – 3.3 v – 3.3 v
GND – GND
GPIO0 – GND
several online solutions:
reset method set to nodemcu, unsuccessful can try to unplug Vcc and then re-burn.
code burning GPIO2 can not power, GPIO0 connect to low level (download mode) while RST ground release (reset) (using TTL to USB module)
reduce baud rate/download rate, change 115200 to 9600 or other (not tested)
Read More:
- Arduino Xiaobai beginner error: warning: espcomm_sync failed error: espcomm_open failed error: espcomm_upload_mem fa
- Warning: ESPCOMM_SYNC Failed Error: ESPCOMM_open Failed Error: ESPCOMM_UPLo
- [solution] a perfect solution to the problem of failed to load module “Canberra GTK module” in Ubuntu
- Solution to ch32f103c8 burning prompt internal command error
- ESP8266 Chip sync error esp_sync_blocking.
- curl: (25) Failed FTP upload: 550 Solution
- A fatal error occurred: Failed to connect to ESP32: Timed out waiting for packet header
- A fatal error occurred: Failed to connect to ESP32: Timed out waiting for packet header
- About the problem I encountered: 226 transfer done but failed to open directory
- Arduino reports an error when writing a custom library file to solve the problem of not name of type, not declared in this scope
- Failed to connect to ESP32: Timed out waiting for packet header
- Module not found error: the solution to the problem of no module named ‘MySQL’
- FTP use get command 550 failed to open file, but use the put command to solve the problem
- Failed in Android compilation: solution to setup Jack server problem
- (EE) Failed to load module “fbdev” (module does not exist, 0)
- GitHub upload failed: git push error: failed to push some refs to exception handling
- How to Solve Arduino IDE Crash Issue
- Python error: importerror: DLL load failed: unable to find the specified module solution
- Solution to CUDA installation failure problem visual studio integration failed
- Failed to open \EFI\BOOT\mmx64.efi problem solved