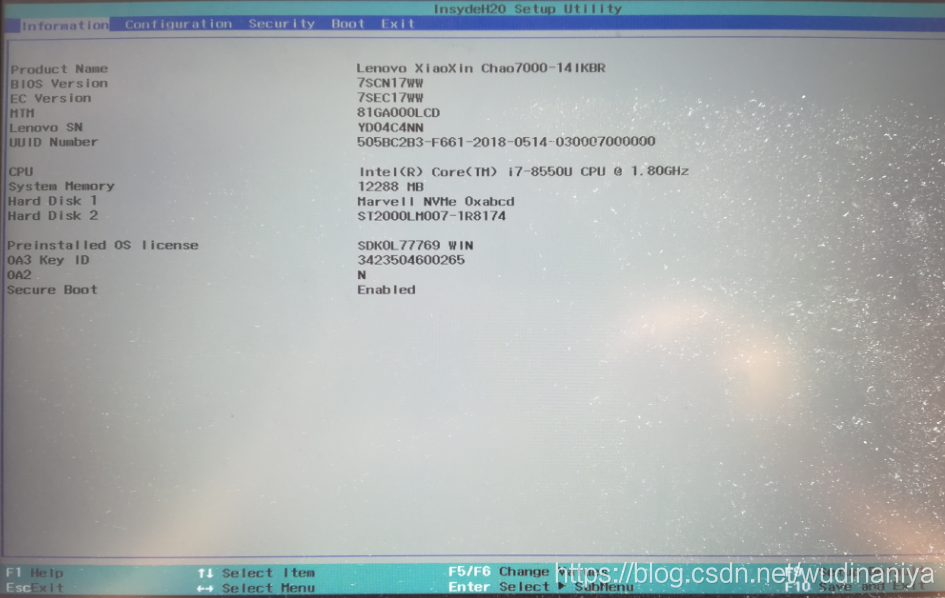
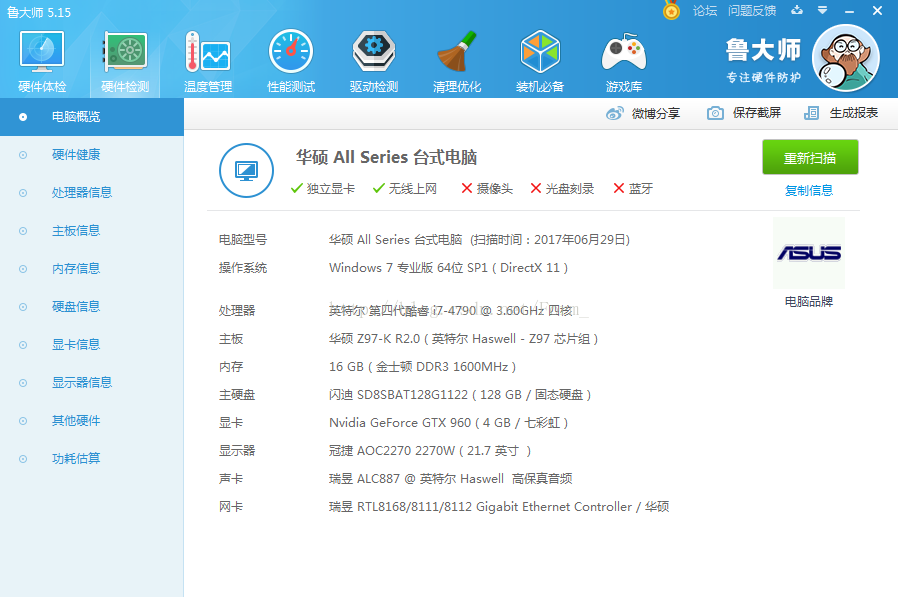
configuration information as follows:
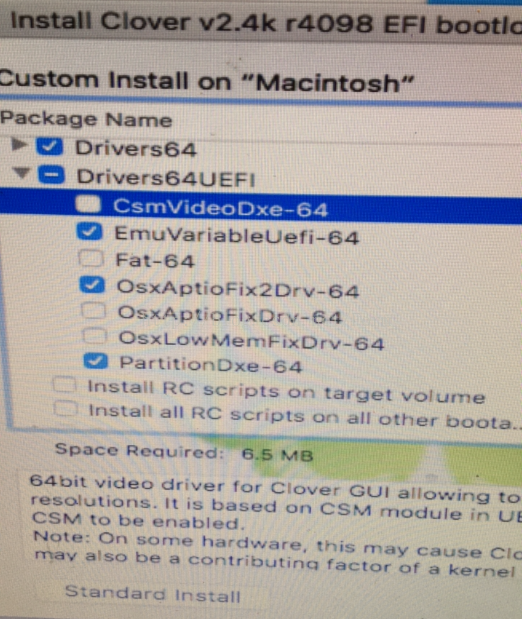
Clover installation driver:
question 1:
macOS could not be installed on your computer, could not unmount volume for repair

solution:
1. Copy the uncertified IAProductInfo hidden file to the root directory of the installation disk. Skip the first step and go directly to the second step installation without having to restart.
2. Install
with terminal command
installer – PKG/Volumes/MAC OS is \ \ X \ Install \ DVD/Packages/OSInstall MPKG – target/Volumes/XXXX (XXX is the need to Install the OSX partition volume label name, pay attention to the space with a backslash escapes)

Refer Link: http://bbs.pcbeta.com/viewthread-1704712-1-1.html
= = = = = = = = = = = = = = = = = = = = = = = = = = = = = = = = = = = = = forgive green line = = = = = = = = = = = = = = = = = = = = = = = = = = = = = = = = = = = = = = = = = = = = = =
question 2:
haswell appleacpiplatformexpert start failed
start failed0
1
panic ( CPU 0 caller 0xffffff88886c3221):”Unable to find driver for thisplatform:\”ACPI\”,\n”@/SourceCache/…
solution:
use Rampagedev’s ssdt.aml and put it into the EFI partition Clover directory \EFI\ Clover \ACPI\patched \patched on U disk. Haswell DMG download link is as follows.
http://www.rampagedev.com/downloads/haswell-dmg/
Refer Link:
http://www.insanelymac.com/forum/topic/302554-ga-z97x-udh5-boot-failure-clover-uefi-appleacpiplatformexpertstart-failed/
= = = = = = = = = = = = = = = = = = = = = = = = = = = = = = = = = = = = = forgive green line = = = = = = = = = = = = = = = = = = = = = = = = = = = = = = = = = = = = = = = = = = = = = =
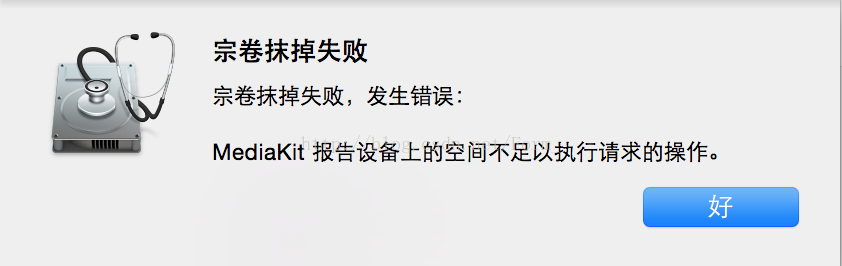
question 3:
note: wipe the disk mediakit report equipment on the space is not enough to perform
: ESP partition capacity lack to 200 m +
solution:
1. Add EFI partition, then erase
2. Create new NTFS partition and convert it to HFS+
Refer Link:
http://bbs.pcbeta.com/viewthread-1669452-1-1.html
= = = = = = = = = = = = = = = = = = = = = = = = = = = = = = = = = = = = = forgive green line = = = = = = = = = = = = = = = = = = = = = = = = = = = = = = = = = = = = = = = = = = = = = =
question 4:
Clover failed to install to EFI partition
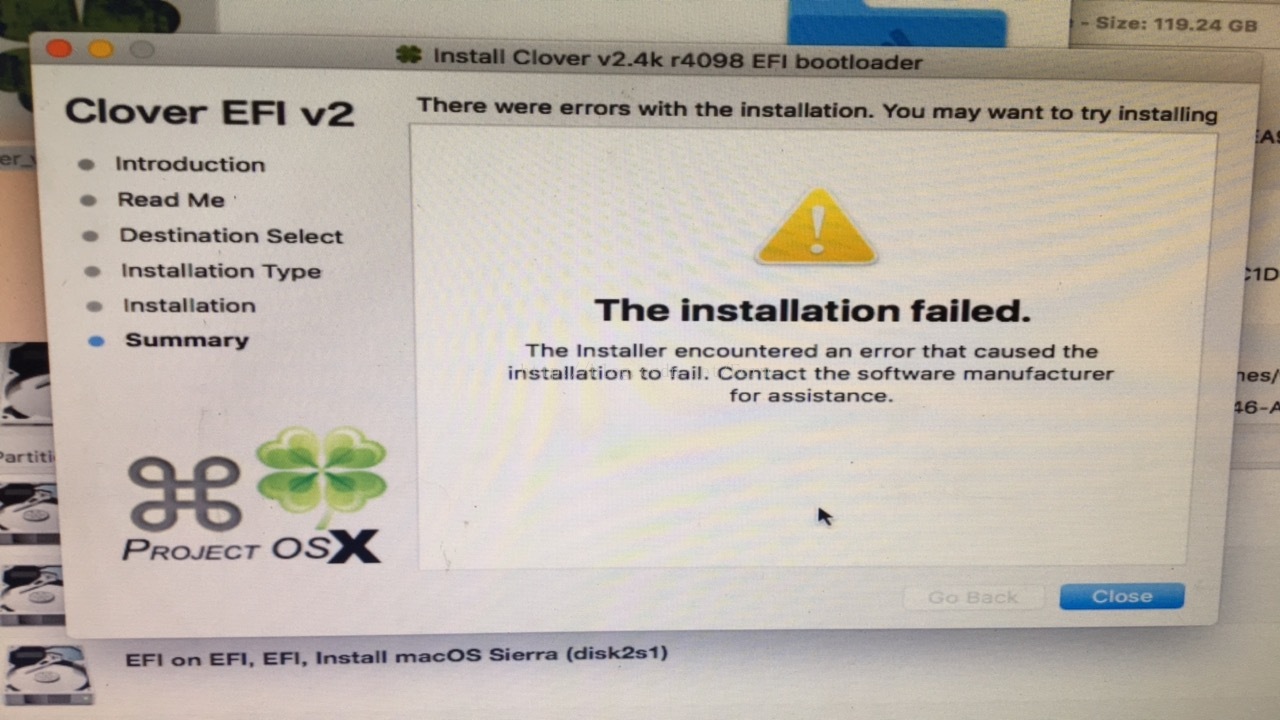
reason: not EFI partition formatted
solution:
= = = = = = = = = = = = = = = = = = = = = = = = = = = = = = = = = = = = = forgive green line = = = = = = = = = = = = = = = = = = = = = = = = = = = = = = = = = = = = = = = = = = = = = =
question 5:
GTX960 using the latest 10.12.5 webdriver, plug
because there is no VGA interface
solution:
1 does not transfer
directly using the DVI interface
2 using HDMI to VGA can also drive
= = = = = = = = = = = = = = = = = = = = = = = = = = = = = = = = = = = = = forgive green line = = = = = = = = = = = = = = = = = = = = = = = = = = = = = = = = = = = = = = = = = = = = = =
MacOS 10.12 allows APP
from any source
terminal execution: sudo SPCTL — mast-disable