primers
There are many versions of OpenGL, we need to introduce additional third-party libraries to meet our usual rendering needs, which is more troublesome for students who just started learning.
I also met many many times behind the configuration of the tutorial, wasted time, also their technology and modern technology of OpenGL.
(2018), at the current time from learning OpenGL if glBegin () and a glEnd () that a is behind The Times, this tutorial is to demonstrate how to configure OpenGL3.3 over the environment.
> Learn the OpenGL tutorial: Learnopengl, you may need over the wall, there is a Chinese translation.
If you want to learn OpenGL quickly, here is the configured environment: (open it directly in VS2015 or above, Win7/10 test)
perlink: Resources
(> header files, lib files, DLLs used in the directory structure are also in this link)
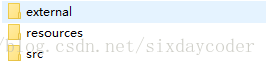
The directory structure
The environment we configured is not only responsible for storing code and third party lib, but also some shader files and resource files, so we need to build a good directory structure.
The full configuration directory structure is as follows:
| name
| note
|
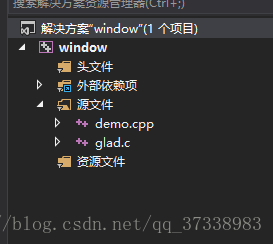
| SRC
| store code
|
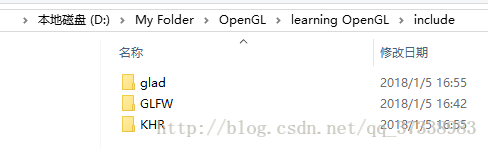
| external \ include
| third-party library header files, Contains stb_image. J h, glad. J h, GLFW. J h, assimp. H such as
|
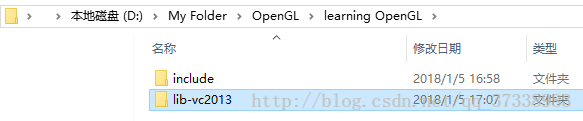
| external \ lib
| third-party libraries of lib
|
| external \ DLL
| third-party library DLL
|
| resources
| resource folder, |
tr> <>> vsbuild> td>
>
| / table> <>d>
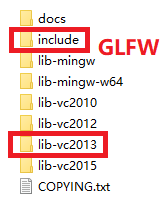
Focus on the folders under external\include
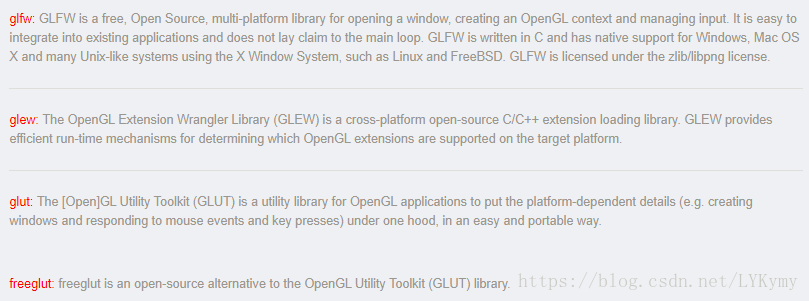
GLM OpenGL mathematical library, defined a lot of vector, matrix operations, concise and fast. GLFW is a cross-platform abstract library of window resources. Glad has different OpenGL implementations for different graphics card drivers, Glad helps us hide these differences and happily use OpenGL. STB_IMAGE lightweight library for reading images ASSIMP lightweight library for reading models
We have, so to speak, all the common components except the physics engine and sound control.
Now let’s construct the directory structure from scratch.
> First find an empty folder and create the following directory structure in it:
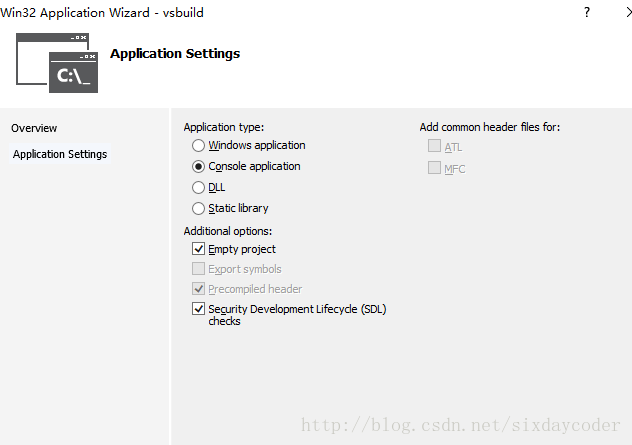
Instead of creating a vsbuild, VS will do it for us.
> Open Visual Studio and create an empty project. The project name is vsbuild.
After creation:
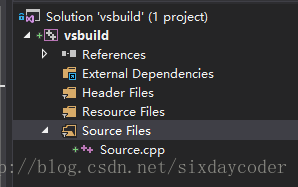
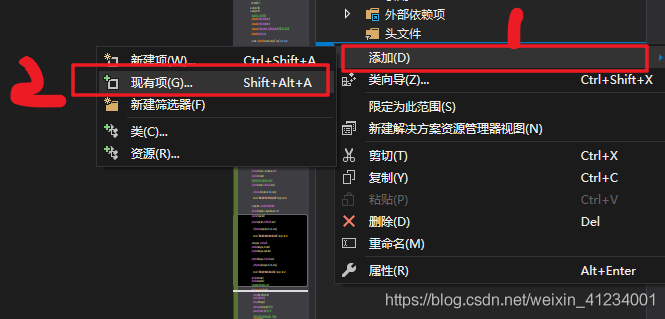
Next we need to configure lib, include to be introduced into our project.
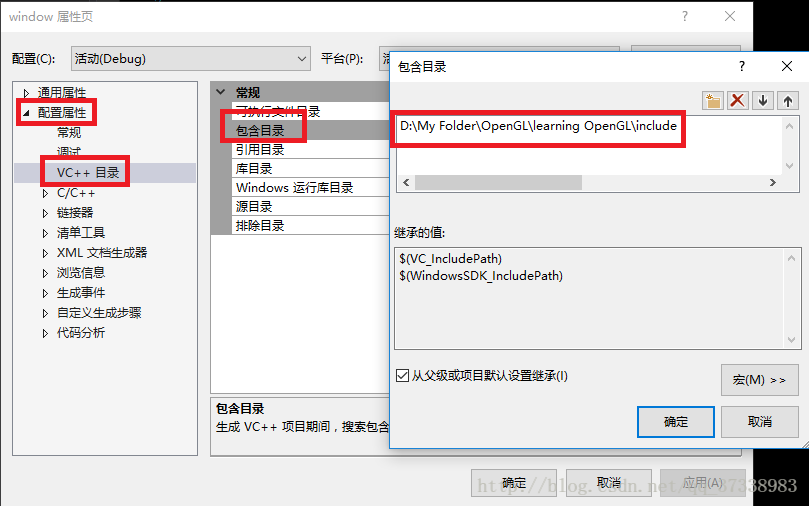
Right-click on the vsbuild project and open the properties page:
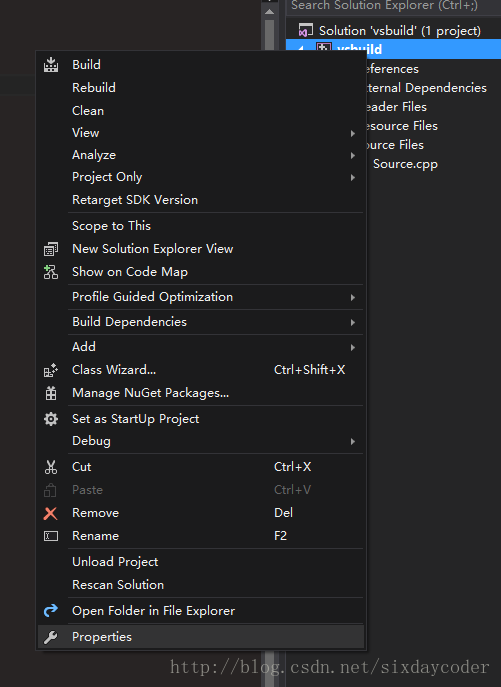
Find the C/C++ Genral
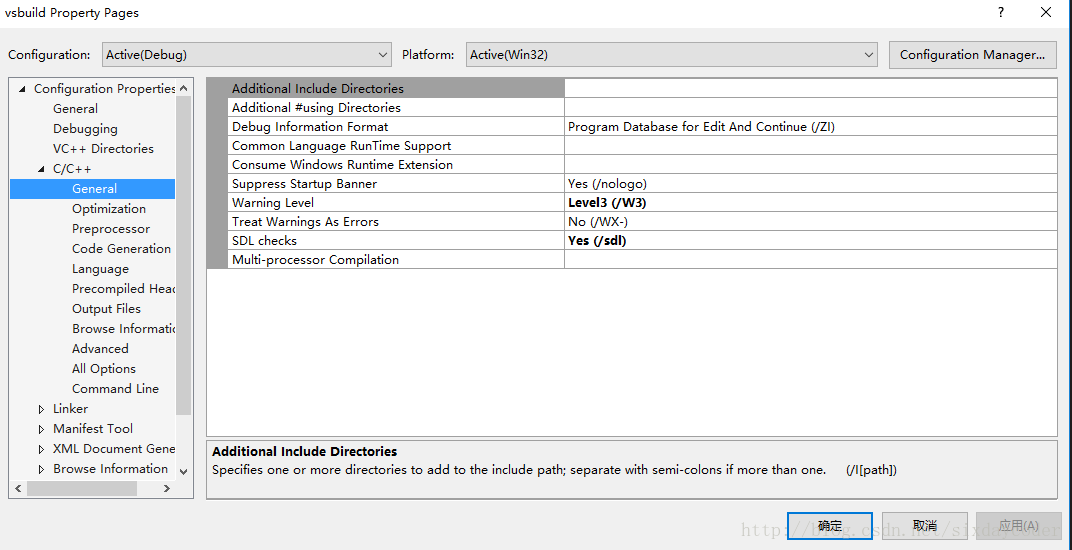
note that the C/C++ option only appears when you create a new.cpp file)
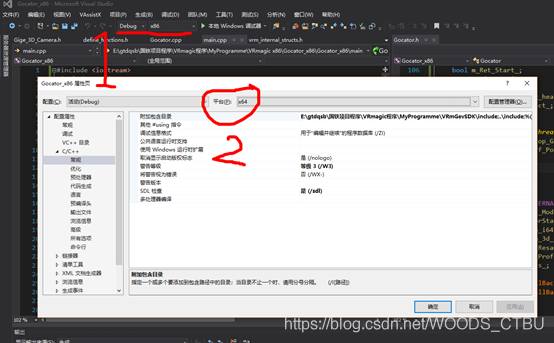
E>the additional directory on the right:
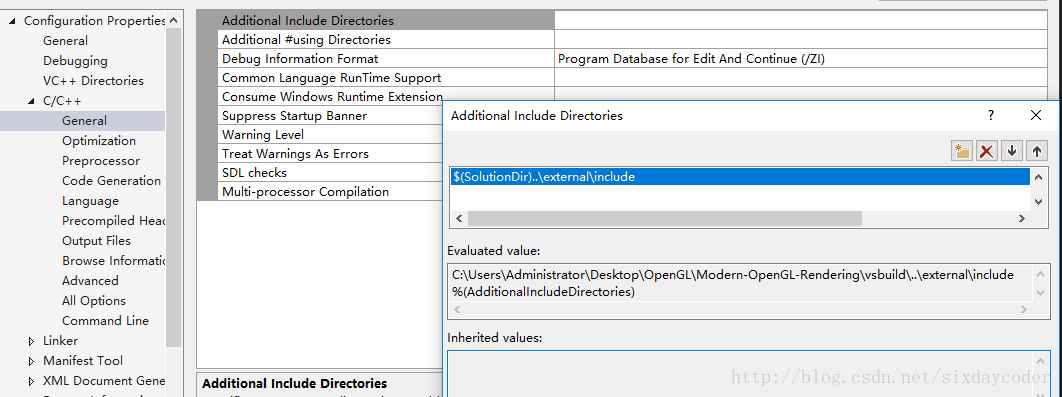
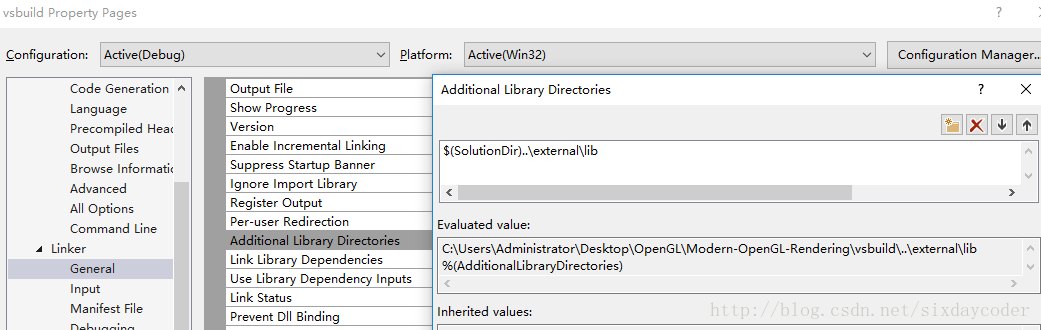
Note that SolutionDir is a macro that represents the directory where VSBuild is located, so we can find External/Include relative to it.
(Type the information $(SolutionDir)… , external, include).
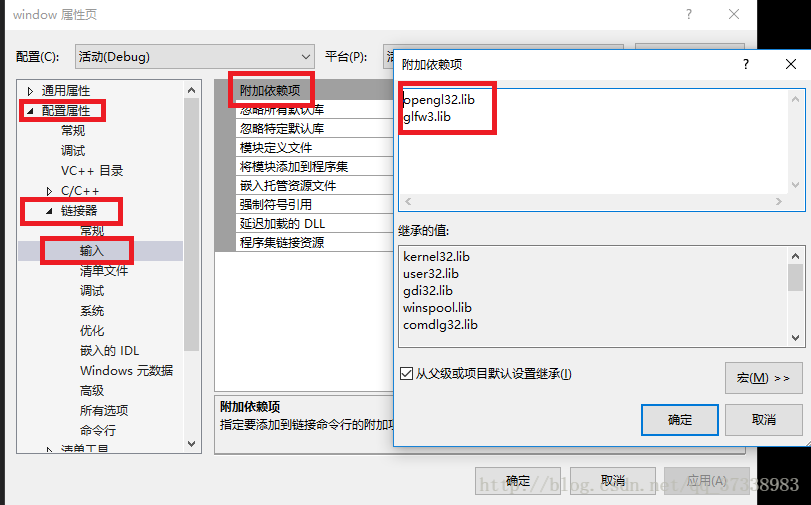
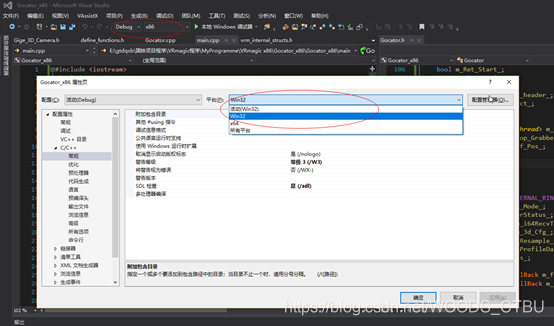
Similarly, select the additional library directory for Linker’s General
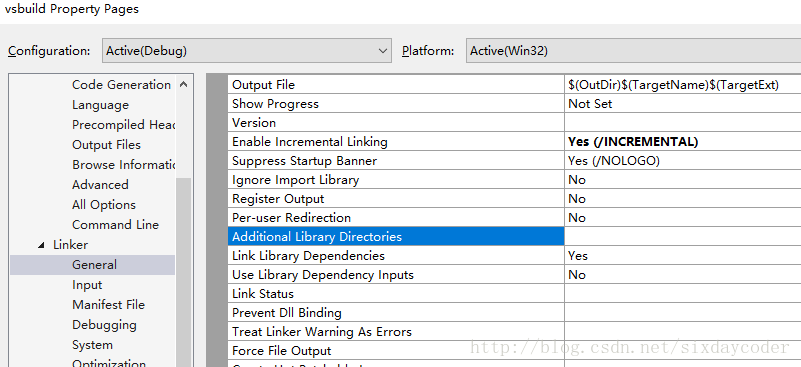
Open Edit:
In addition, open the Linker Input directory and enter the following values:
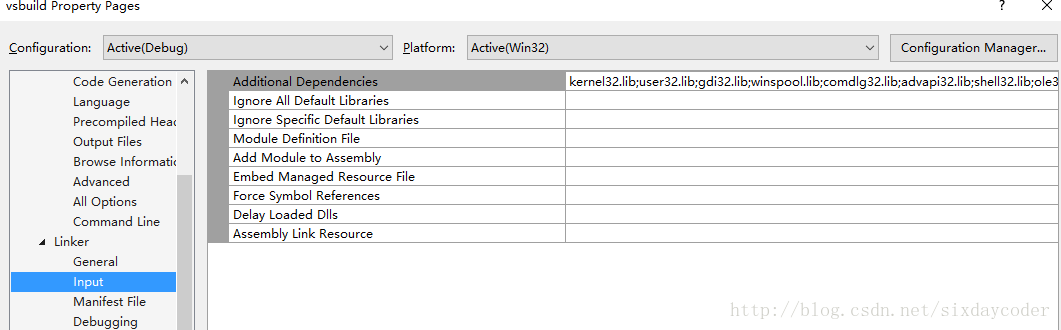
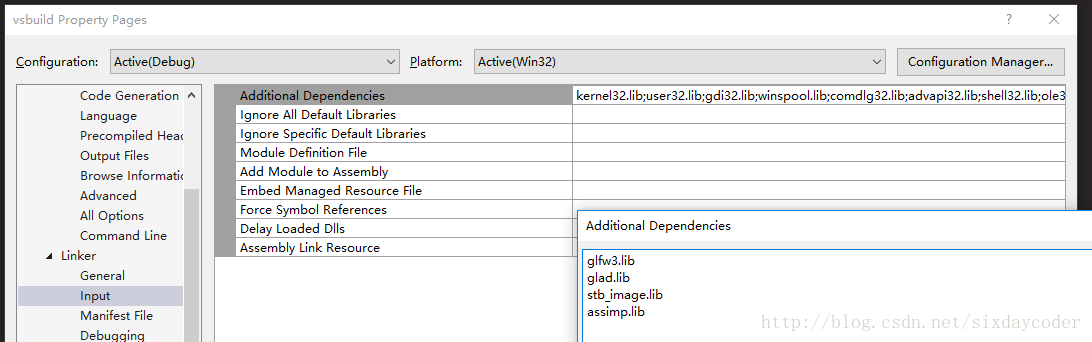
glfw3.lib
ad.lib
s>mage.lib
assimp.>
SolutionDir \external\lib
(here I compiled glad and stb_image into static libraries)
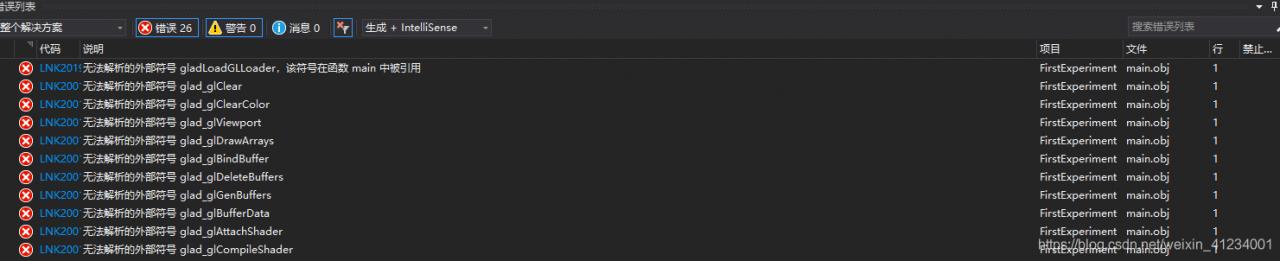
nally, because ASSIMP requires dynamic linking, we need to import the corresponding DLL into our project.
The easiest way to do this is as follows:
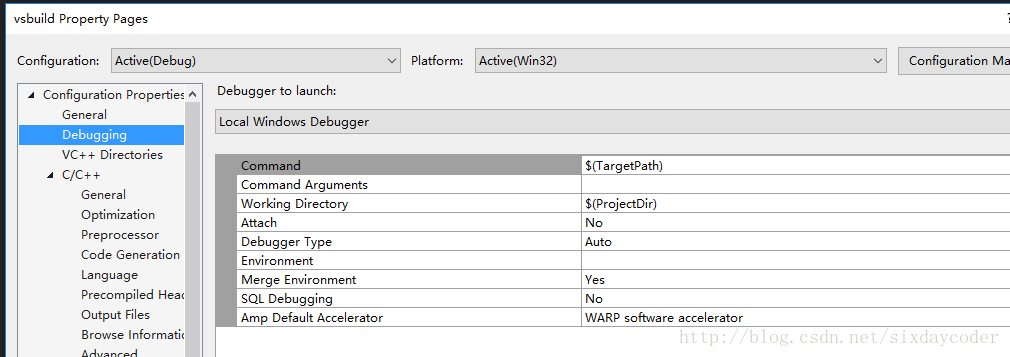
Select Debug and edit the environment entry:
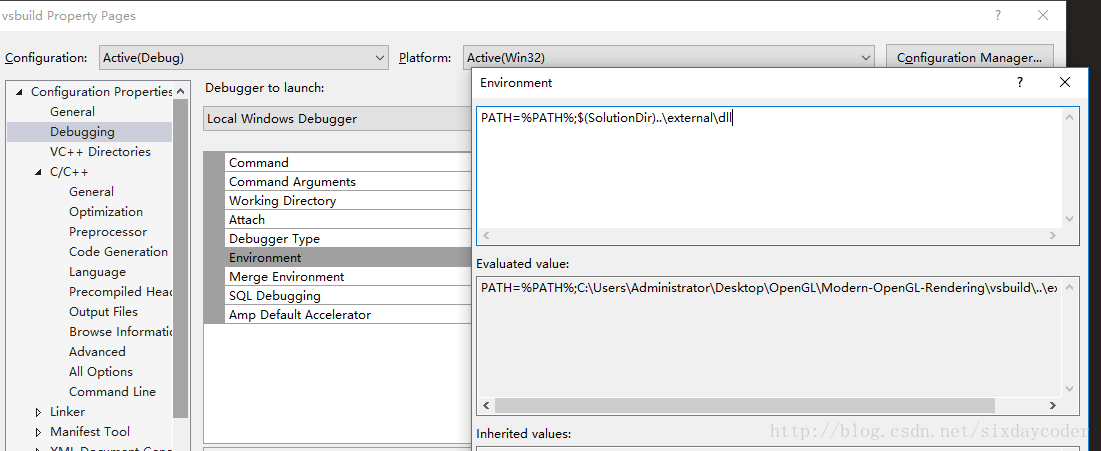
The meaning of this line is to temporarily add the EXTERNAL \ DLL directory to the environment variable in debug mode so that we can successfully dynamically link.
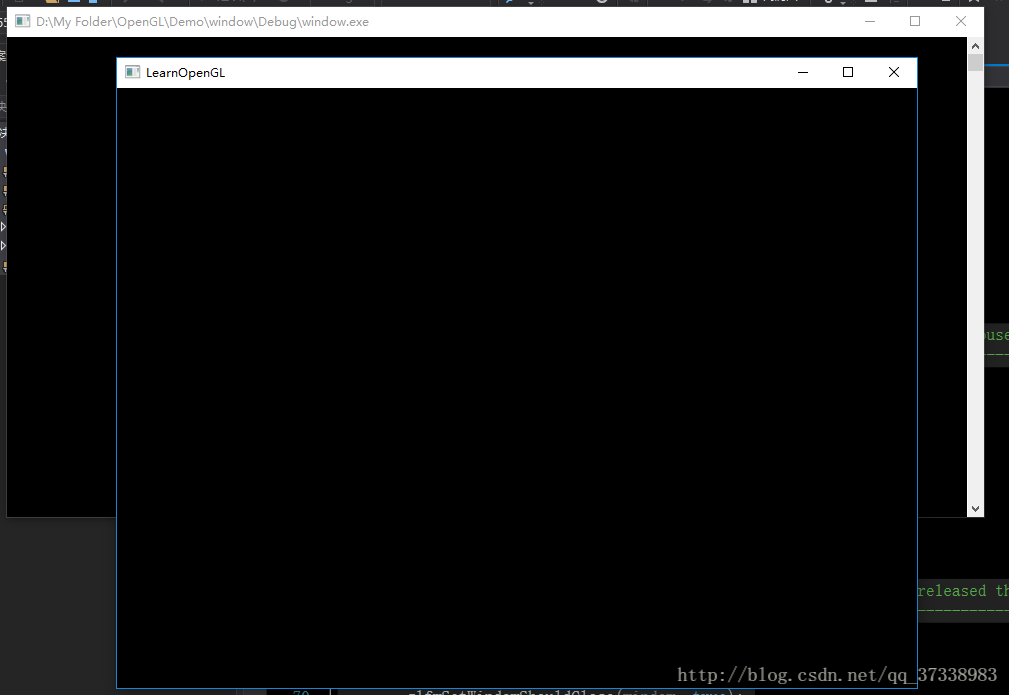
After the configuration is complete, paste the following code into source.cpp and run.
#include <glad\glad.h>
#include <glfw\glfw3.h>
#include <iostream>


void framebuffer_size_callback(GLFWwindow* window, int width, int height);

void processInput(GLFWwindow *window);


// settings

const unsigned int SCR_WIDTH = 800;

const unsigned int SCR_HEIGHT = 600;


int main()

{

    // glfw: initialize and configure

    // ------------------------------

    glfwInit();

    glfwWindowHint(GLFW_CONTEXT_VERSION_MAJOR, 3);

    glfwWindowHint(GLFW_CONTEXT_VERSION_MINOR, 3);

    glfwWindowHint(GLFW_OPENGL_PROFILE, GLFW_OPENGL_CORE_PROFILE);


#ifdef __APPLE__

    glfwWindowHint(GLFW_OPENGL_FORWARD_COMPAT, GL_TRUE); // uncomment this statement to fix compilation on OS X

#endif


                                                         // glfw window creation

                                                         // --------------------

    GLFWwindow* window = glfwCreateWindow(SCR_WIDTH, SCR_HEIGHT, "LearnOpenGL", NULL, NULL);

    if (window == NULL)

    {

        std::cout << "Failed to create GLFW window" << std::endl;

        glfwTerminate();

        return -1;

    }

    glfwMakeContextCurrent(window);

    glfwSetFramebufferSizeCallback(window, framebuffer_size_callback);


    // glad: load all OpenGL function pointers

    // ---------------------------------------

    if (!gladLoadGLLoader((GLADloadproc)glfwGetProcAddress))

    {

        std::cout << "Failed to initialize GLAD" << std::endl;

        return -1;

    }


    // render loop

    // -----------

    while (!glfwWindowShouldClose(window))

    {

        // input

        // -----

        processInput(window);


        // render

        // ------

        glClearColor(0.2f, 0.3f, 0.3f, 1.0f);

        glClear(GL_COLOR_BUFFER_BIT);


        // glfw: swap buffers and poll IO events (keys pressed/released, mouse moved etc.)

        // -------------------------------------------------------------------------------

        glfwSwapBuffers(window);

        glfwPollEvents();

    }


    // glfw: terminate, clearing all previously allocated GLFW resources.

    // ------------------------------------------------------------------

    glfwTerminate();

    return 0;

}


// process all input: query GLFW whether relevant keys are pressed/released this frame and react accordingly

// ---------------------------------------------------------------------------------------------------------

void processInput(GLFWwindow *window)

{

    if (glfwGetKey(window, GLFW_KEY_ESCAPE) == GLFW_PRESS)

        glfwSetWindowShouldClose(window, true);

}


// glfw: whenever the window size changed (by OS or user resize) this callback function executes

// ---------------------------------------------------------------------------------------------

void framebuffer_size_callback(GLFWwindow* window, int width, int height)

{

    // make sure the viewport matches the new window dimensions; note that width and

    // height will be significantly larger than specified on retina displays.

    glViewport(0, 0, width, height);

}
The following window shows that the configuration is successful.