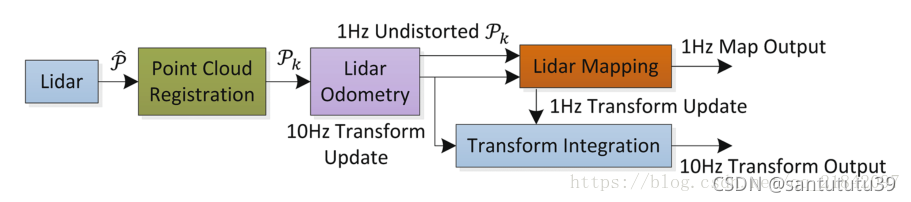
System overview
Loam is a must eat algorithm for entry slam. Its overall idea is to divide complex slam problems into:
1. High-frequency motion estimation;
2. Low-frequency environmental mapping.
Environmental Science:
ubuntu18.04, ros-melodic, pcl1.8
1. Loam_Velodyne installation
$ mkdir -p loam_ws/src
$ cd ~/loam_ws/src
$ git clone https://github.com/laboshinl/loam_velodyne.git
$ cd ..
$ catkin_make
$ source ~/loam_ws/devel/setup.bash
2. Run data set
1. Start roscore
$ roscore
2. Open a new terminal and start the loam_velodyne.launch
$ source ~/loam_ws/devel/setup.bash
$ roslaunch loam_velodyne loam_velodyne.launch
3. Test dataset NSH_indoor_outdoor.bag
3.1. To get a data set, the first thing is to analyze the information of the data set. One mistake that is easy to make when you get started is to directly use the data set downloaded from the Internet to run the algorithm. As a result, you can’t run anything. The so-called knowing yourself and the enemy can win every battle!
##View information about this dataset to facilitate modification of the launch file
rosbag info nsh_indoor_outdoor.bag
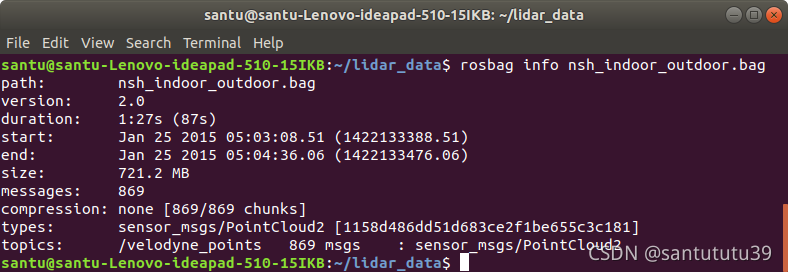
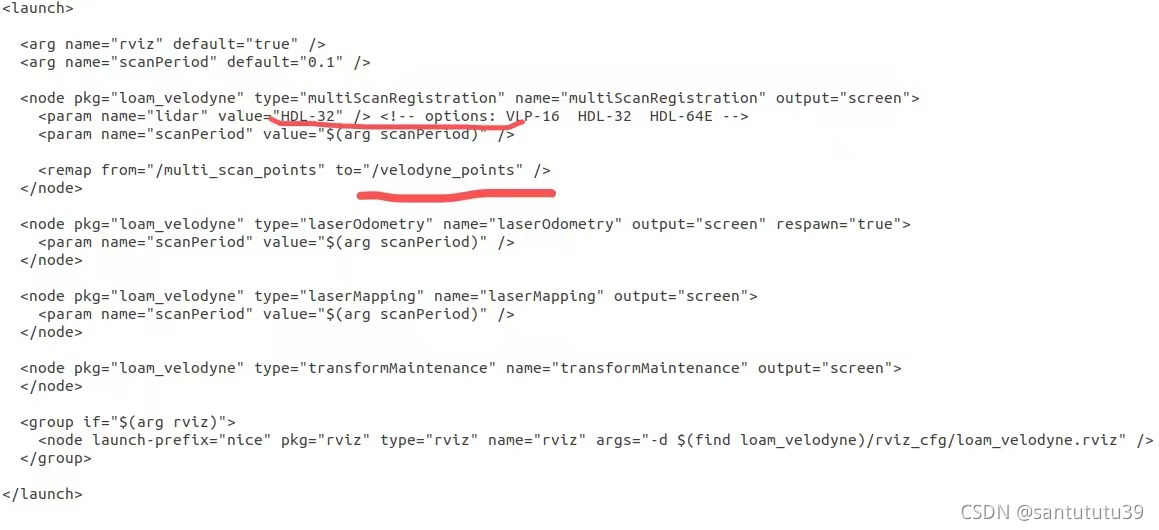
You can see the size, messages, types and topics of the package (focus on ensuring that the topics in the launch file are the same as here). The data set adopts 16 line radar, and the lidar value should be changed to vlp-16.
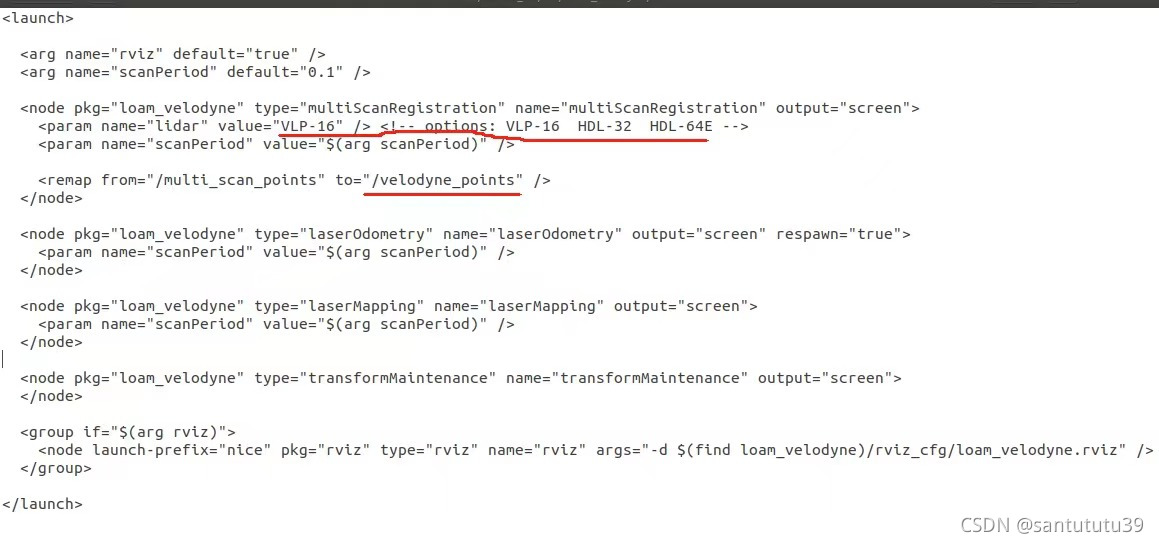
Open loam_Velodyne.launch file to check whether the red line part is consistent with the dataset.
3.2. If it is consistent, you can run the package.
rosbag play nsh_indoor_outdoor.bag
##Or adjust the playback speed, if the computer performance is not good, you can reduce the playback speed, or build out the map will have problems
rosbag play -r 0.5 nsh_indoor_outdoor.bag
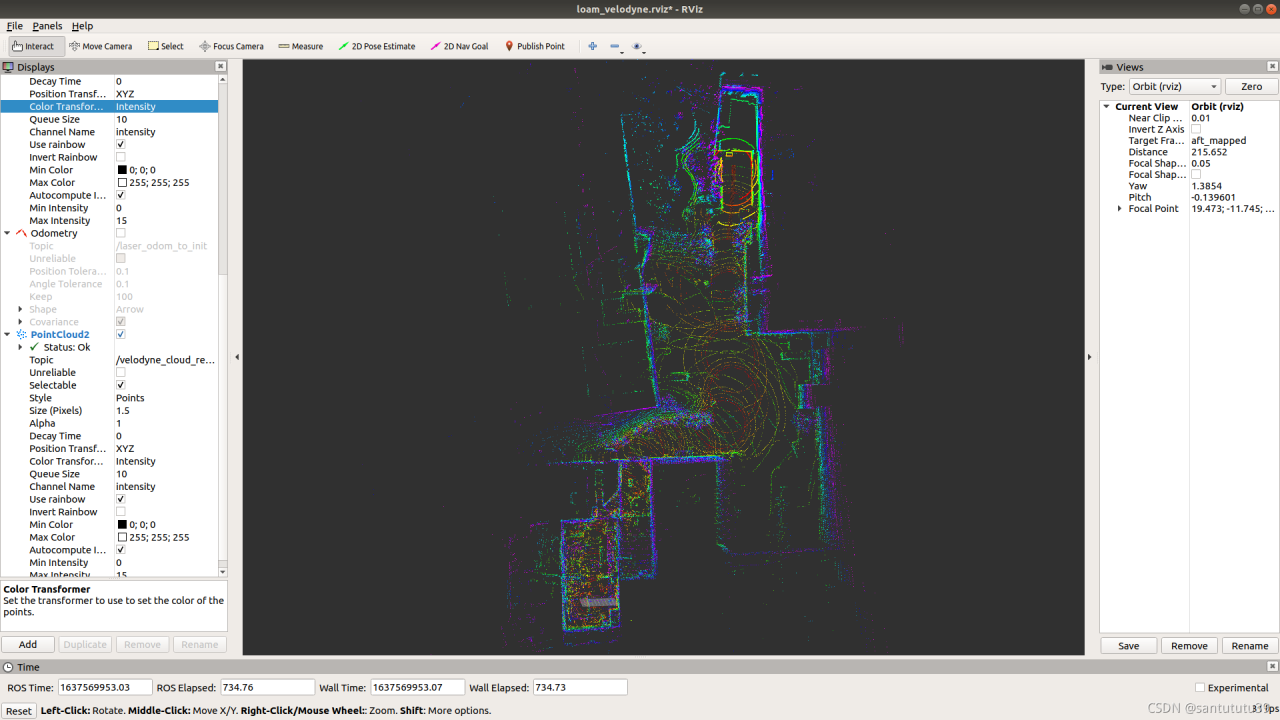
The effects are as follows:
4. Save the last point cloud map
##Start the recording node halfway through the build
rosbag record -o nsh_.bag<output bag file name,set by yourself> /laser_cloud_surround
## Convert the above bag file to a pcd file
rosrun pcl_ros bag_to_pcd nsh_2021-11-22-18-13-54.bag<output bag filename> /laser_cloud_surround pcd_nsh<save pcd file's first level filename>
## look at the last pcd file and find the last file name
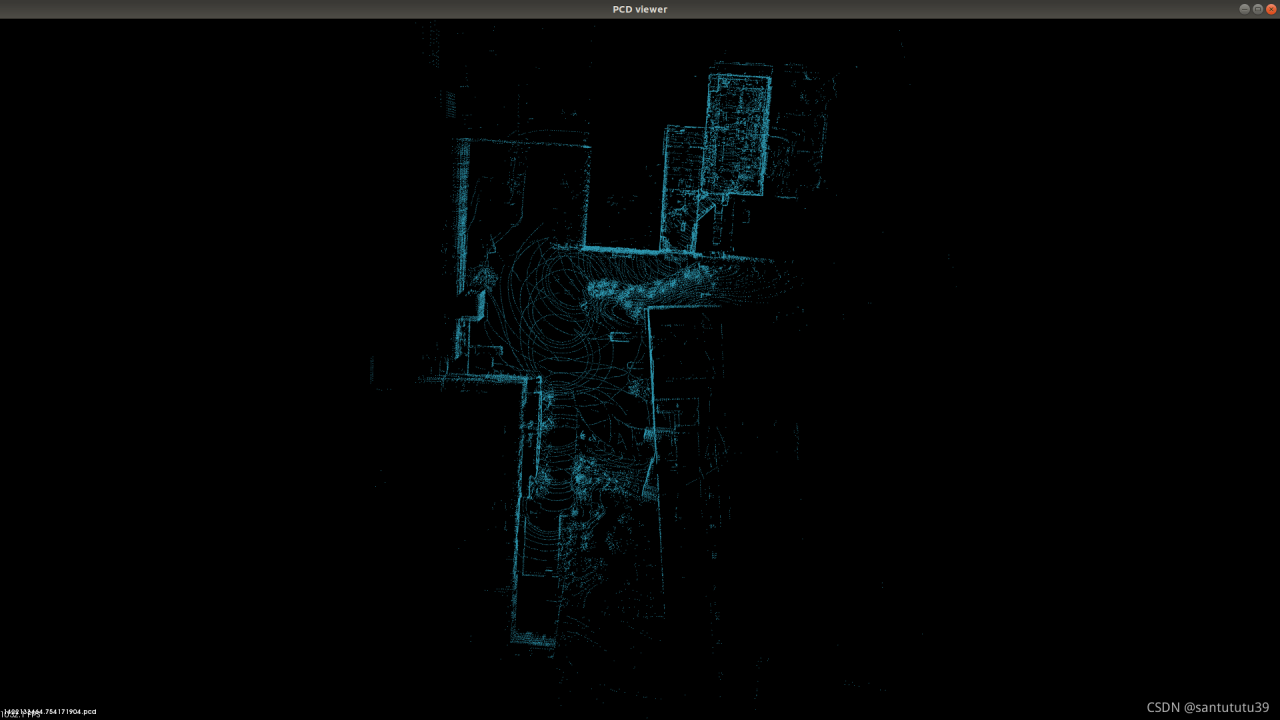
pcl_viewer last_pcd.pcd
The effects are as follows:
5. Test data set test.bag
5.1. Proceed as above. First analyze the package.
##View information about this dataset to facilitate modification of the launch file
rosbag info test.bag
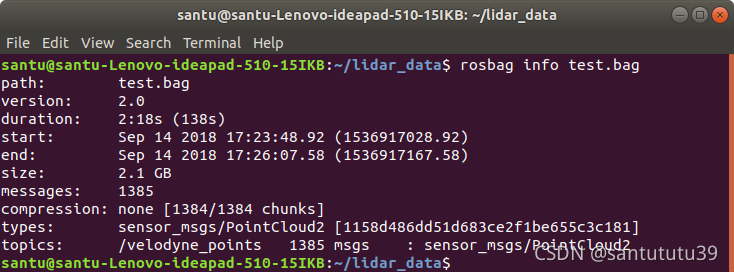
The topics of the data are consistent with the previous data set, so there is no need to modify it, but the data set adopts 32 line radar, and the radar parameters need to be changed.
5.2. The steps of package running are the same as above. Let’s see the effect:

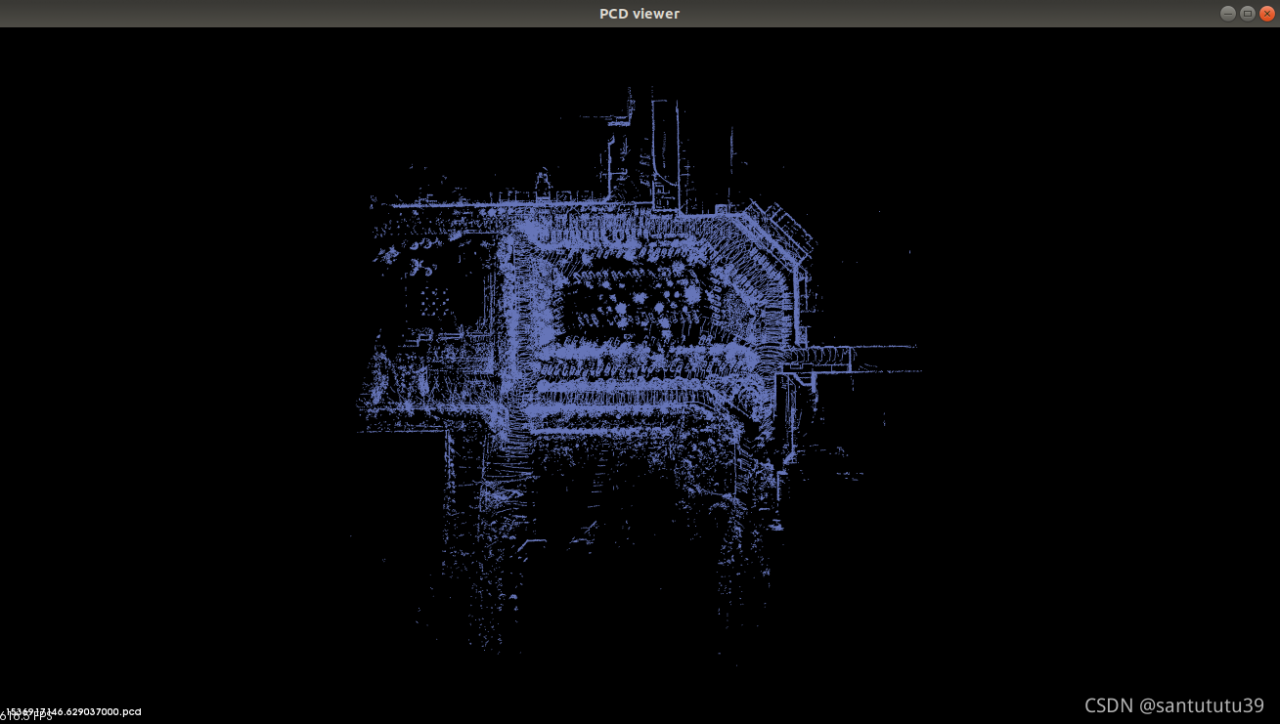
The effect is pretty good. Those who need data sets can comment on private letters to me.
6. Test data set kitti.bag
As above, view the dataset information~
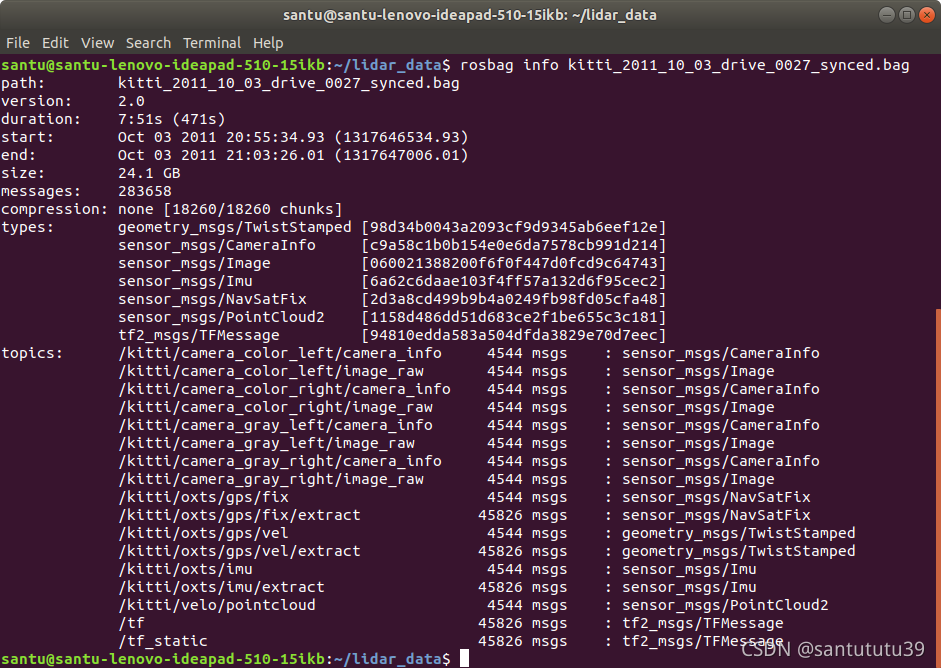
It can be seen that the topics of Kitti dataset are much richer than the first two datasets, but we only need to focus on pointcloud. Change the place in the launch file to/Kitti/velo/pointcloud. Because Kitti dataset adopts 64 line radar, the corresponding in the launch file should also be changed to hdl-64e.
Since I forgot the screenshot after building the drawing, there are no attached drawings here~~
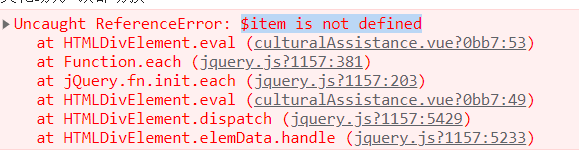
If you also encountered the following error when playing the data set after launching loam_velodyne.launch [multiScanRegistration-1] process has died [pid 10718, exit code -11, cmd /home/santu/rslidar_ws/devel/lib/loam_velodyne
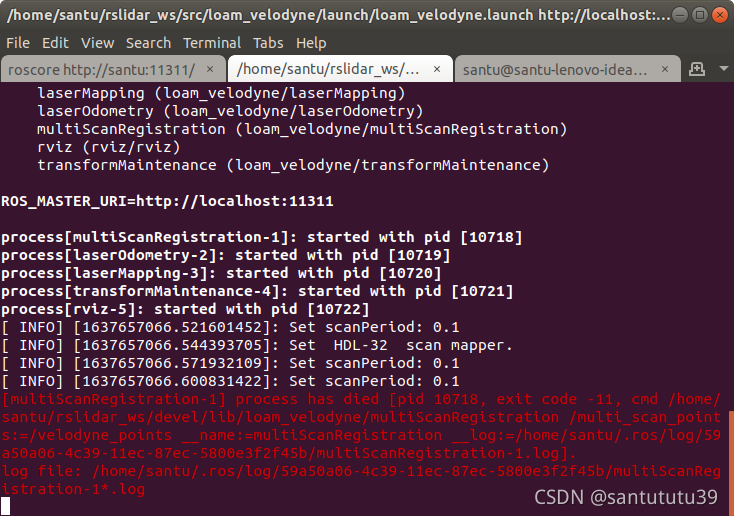
Solution:
Just find cmakelists.txt under the path Src/loam_velodyne and comment out line 35!!
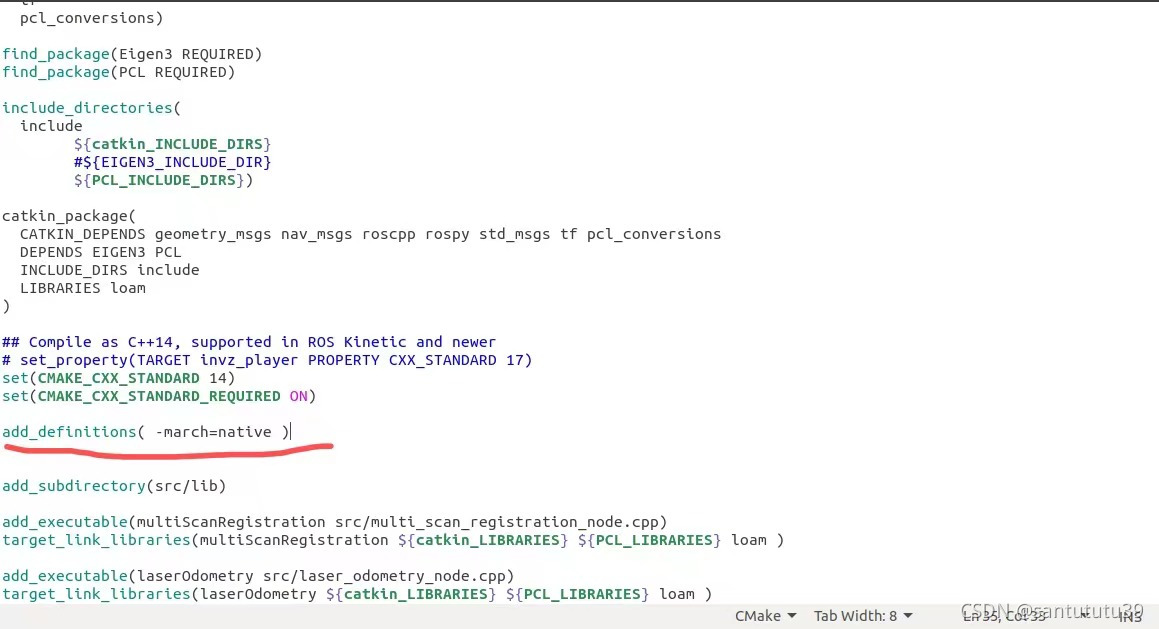
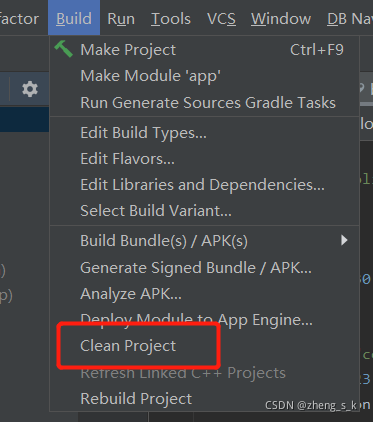
After commenting out, go back to the directory loam_ws, open the terminal and re-catkin_make ! Now restart the launch and release the package.

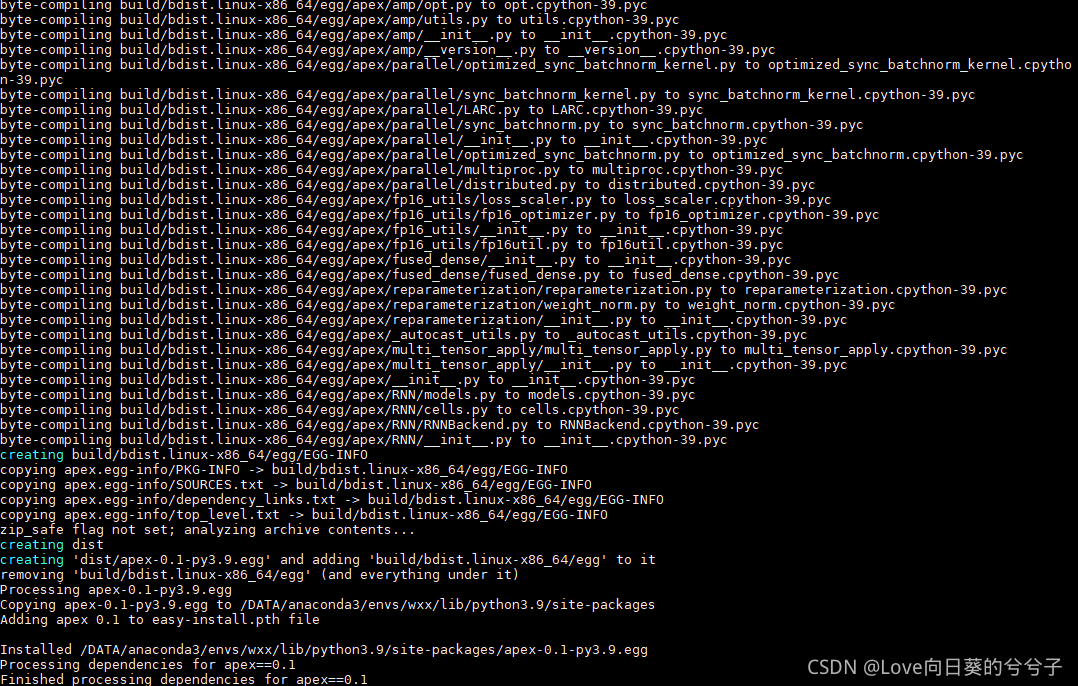
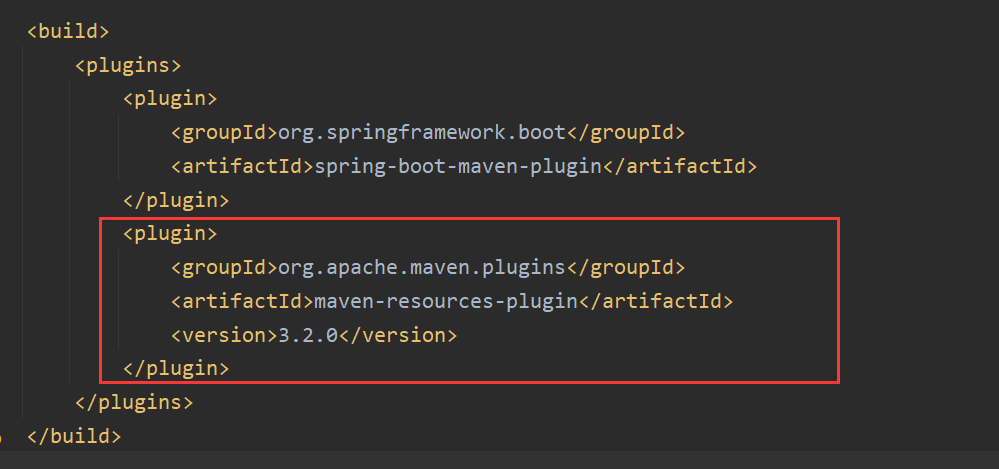
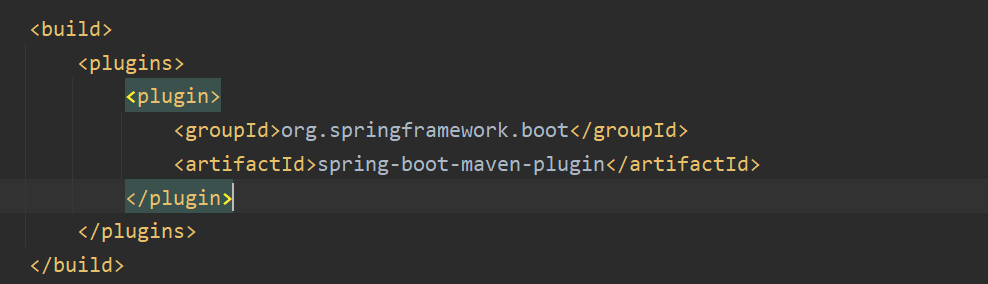 directly specify its version as follows, and then refresh it