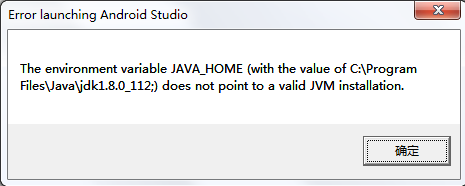
Solution: 1, click on the desktop computer, right-click the properties. ; 2. On the left, select “Advanced System Settings”, environment variables, and configure your JAVA_HOME without a semicolon
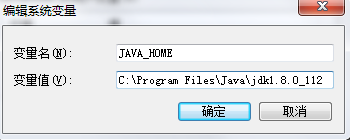
This will enable You to launch Android Studio.


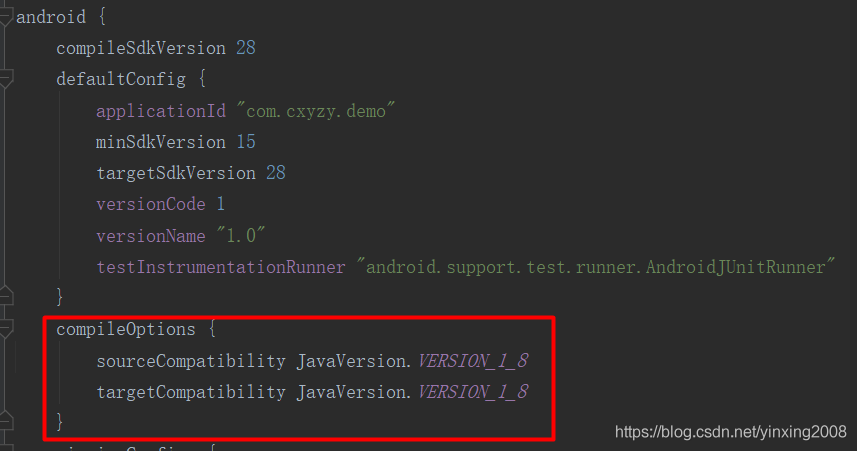
compileOptions {
        sourceCompatibility JavaVersion.VERSION_1_8
        targetCompatibility JavaVersion.VERSION_1_8
    }
Summary of the Android development tutorial series
A preliminary study on the android
Install development tools
Create your first Android project
Developing language learning
Kotlin language foundation
UI control learning series
UI control _TextView
UI control _EditText
UI control _Button
UI control _ImageView
UI control _RadioButton
UI control _CheckBox
UI control _ProgressBar
Error:Please select android SDK :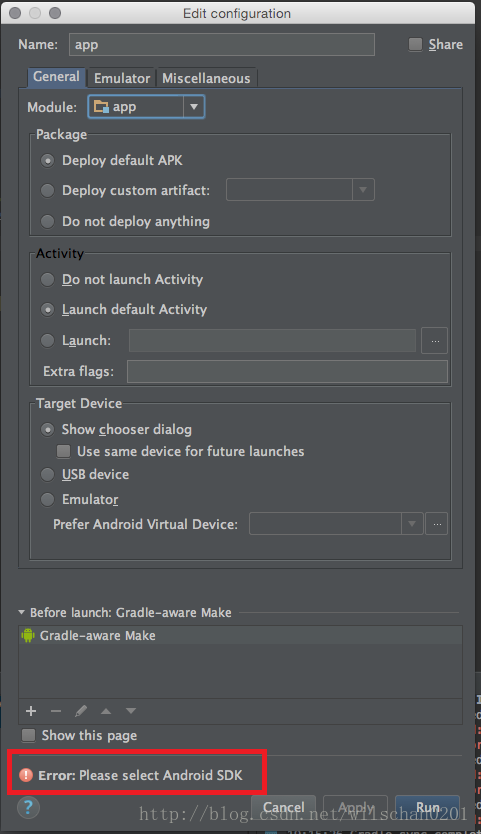

Cause 2:
No margins are set for figure.9.

Log Log 1:
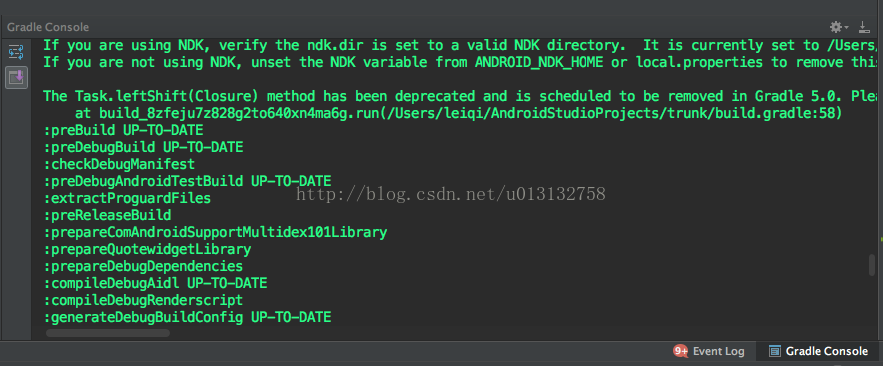
AAPT: libpng error: Not a PNG file
Error: Some file crunching failed, see logs for details
:app:mergeDebugResources FAILED
FAILURE: Build failed with an exception.
* What went wrong:
Execution failed for task ‘:app:mergeDebugResources’.
> Error: Some file crunching failed, see logs for details
* Try:
Run with –stacktrace option to get the stack trace. Run with –info or –debug option to get more log output.
BUILD FAILED
Solutions for Reason 1:
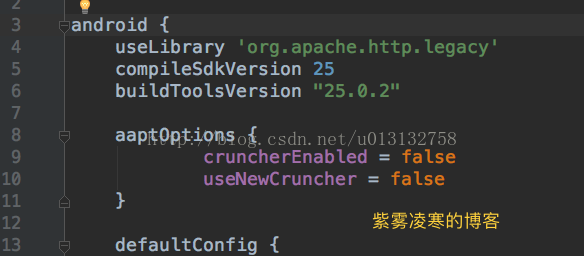
In the build.gradle file of the project app, add in the Android TAB:
aaptOptions {
        cruncherEnabled = false
        useNewCruncher = false
}
Solutions for Reason 2:
We looked at the log and found that there is no margin. What is margin?Let’s look at the following two pictures
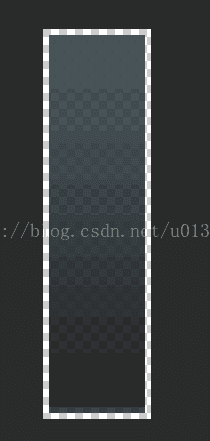
Boundless space (with no black edges)

There are margins and there are black edges all around.
So how do you set it up?Very simple:
Click the white edge around, the position of the click will be black, left or right or drag up and down to make the black edge change, so as to achieve the size of the set margin.
Error may not have more than the above two kinds of log, if you encounter other reasons, welcome everyone harassment!!


click on the run button and make a mistake
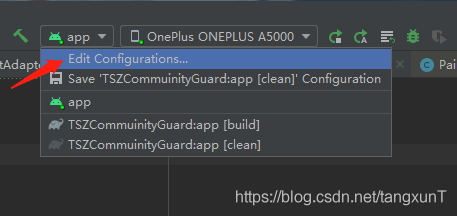
this is a mistake that many Android developers should have encountered, and the solution is not the same. But my solution might be a little odd, and it might help you. After this problem occurred, I tried the following solution.
First, check whether the launch page in Androidmanfest.xml is configured
This is beside the point because mine is already configured
Second, set the Launch Options to Nothing in Run/Debug Configuarations
If there is no problem with plan 1, open Run/Debug Configuarations
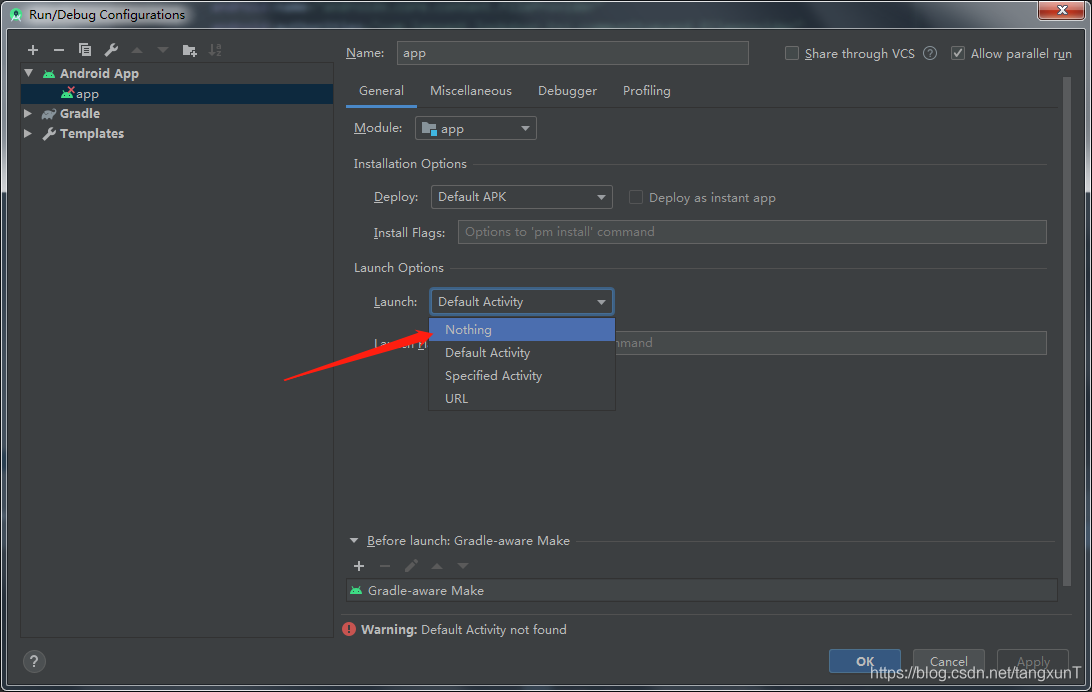
and select Nothing — > The Apply – & gt; 
this time run without error, and successfully installed into the phone, but… I didn’t launch my App after it was installed successfully. How could I launch it for you when everything was configured as Nothing?Obviously, it does not meet my requirements (when the project is very urgent, the result of this project has been very good, so we can give priority to the completion of the project and solve this problem later).
Scenario 3: Reset Android Studio
Delete.androidStudio4.0 from the directory “C:\Users\ user name” (maybe yours is another version), restart AndroidStudio and wait for the miracle, mine is still the same ghost, not solved.
Plan 4: Reinstall Android Studio
Also still be that ghost kind, fail to solve. Is it a project problem?But my colleague’s work is going really well. Finally, if you’ve reached this point, see if you can solve your problem, which is how I solved it. If not, please add plan 6 in the comments section, I am too weak.
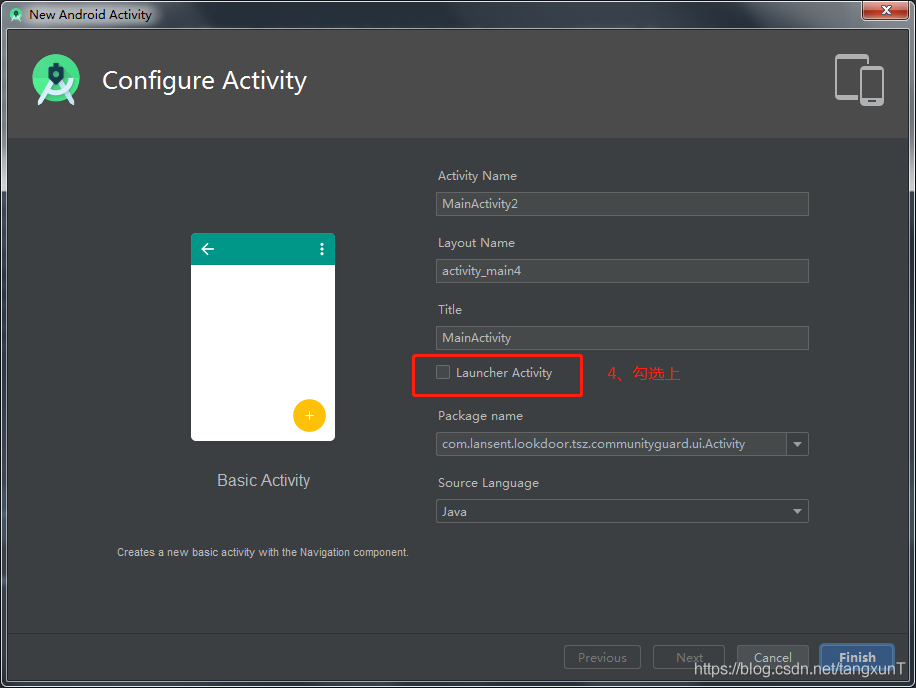
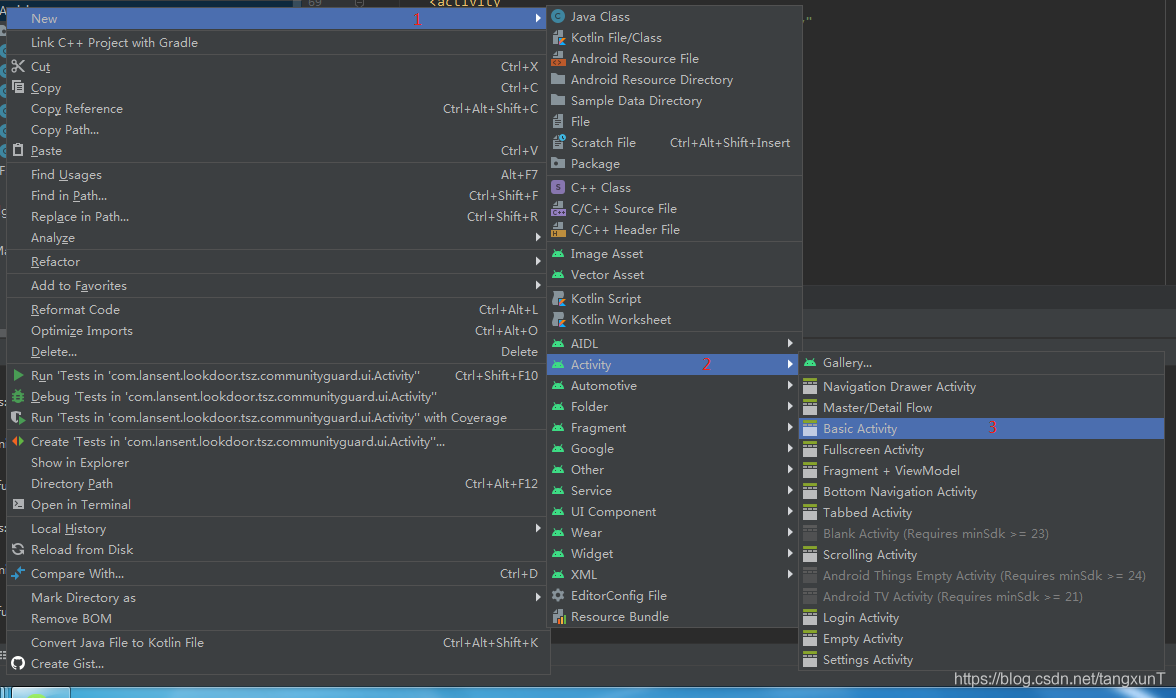
Create a new Activity and set it to Launch Activity
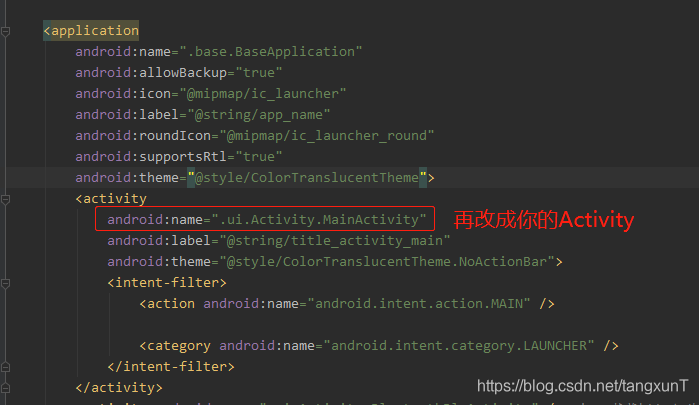
. Then select the Launcher Activity — > Finish, wait for Gradle synchronous

then AndroidManfest files in the start page changed back into before start page
ERROR: Unsupported method: AndroidProject.getVariantNames
Problem: Error cause: Solution:
Question:
Recently, the company asked me to connect to the function of one-button confidential-free login, and I also need to be familiar with client development. After opening the project with Android Studio, I reported an error, which was as follows:
ERROR: Unsupported method: AndroidProject.getVariantNames().
The version of Gradle you connect to does not support that method.
To resolve the problem you can change/upgrade the target version of Gradle you connect to.
Alternatively, you can ignore this exception and read other information from the model.
Translation:
Error: doesn’t support method: AndroidProject GetVariantNames (). The Gradle version to which
is connected does not support this method.
to solve this problem, you can change/upgrade the target version of the Gradle that you connect to.
or, you can ignore this exception and read additional information from the model.
Solutions:
classpath "com.android.tools.build:gradle:3.3.2"
distributionUrl=https\://services.gradle.org/distributions/gradle-4.10.1-all.zip
After initializing a project using Android Studio, you need to sync the app/build.gradle file, but it will report an error such as:
Failed to resolve: com.android.support:appcompat-v7:26.0.0
What is the reason for this?
If your Android SDK is greater than 26.0.0, you will need to add the following statements in build.Gradle in the root directory of your project:
...

allprojects {
    repositories {
        ...
        maven {
            url "https://maven.google.com"
        }
    }
}

...
Refer to the link
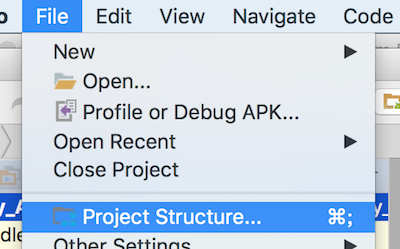
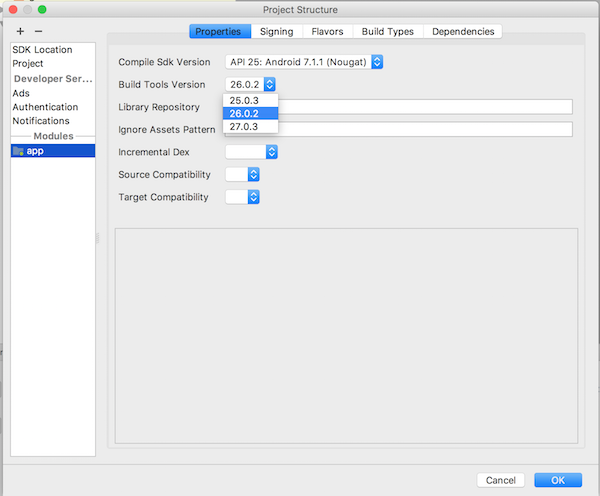
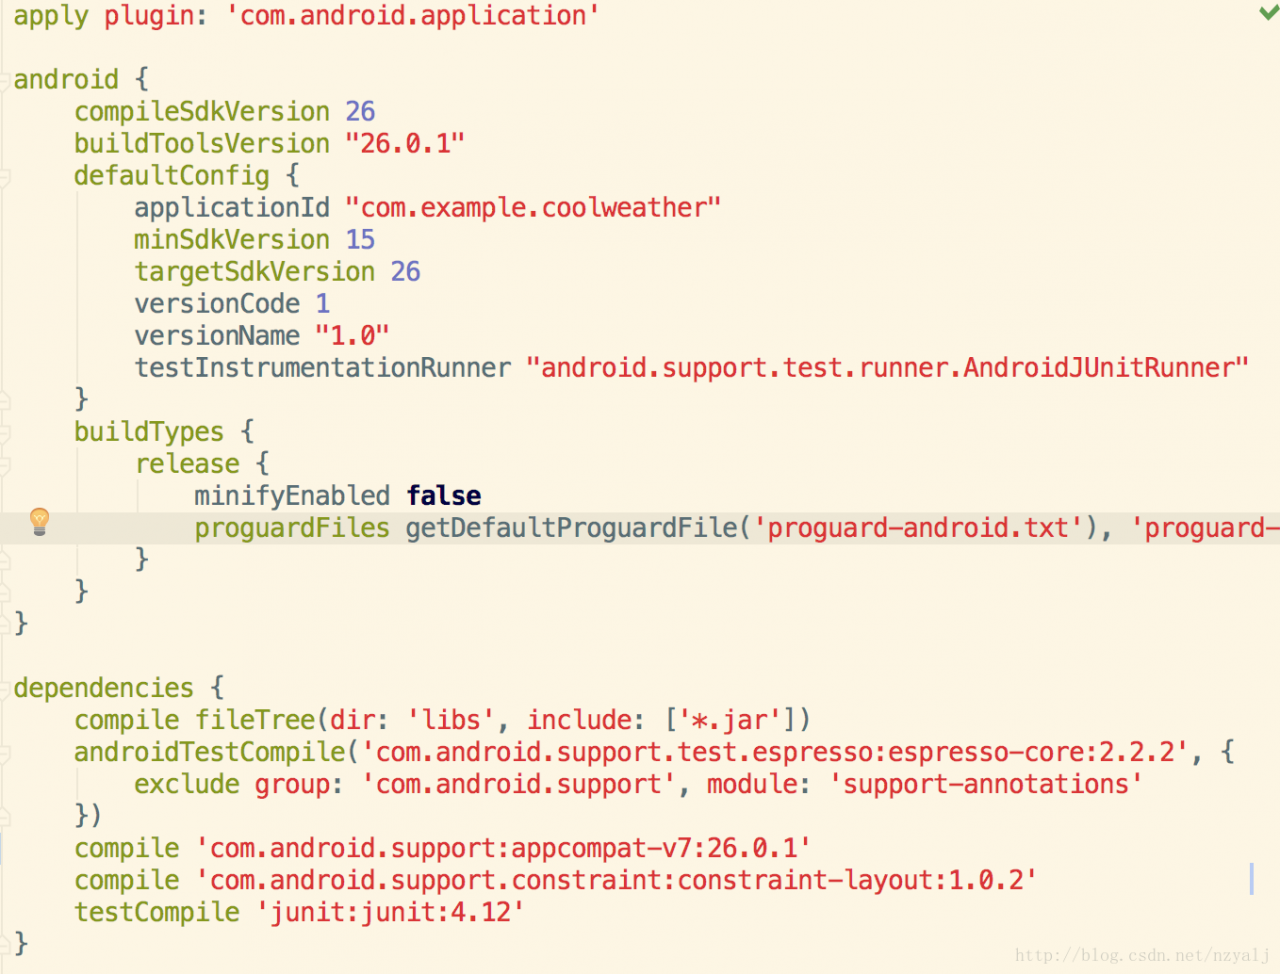
In addition, if it still doesn’t work, let’s see if the SDK version is correct. In app/build.gradle, there is a column of data that is buildToolsVersion, and we should write its SDK version
problem scenario:
after the Android Studio version upgrade, the normal project before Build failed (the project compiled normally with version 2.2.3 failed to compile with version 4.0.1 Studio).
error as follows:
Failed to resolve: Com. Android. Support: appcompat – v7:25.3.0
Add Google Maven repository and sync project
Show in the project Structure dialog
Affected Modules: app
add Google maven repository
as prompted
click on Add Google Maven repository and sync project, then open the project build.gradle file

Add
in build.gradle as follows:
allprojects {
    repositories {
        jcenter()
        maven{url "https://maven.google.com"}
    }
}
add maven{url “https://maven.google.com”} and then synchronize the project to resolve the error.
first solution:
adds this dependency to android in build.gradle of a project:
compileOptions {
    targetCompatibility JavaVersion.VERSION_1_8
    sourceCompatibility JavaVersion.VERSION_1_8
}
second solution:
add a configuration in the defaultConfig configuration under android in the project’s build.gradle file:
multiDexEnabled true
the third solution is the one I want to share with you most, because this error report I tried a lot of methods, but it still doesn’t work, and finally because the JVM allocation mechanism memory space caused by the compilation error
add this sentence under gradle.properties for the project:
org.gradle.jvmargs=-Xmx2048m -XX:MaxPermSize=512m -XX:+HeapDumpOnOutOfMemoryError -Dfile.encoding=UTF-8

solution:
download an android-26 SDK
on the Internet
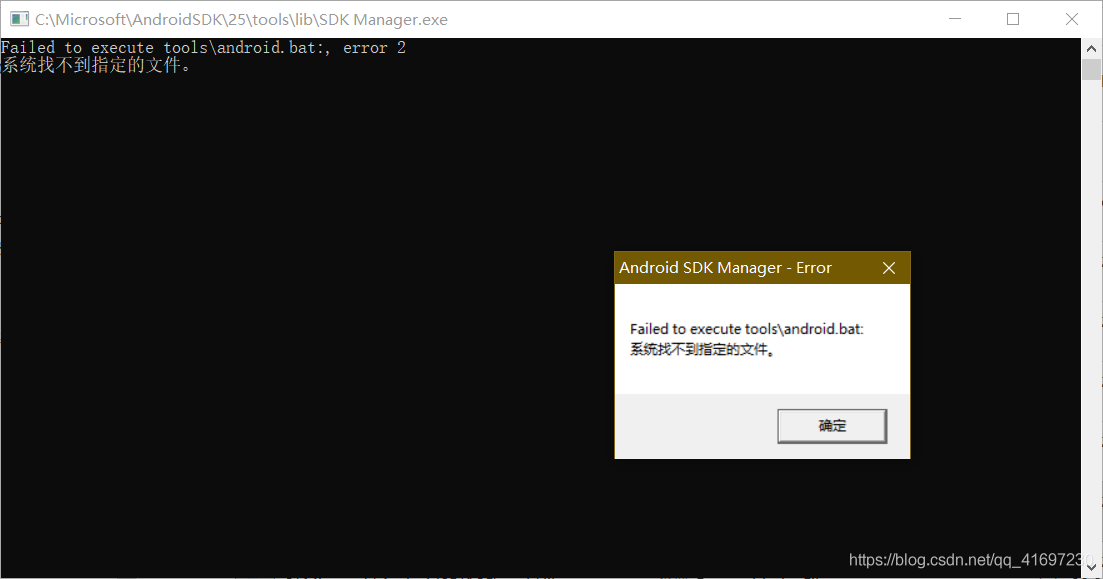
find “tools_r25.2.2-windows.zip” in folder temp and unzip it to overwrite the tools folder.

Open sdkmanager. exe after
and the above prompts will not appear.