First, install Anaconda
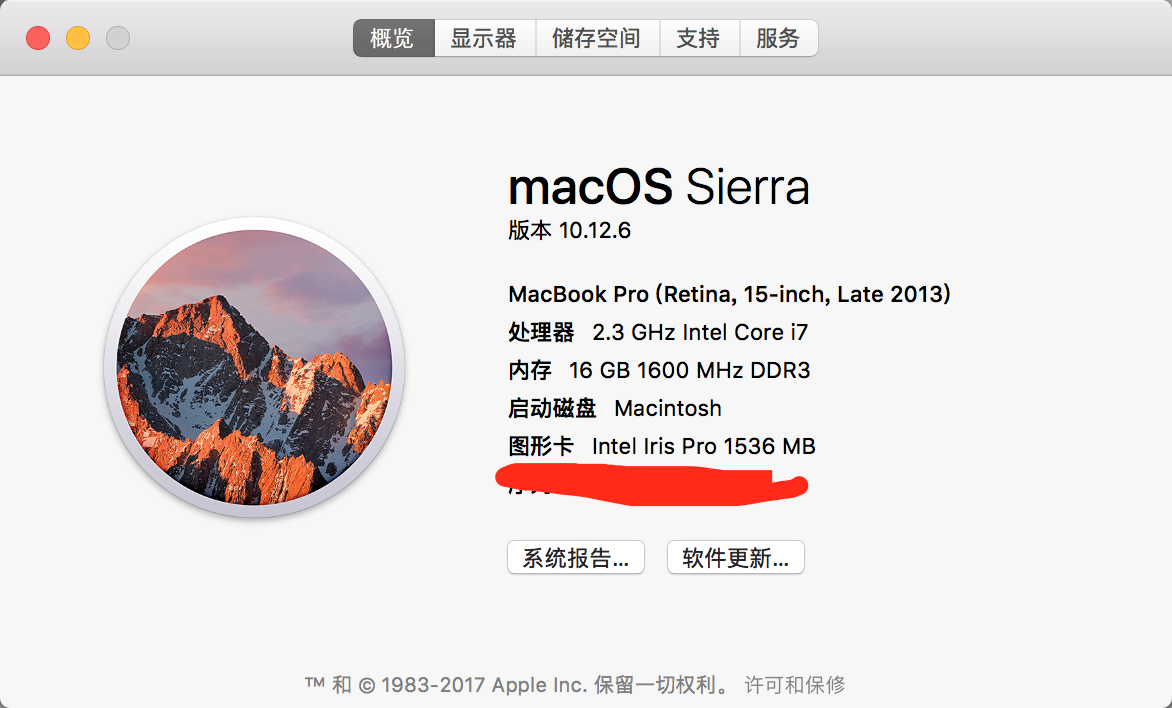
Installation environment:

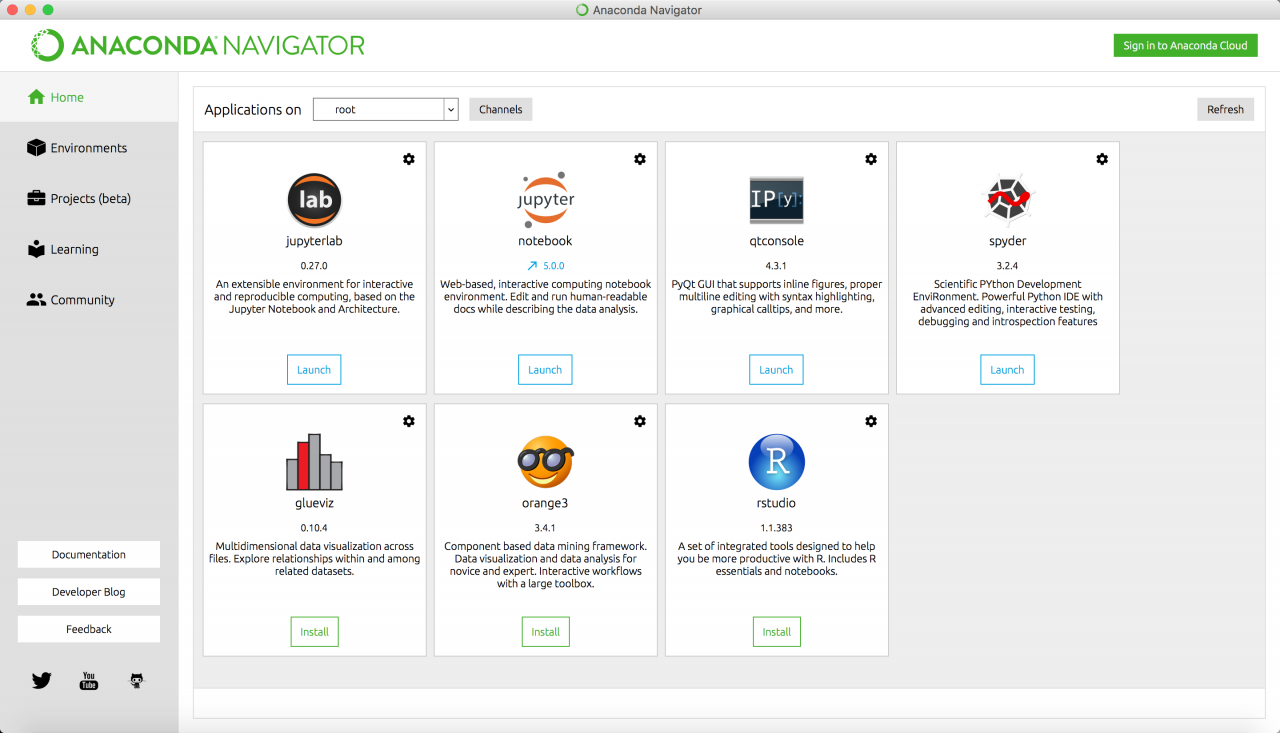
Although I’m on a MAC and have Python shipped, I have Anaconda installed first. Because it integrates many third-party Python libraries, and it is easy to manage different versions of Python, switching between different versions of Python. Anaconda is also a scientific computing environment. After Anaconda is installed on your computer, you will have some common libraries installed as well as Python installed.

The author installed Python version 2.7 Anaconda, and after installing Anaconda, Python and some common libraries are already installed. In addition, the Spyder was installed automatically.
2. Establish, activate and install Pytorch
Open the terminal and type:
conda create -n [name] python=3.5
[
n
a
m
e
]
[name]
Replace [name] with the name of the environment you want, without typing []. Depending on your needs, you can choose between different versions of Python. Just change 3.5 to 3.6 or 2.7
Then, after the completion of the execution, the execution:
source activate [name]
At this point, the runtime environment is activated.
Then execute PIP install torch torchvision to perform Pytorch installation.
When finished, the installation is complete
If you need to use the GPU version, install it using the source code. Download or visit the page making, others have been compiled Pytorch GPU version of https://github.com/TomHeaven/pytorch-osx-build