MAC environment installation Eclipse 2020-03 report “failed to create the Java virtual machine” error resolution
in macOS Catalina 10.15.2 environment, install the latest version of Eclipse: eclipse-je-2020-03-r-gesty-macosx-cocoa-x86_64. DMG, and run Eclipse report “failed to create the Java virtual machine” after installation.
as shown in figure 1:

the problem is due to JDK 14 being installed in the macOS environment. Even with the latest version of Eclipse, JDK 14 is still not supported, up to JDK 13, so the solution is to uninstall JDK 14. If you want to keep JDK 14 and Eclipse 2020-03 coexisting, you can solve this:
step 1: execute the command under the Shell terminal:
$ /usr/libexec/java_home -V
Matching Java Virtual Machines (3):
    14, x86_64:	"Java SE 14"	/Library/Java/JavaVirtualMachines/jdk-14.jdk/Contents/Home
    11.0.3, x86_64:	"AdoptOpenJDK 11"	/Library/Java/JavaVirtualMachines/adoptopenjdk-11.jdk/Contents/Home
    1.8.0_232, x86_64:	"AdoptOpenJDK 8"	/Library/Java/JavaVirtualMachines/adoptopenjdk-8.jdk/Contents/Home
as you can see, I have JDK 8, 11, and 14 on my host.
note , executing “/usr/libexec/ java_home-v 11” is invalid, it will not resolve the error of Eclipse.
step 2: use the editor open Eclipse app/Contents/Resources/Info. The file, found at the back of the label, and modify the content is as follows: </ p>
    <array>
		<string>-vm</string>
        <string>/Library/Java/JavaVirtualMachines/adoptopenjdk-11.jdk/Contents/Home/bin</string>
        <string>-keyring</string>
        <string>~/.eclipse_keyring</string>
    </array>
as shown in figure 2:

save and exit.
note that you add the -vm option and point the vm option to JDK 11 (you can also point to JDK 8 or any version that is not native to JDK14, depending on your needs).
restart Eclipse and the familiar interface returns. Figure 3: 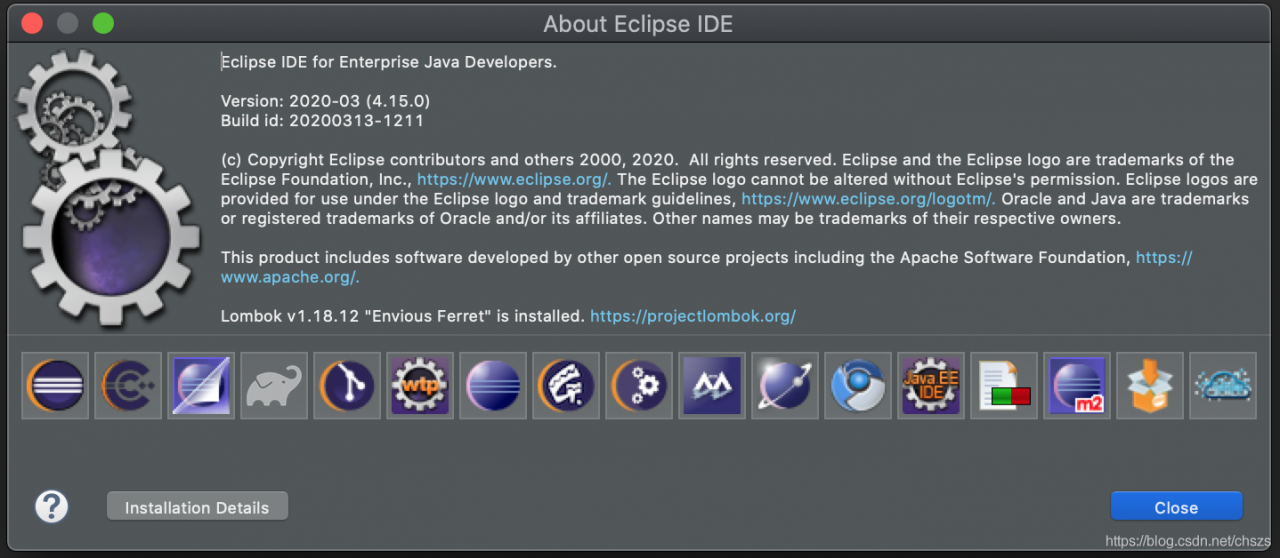
Read More:
- Solution to the problem of installing Tkinter module in MAC
- Clion installing glfw_Using clion to configure Vulkan development environment on MacOS
- Mac: How to installs docker through brew
- Virtual Machine Vmware Workstation Pro 15 Latest License Key
- How To Install Java with Apt-Get on Ubuntu 16.04
- How to uninstall Maya on a Mac
- How to Install MongoDB Community Edition Manually on mac and linux
- How to install PIL in Python 3
- How to Install PSSH in Centos7
- How to Use pychar to run tensorflow and virtualenv (How to install tensorflow)
- Mac: How to Install homebrew, nginx, PHP and MySQL
- How to Install Mongdb4.X in Windows
- Problems encountered in installing webpack (NPM error)
- How to Solve program install error 0x80070660
- How to set font color in Latex (3 ways)
- How to Solve Oracle 11g Install Stuck 86% error on Linux
- Macos: How to Solve cocoapods Install Error
- How to Solve Cython-bbox pip install Error
- BUILD FAILED error when installing ruby 2.4.3
- Mac monterey Reinstall System Error: pkdownloaderror 8