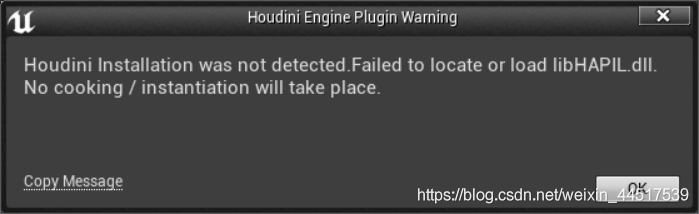
Unreal use Houdini Engine error:
Houdini Installation was not detected.Failed to locate or load libHAPIL.dll. No cooking/instantiation will take place.
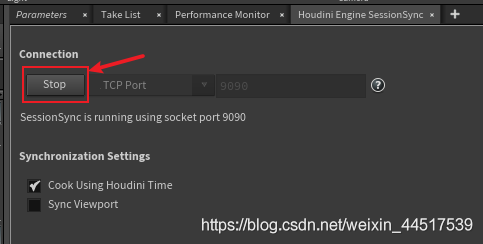
Solution:
houdini-Windows-Houdini Engine SessionSync
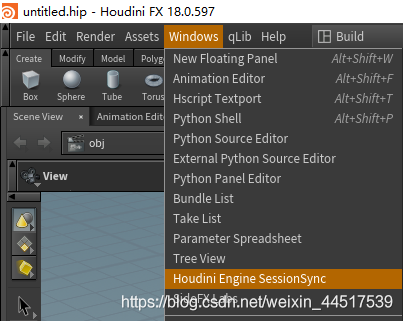
If it’s the Start button, turn it on
Unreal use Houdini Engine error:
Houdini Installation was not detected.Failed to locate or load libHAPIL.dll. No cooking/instantiation will take place.
Solution:
houdini-Windows-Houdini Engine SessionSync
If it’s the Start button, turn it on
Scene description
When a relies on B to run a project, the class file in B project cannot be found
The project dependency is intact. There is no problem that the class cannot be found, but an error is reported during operation
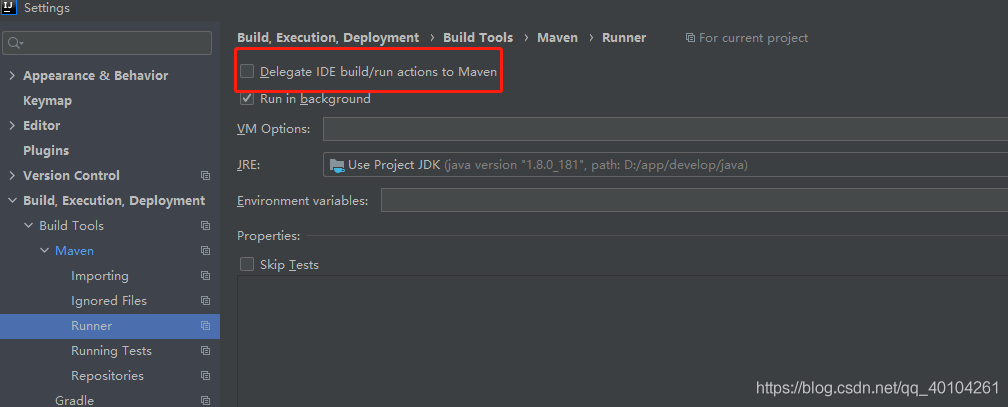
Solution:
check whether the JDK configured in idea is consistent with the environment, and whether project B is a runnable project. If it is a runnable project, add the following contents to the POMfile (this problem is caused by bloggers)
<plugin>
  <groupId>org.springframework.boot</groupId>
   <artifactId>spring-boot-maven-plugin</artifactId>
   <configuration>
       <mainClass>com.xxx</mainClass>
       <skip>true</skip>
   </configuration>
</plugin>
someone runs successfully after checking the following
If there are other solutions, please leave a message
Errors are reported as follows:

remote: Support for password authentication was removed on August 13, 2021. Please use a personal access token instead.
remote: Please see https://github.blog/2020-12-15-token-authentication-requirements-for-git-operations/ for more information.
reason:
GitHub will enable token token token to replace password from August 13, 2021
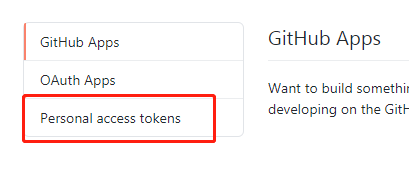
Generate your own token
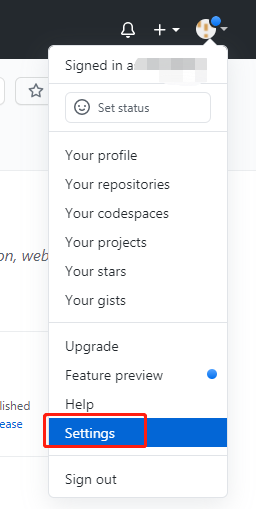


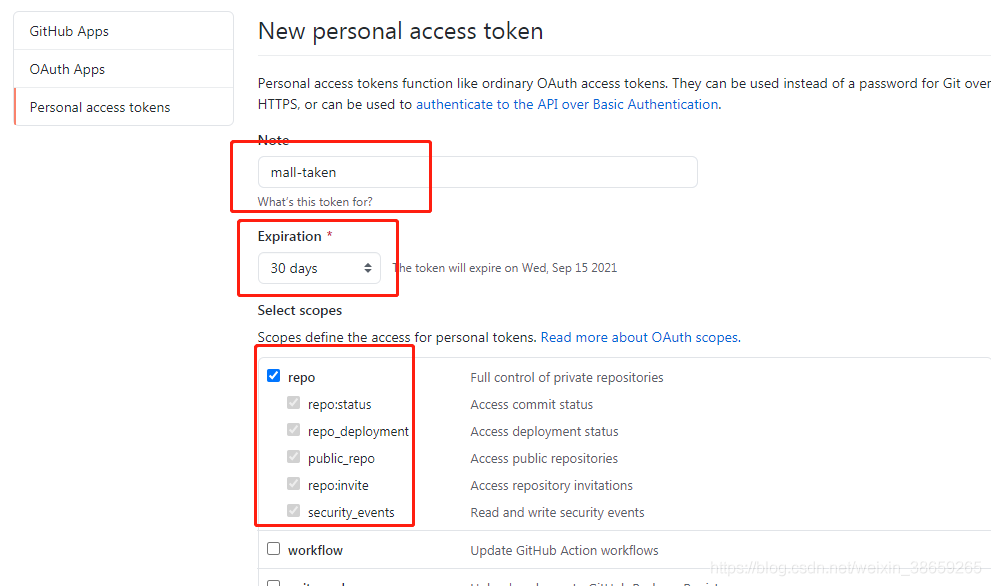
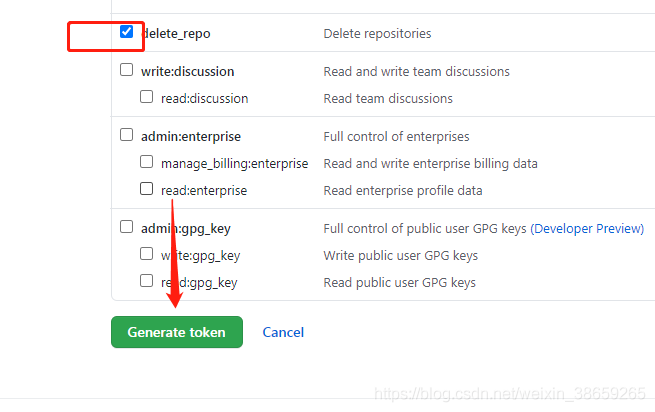
Note: be sure to save the generated token, because you can’t see it again after refreshing the page
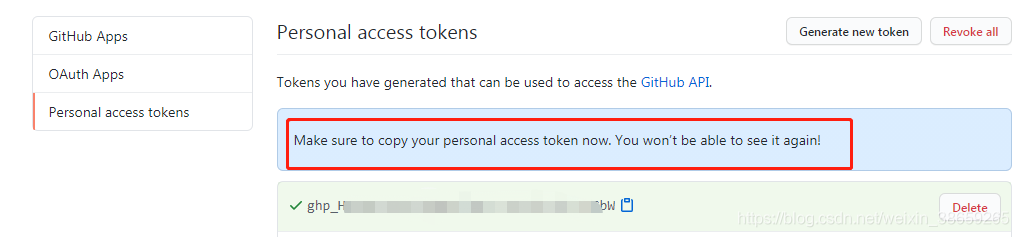
Just paste the saved token where you enter the password as before
First, make sure you have turned on the hyper-t function on the computer
then download a WSL update package
https://wslstorestorage.blob.core.windows.net/wslblob/wsl_update_ X64. MSI
finally, just log in to docker again
value = crypt((char *) key, (char *) salt);value = DES_crypt((char *) key, (char *) salt);Question:
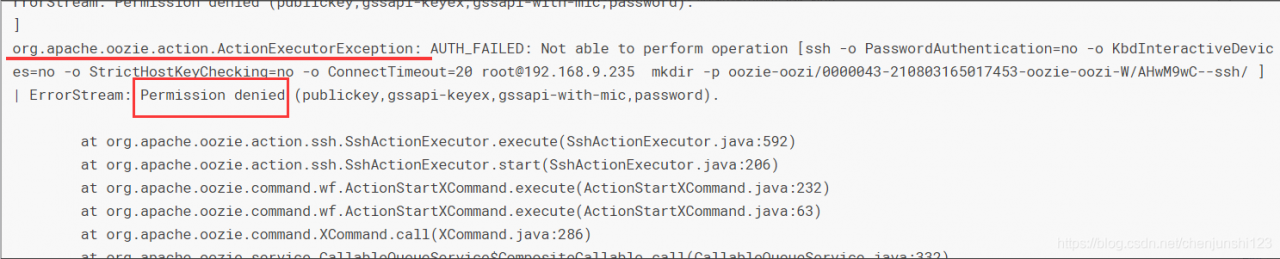
Reason: the oozie user cannot SSH remotely to the root user.
Solution:
1.vi /etc/passwd
oozie:x:973:967:Oozie User:/var/lib/oozie:/bin/false
Change to oozie: X: 973:967: oozie user:/var/lib/oozie:/bin/Bash
2. It can be executed: Su – oozie
3.ssh-keygen<Generate secret key
4.Cat / var/lib/oozie/.ssh/id_ rsa.pub
5. Send the generated public key to the remote server user
/ root/.ssh/authorized_ keys
This error occurs when packaging with postcss: Invalid options object. PostCSS Loader has been initialized using an options object that does not match the API schema.
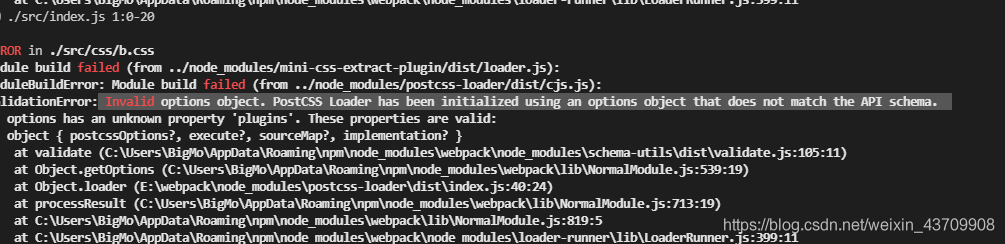
I’ve been searching for information for a long time because the versions are incompatible,
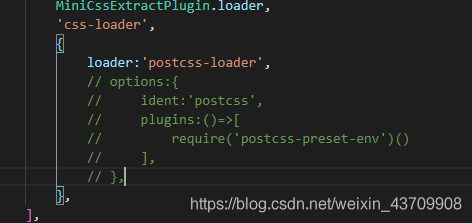
Solution: create a new postcss.config.js file under the root directory
The file configuration is as follows
module.exports={
    plugins:[
        require("postcss-preset-env")
    ]
}
Then delete the options in webpack.config.js and package again.
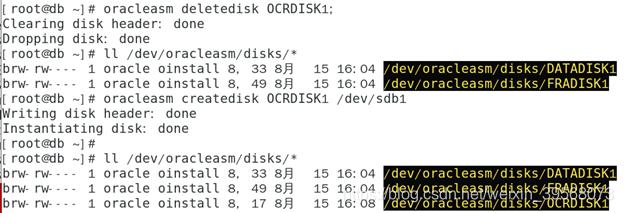
oracleasm createdisk OCRDISK1 /dev/sdb1
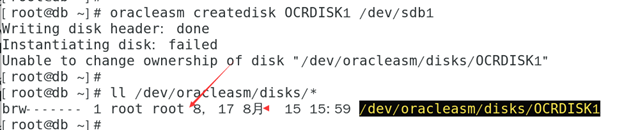
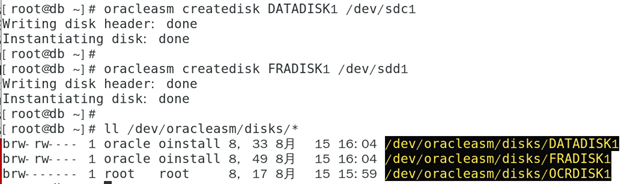
oracleasm createdisk OCRDISK1 /dev/sdb1

Project scenario:
in hexo + GitHub blog deployment, set up and register GitHub account and create warehouse in nodejs and git environment, and then start to set up blog
If hexo is working properly, enter http://localhost:4000/ You can see the initial appearance of the blog 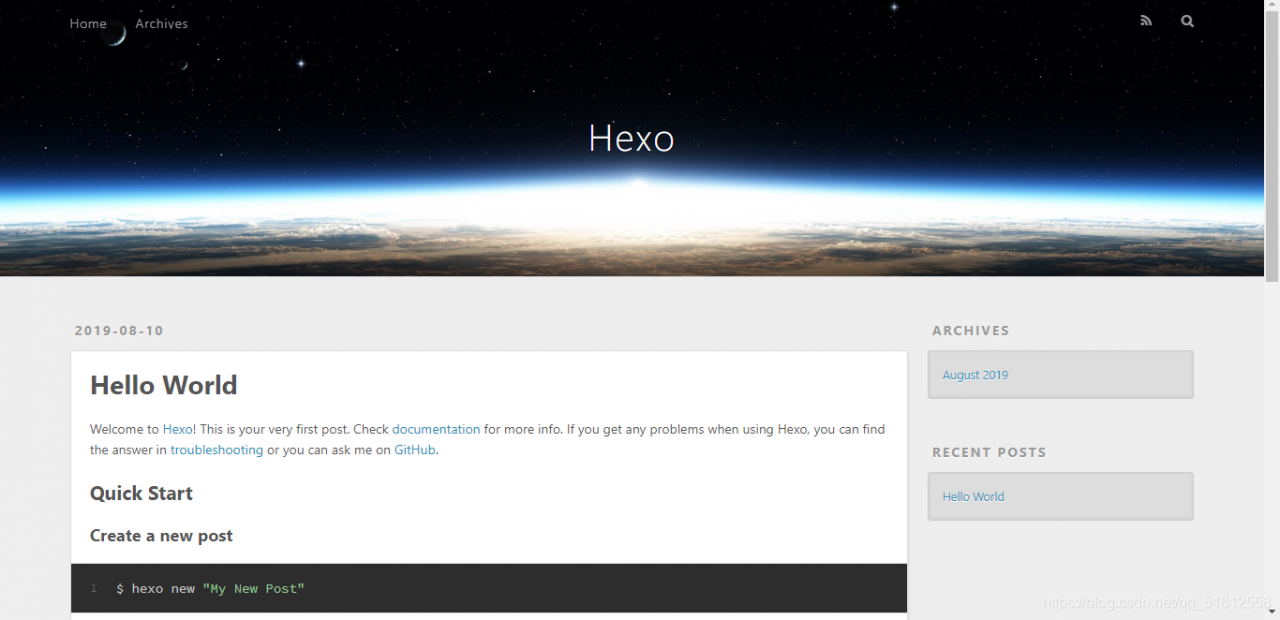
Problem Description:
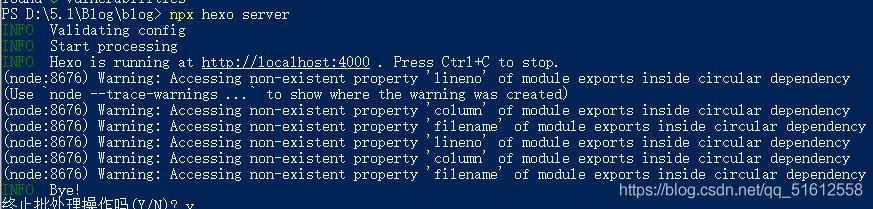
after installing the local environment and using git bash in windows, the hexo init command cannot be executed, and the following error is reported: </ font>
bash: hexo: command not found
Cause analysis:
it may be that the NPM environment of node is not well configured. You can try to reinstall node and install it in the default path, or it may not be completely installed when installing with git bash
Solution:
method 1: select the folder where you downloaded the note.js, right-click to open it with git bash, and then enter the command
method 2: open the previously created folder (your blog, mine is blog), hold down shift, right-click, select PowerShell option, open the command prompt, and enter the following command:
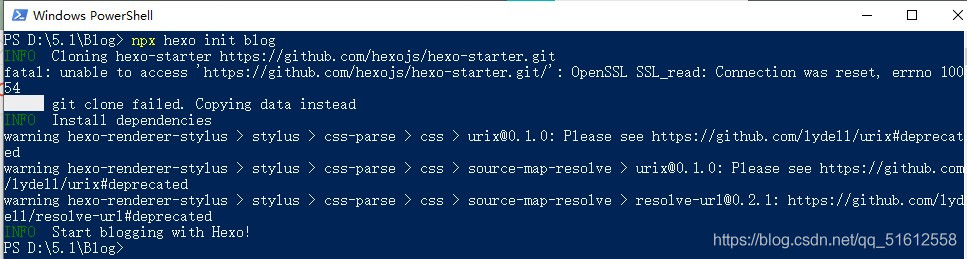
after that, a new folder blog will be generated in your folder, which is the content to be deployed

After entering NPX hexo server, you can see that a section of address appears: http://localhost:4000 , you can preview it by typing in your browser
Note: it is recommended to use method 1, because if you use method 2 to deploy successfully, you should use NPX command when writing articles later!!!
As the machine moved, IP was replaced. When you encounter some problems during restarting JIRA, record the key points and solutions.
Key points:
check the database configuration
/var/atlas/application data/JIRA/dbconfig. XML
since LDAP authentication is used, you also need to check the user group authentication configuration
find CWD in the database_ directory_ Attribute table, check the configuration with the attribute name ldap.url
Problems and solutions:
JIRA startup failed, JIRA has been locked.
******************************************
JIRA startup failed
unable to create and acquire lock file for jira.home directory ‘/ var/atlas/application data/JIRA… I don’t remember later
solution: delete the. Jira-home.lock (hidden file) under the corresponding directory prompted, enter the bin directory and restart the JIRA service
>>>>>
then an error is reported:
JIRA startup failed
unable to clean the cache directory:/var/atlas/application data/JIRA/plugins /. OSGi plugins/Felix
Check the startup log:
caused by: java.io.ioexception: unable to delete file:/var/atlas/application data/JIRA/plugins /. OSGi plugins/Felix/Felix cache/bundle163/bundle. State
solution: delete the. OSGi plugins folder (hidden folder) in the prompt directory and restart JIRA service
At this time, the original error page will become startup seccused and can be used normally
./startup.sh and./shutdown.sh are recommended for restarting the JIRA service
The error message is as follows
Run gradlew tasks to get a list of available tasks. Run with --stacktrace option to get the stack trace. Run with --info or --debug option to get more log output. Run with --scan to get full insights.

error Failed to install the app. Make sure you have the Android development environment set up: https://reactnative.dev/docs/environment-setup. Run CLI with --verbose flag for more details.
Error: Command failed: ./gradlew app:installDebug -PreactNativeDevServerPort=8081
Error source: my RN code from the company’s computer clone is normal, and the above errors occur in yarn install and yarn Android, both in virtual machine running and real machine running. In order to try and error, I init a project again, and the result is such an error, but I can still run individual RN projects, of course.
Consult the document solution 1:
just start it directly with Android studio and let Android studio automatically integrate some Android environments and then run applications. However, I personally gave up because I was not very proficient in as running Android, but I thought it would be troublesome if I needed to run as every time I created an RN project
Solution 2:
the blogger said that it is necessary to configure the ADB environment. After a review, it is found that almost all the configured Android environments have been configured
%ANDROID_HOME%\platform-tools
%ANDROID_HOME%\emulator
%ANDROID_HOME%\tools
%ANDROID_HOME%\tools\bin
Document review solution 3:
Place the following line in your Android/gradle.properties file:
android.useAndroidX=true
android.enableJetifier=true
What do bloggers mean when they post the above sentence?In fact, the support community is messy. Google launched Android X and gradually shifted its focus and migrated, so our project depends on the package and needs to be migrated
Android. Useandroidx = true indicates that androidx is enabled for the current project. Android. Enablejetifier = true indicates that dependent packages will also be migrated to androidx. If the value is false, it means that the dependent package will not be migrated, but there may be problems when using the content in the dependent package. Of course, if no three-party dependency is used in my project, this item can be set to false
in fact, these two pieces of code were already there when we created the RN project
Solution 4 (feasible):
in fact, I just saw that the blogger posted several strings of English, one of which was
# npx react-native doctor
I knew that the NPX react native doctor command should be similar to the fluent doctor command. Check whether the current running environment meets the requirements
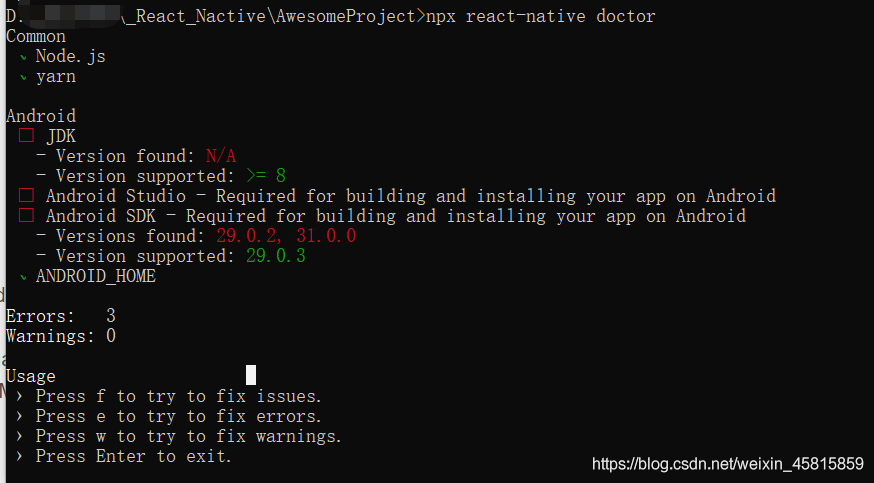
So I ran the command on the command line. I found that the doctor told me that I lacked the java8 environment (in fact, I do have it, but he said that I must lack it) and Android tools 29.2. So I uninstalled java8, reinstalled and reconfigured Java_ Home go to as to download 29.2
just come back and check it again
I can’t remember why I solved it like this. I searched again and didn’t find a similar answer.
Due to the needs of the experiment, I need to compile this example:
https://github.com/grimm-co/GEARSHIFT/blob/trunk/examples/simple.c
However, if you run directly:
gcc simple.c -O0 -o simpleotherwise will report an error:
/usr/bin/ld: /usr/lib/gcc/x86_64-linux-gnu/7/../../../x86_64-linux-gnu/Scrt1.o: in function `_start’:
(.text+0x24): undefined reference to `main’
collect2: error: ld returned 1 exit statu
Solution:
Change to
gcc -shared simple.c -O0 -o simpleJust. I suddenly remembered how I solved it. I referred to this: https://github.com/grimm-co/GEARSHIFT/blob/trunk/examples/Makefile
The online solutions are different from this, so here’s a simple record. It’s hard to say that it can help other basin friends.