Tag Archives: VTK learning

Problems in compiling VTK with cmake: solutions to error configuration process, project files may be invalid

After setting up the basic VTK environment, the learning process follows. But I had a bunch of problems in the first example. Here’s how to solve them. Fill in a bunch of holes first.

1. Problem introduction
I follow: Dongling VTK tutorial series navigation learning.
>
>
>
>
>
>
>
>
>
The first is the cmake code:

cmake_minimum_required(VERSION2.8)

project(TestVTKInstall)

find_package(VTKREQUIRED)

include(${VTK_USE_FILE})

add_executable(${PROJECT_NAME}TestVTKInstall.cpp)

target_link_libraries(${PROJECT_NAME}vtkRendering vtkCommon)
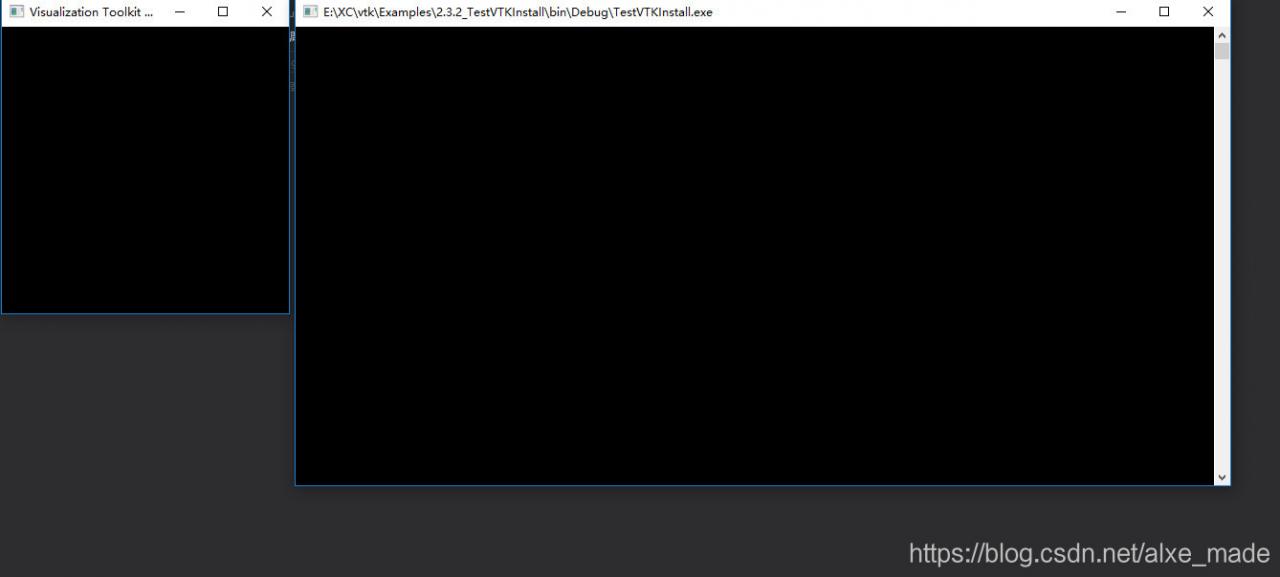

Then the CPP code:

#include <vtkRenderWindow.h>
#include <vtkSmartPointer.h>

int main()
{
	vtkSmartPointer<vtkRenderWindow> renWin = vtkSmartPointer<vtkRenderWindow>::New();
	renWin->Render();
	std::cin.get();
	return 0;
}

ror configuration process, project files may be invalid.>r> error configuration process, project files may be invalid
2. Problem solving:
Error Configuration Process: The Project Files may be invalid method did not work. Here’s a little bit about this approach.
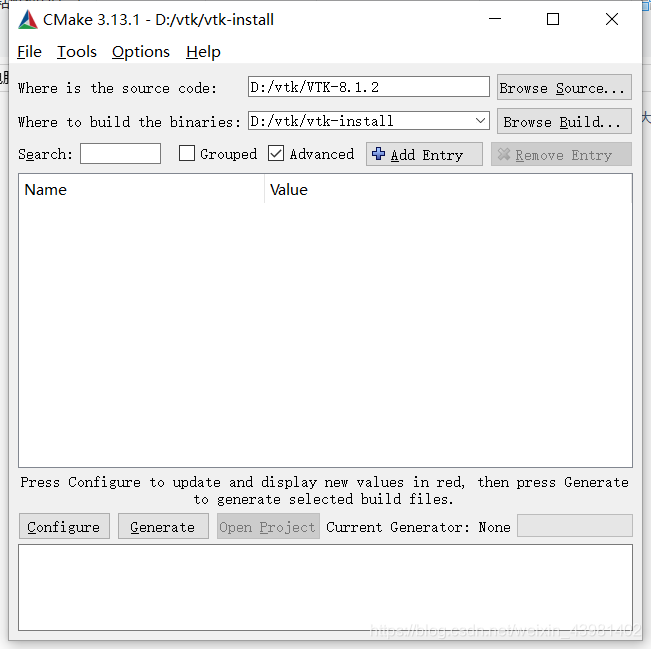
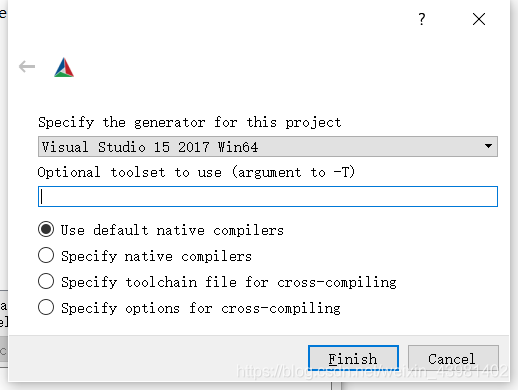
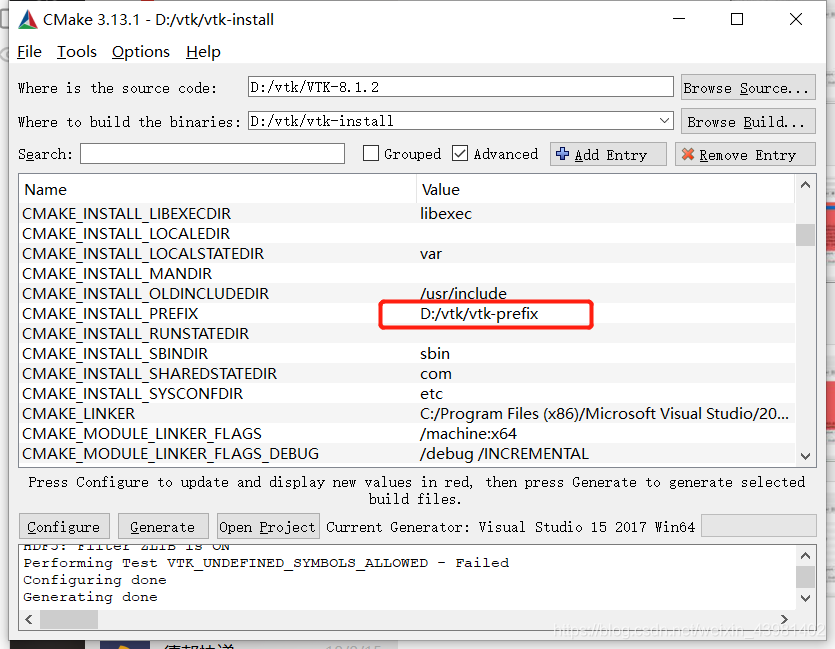
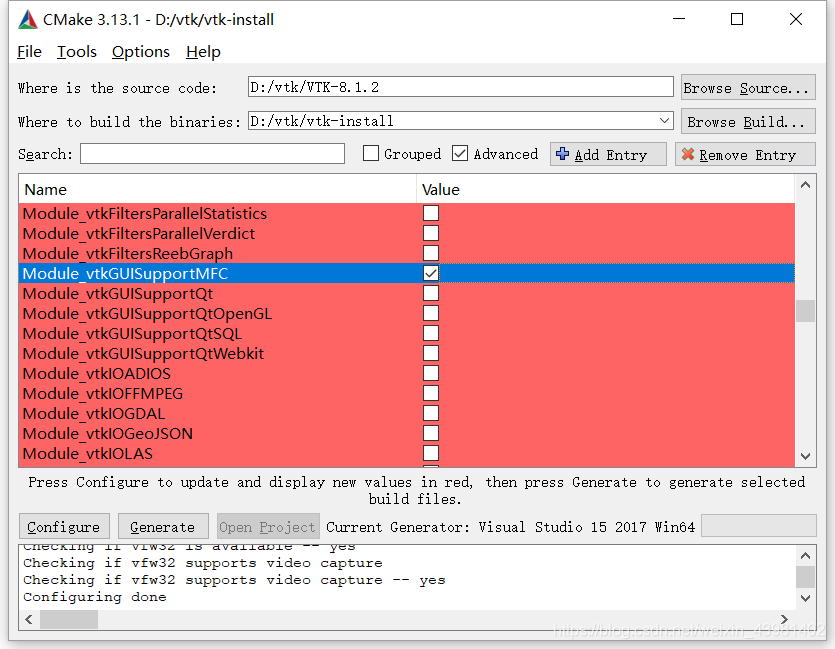
2.1 No use of CMAKE to select the version of VS on the corresponding machine.

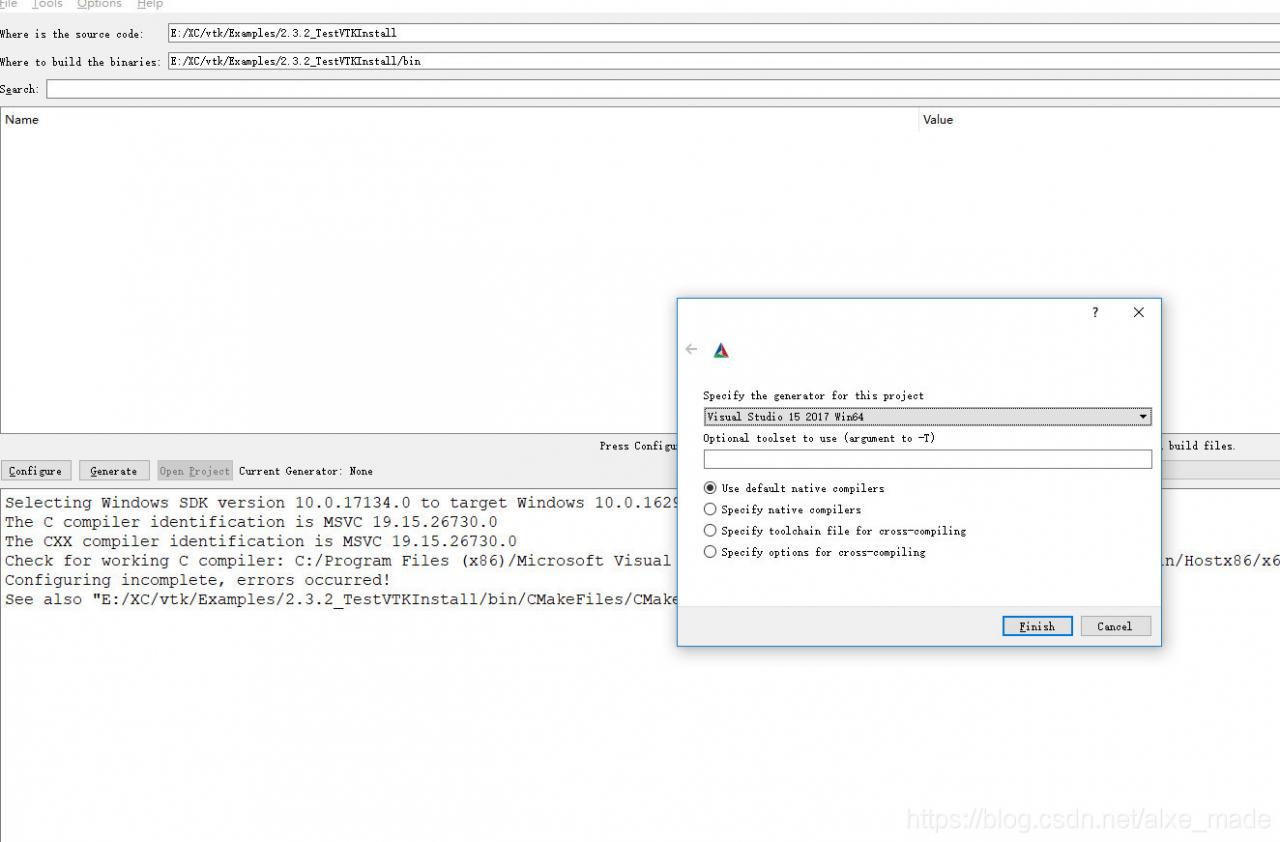
When generating the corresponding VS solution with the CMAKE configuration, you need to correspond to the correct VS version. This is the same version that you used when installing VTK.
2.2 Previous error cache is not cleaned
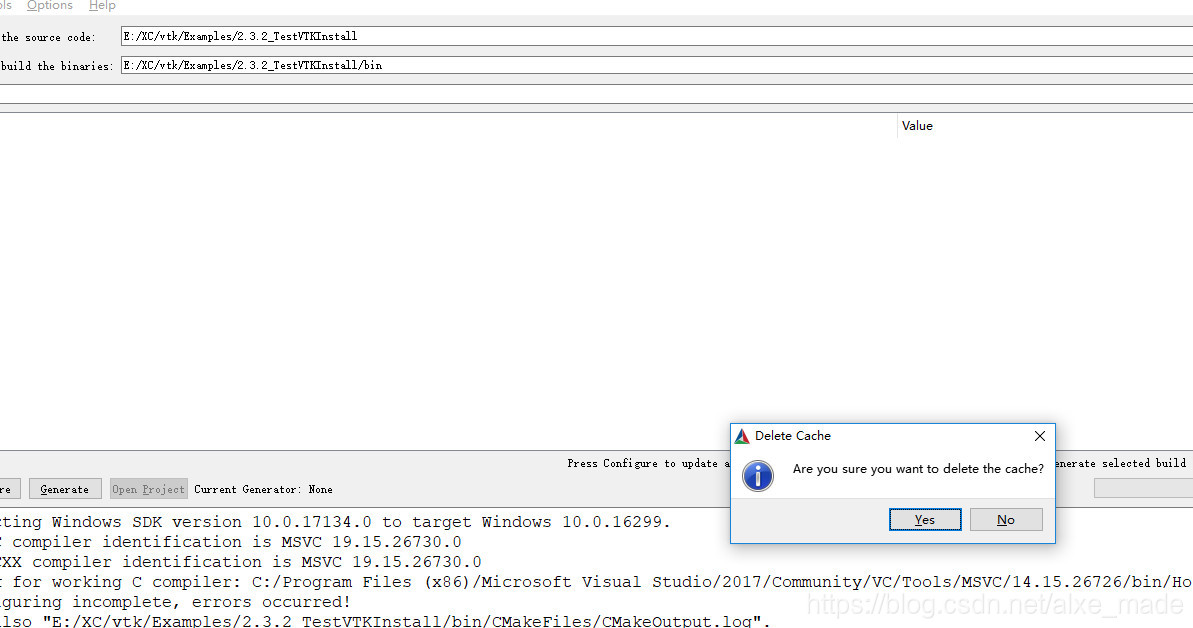
|
click on the top left corner of the file - & gt; Delete cathe
to clear the cache.
2. 3 cmake list programming problems
Following the above description did not solve our problem, so we had to continue to Google. We saw us have similar questions on several StackOverflow posts.

    VTK + Cmake -> USE_VTK_RENDERING erroCMake error: ‘Target is not built by this project’ Cmake link liabray target link errorCMake OpenCV Cannot Specify link Libraries

According to the above, compared with our CMMakelists code, we tried one code after another, and finally found a very hidden error, that is, we must pay attention to the space in CMMakelists!!

To be specific,

    is the first line: rsion a> code>2.8e> have a space> The third line: VTKd r>red has a s> on line 9, testvtkinstal>cpp has a space on line> In line 11, we change the previous vtkRendering vtkCommon $>tk_libraries} with a>e before. There is nothing wrong with cmake, though, if you simply add a space. However, when VS is compiled later, the following error will occur, so it will be fine to fix it.

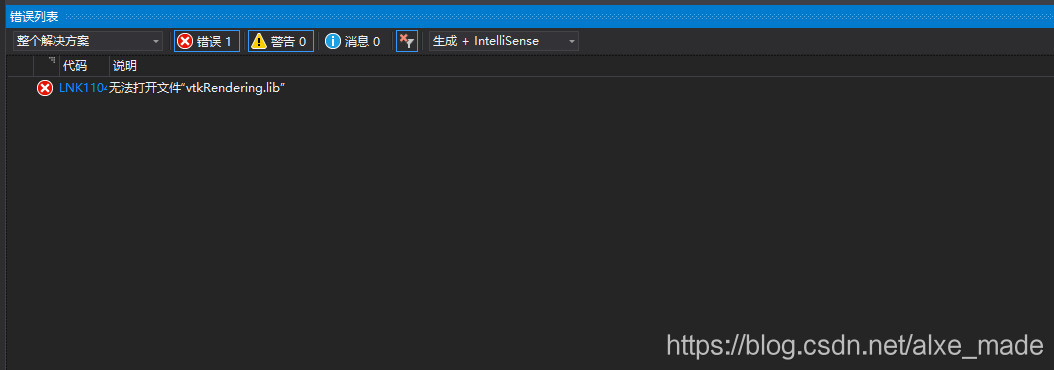
Finally, the cmMakelists.txt code:

cmake_minimum_required(VERSION 2.8)

project(TestVTKInstall)

find_package(VTK REQUIRED)

include(${VTK_USE_FILE})

add_executable(${PROJECT_NAME} TestVTKInstall.cpp)

target_link_libraries(${PROJECT_NAME} ${VTK_LIBRARIES})
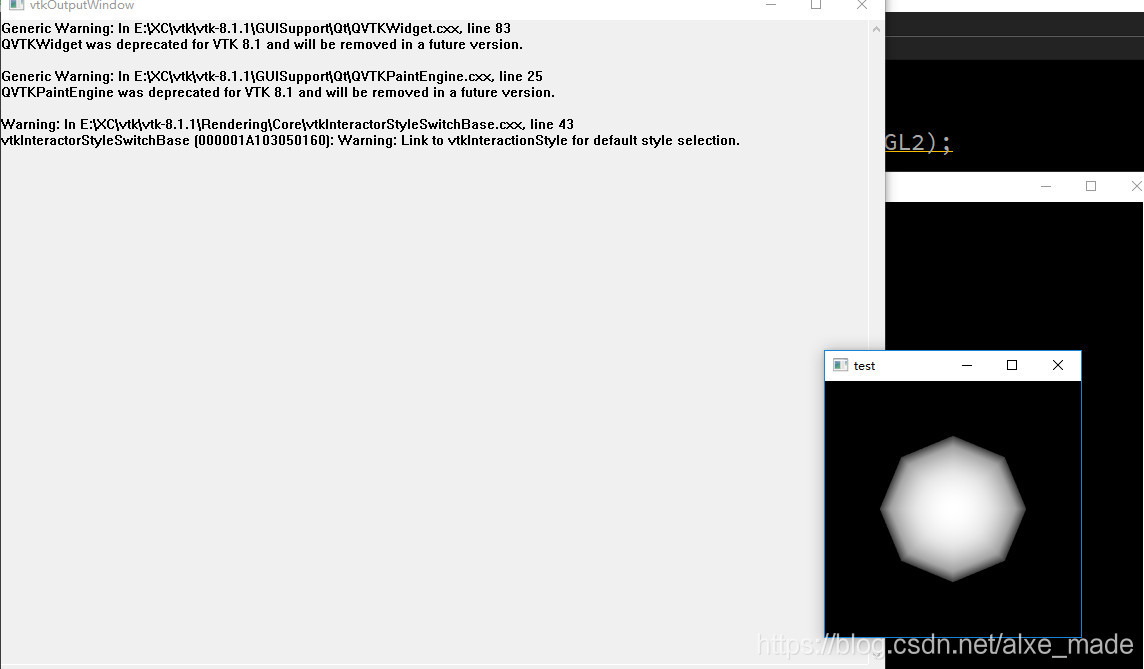
3. Run in VS
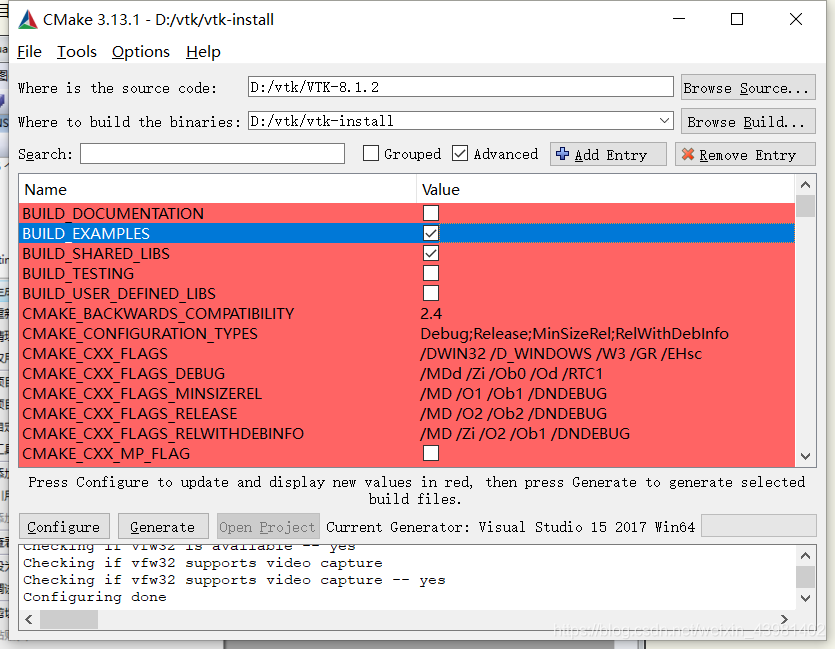
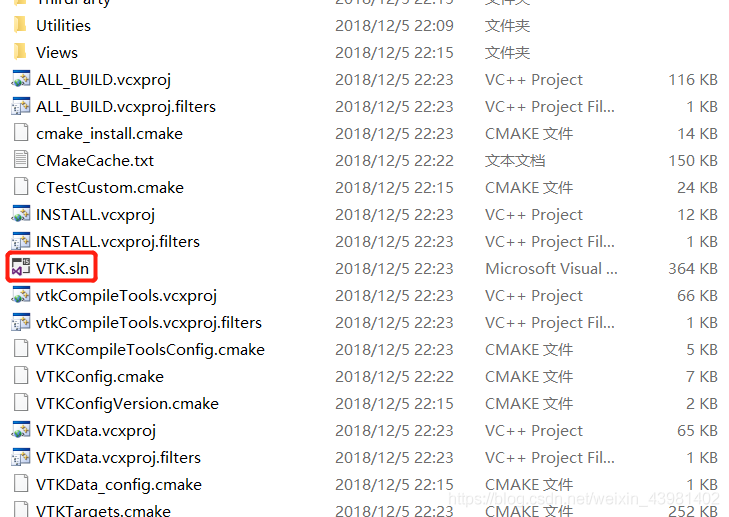
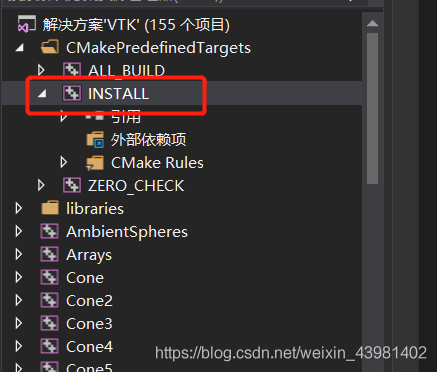
After cmake has no errors, we configure, then generate. Open VS2017 as an administrator. Open the file we compiled.
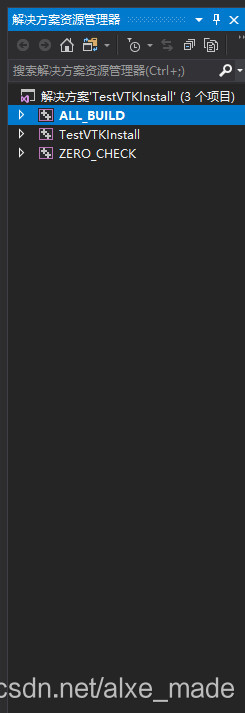
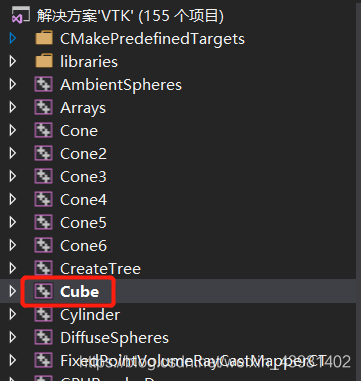
> compile l_build >>ck on F7 or build it. If there are no errors, right-click TestVTKInstall and set it as a startup item, then click F5, or run to get the correct results.

Over

Just solve problems one by one.

Using vtk8.1 in qcreator

VS development VTK and ITK package setup is relatively complex, so we chose a lightweight IDE as the development tool.

Here Qt and VTK installation can refer to my previous article Win10 installation VS2017 + QT5.11 + VTK8.1.1 + ITK4.13, here focuses on how to use QCreator to use VTK.
This project’s GitHub address: Alxemade/VTK_ITK_SimpleTest/test_vtk/ Welcome Star and Fork.
1. Create a new Qt Console Application in QTCreator
The project structure is shown in the figure below:

Then we enter the following code in main.cpp:

#include <QCoreApplication>

#include <vtkSmartPointer.h>
#include <vtkSphereSource.h>
#include <vtkPolyDataMapper.h>
#include <vtkActor.h>
#include <vtkImageViewer.h>
#include <vtkRenderWindowInteractor.h>
#include <vtkInteractorStyleImage.h>
#include <vtkJPEGReader.h>
#include <vtkRenderer.h>

#include<QVTKWidget.h>

int main(int argc,char **argv)
{
    QCoreApplication a(argc, argv);
    QVTKWidget widget;
    widget.resize(256,256);
    //Setupsphere
    vtkSmartPointer<vtkSphereSource>sphereSource=vtkSmartPointer<vtkSphereSource>::New();
    sphereSource->Update();
    vtkSmartPointer<vtkPolyDataMapper>sphereMapper=vtkSmartPointer<vtkPolyDataMapper>::New();
    sphereMapper->SetInputConnection(sphereSource->GetOutputPort());
    vtkSmartPointer<vtkActor>sphereActor= vtkSmartPointer<vtkActor>::New();
    sphereActor->SetMapper(sphereMapper);
    //Setupwindow
    vtkSmartPointer<vtkRenderWindow>renderWindow=vtkSmartPointer<vtkRenderWindow>::New();
    //Setuprenderer
    vtkSmartPointer<vtkRenderer>renderer=vtkSmartPointer<vtkRenderer>::New();
    renderWindow->AddRenderer(renderer);
    renderer->AddActor(sphereActor);
    renderer->ResetCamera();
    widget.SetRenderWindow(renderWindow);
    //mainWindow.setCentralWidget(widget);

    //mainWindow.show();
    widget.show();
    app.exec();
    return EXIT_SUCCESS;

}

Note: this is only an initial version and will need to be revised in the end.
CMAKE, compile, run and find a bunch of errors. Never mind, we need to add the VTK header and lib files.
Add the following code:

INCLUDEPATH += $$quote(C:/Program Files/VTK/include/vtk-8.1)
LIBS +=  $$quote(C:/Program Files/VTK/lib/vtk*.lib)

In this case, the path is the path where the output has been compiled by VTK.
2. Run the program above
Error: cannot open QApplication
QT += widgets
2. 2 Qwidget Must constuct a Qappliaction before Qwidget
We separate the Debug and Release versions. Modify the PRO file as follows:

QT -= gui

CONFIG += c++11 console
CONFIG -= app_bundle
QT += widgets
DEFINES += QT_DEPRECATED_WARNINGS
SOURCES += \
        main.cpp

SysStatus = $$system(if exist %windir%/SysWOW64 echo x64)  ## if contains SysWOW64 prove the windows is 64 bit

win32 {
    ## Windows common build here
    !contains(SysStatus, x64) {
        message("x86 build ")
        ## Windows x86 (32bit) specific build here

    } else {
        message("x86_64 build")
        ## Windows x64 (64bit) specific build here
        LABMR_PREFIX = E:/XC/vtk/vtk-8.1.1/build/lib
        ## TOOLS_PREFIX = quote(C:/Program Files)
    }
}
##VTK INCLUDEPATH Starts
INCLUDEPATH += $$quote(C:/Program Files/VTK/include/vtk-8.1)
##VTK Ends

CONFIG(debug, debug|release) {

## VTK Debug LIB Starts
LIBS += $${LABMR_PREFIX}/Debug/vtk*.lib
## VTK Debug LIB Ends

} else {

## VTK Release LIB Starts
LIBS += $${LABMR_PREFIX}/Release/vtk*.lib
## VTK Release LIB Ends
}

Also modify the system environment variable to:

2. 3 still can not open the normal file.
We have modified the CPP file:

    # include & lt; QCoreApplication> and oreApplication a(argc, argv); with Core removed. Add two lines:
#include <vtkAutoInit.h>
VTK_MODULE_INIT(vtkRenderingOpenGL2);

The final CPP file is as follows:

#include <QApplication>
#include <vtkAutoInit.h>
VTK_MODULE_INIT(vtkRenderingOpenGL2);

#include <vtkSmartPointer.h>
#include <vtkSphereSource.h>
#include <vtkPolyDataMapper.h>
#include <vtkActor.h>
#include <vtkImageViewer.h>
#include <vtkRenderWindowInteractor.h>
#include <vtkInteractorStyleImage.h>
#include <vtkJPEGReader.h>
#include <vtkRenderer.h>

#include<QVTKWidget.h>

int main(int argc,char **argv)
{
    //QCoreApplication a(argc, argv);
    QApplication app(argc, argv);
    QVTKWidget widget;
    widget.resize(256,256);
    //Setupsphere
    vtkSmartPointer<vtkSphereSource>sphereSource=vtkSmartPointer<vtkSphereSource>::New();
    sphereSource->Update();
    vtkSmartPointer<vtkPolyDataMapper>sphereMapper=vtkSmartPointer<vtkPolyDataMapper>::New();
    sphereMapper->SetInputConnection(sphereSource->GetOutputPort());
    vtkSmartPointer<vtkActor>sphereActor= vtkSmartPointer<vtkActor>::New();
    sphereActor->SetMapper(sphereMapper);
    //Setupwindow
    vtkSmartPointer<vtkRenderWindow>renderWindow=vtkSmartPointer<vtkRenderWindow>::New();
    //Setuprenderer
    vtkSmartPointer<vtkRenderer>renderer=vtkSmartPointer<vtkRenderer>::New();
    renderWindow->AddRenderer(renderer);
    renderer->AddActor(sphereActor);
    renderer->ResetCamera();
    widget.SetRenderWindow(renderWindow);
    //mainWindow.setCentralWidget(widget);

    //mainWindow.show();
    widget.show();
    app.exec();
    return EXIT_SUCCESS;

}

Then cmake, compile, and run:

Over

The word that writes this basically is the word that oneself need to check later is more convenient.

VTK tutorial 1 ——– VTK installation under win10

VTK installation
in this paper, under the win10 operating system, installed VTK8.1.2.

, Visual Studio2017 Community, this version can be used for free.
2, cmake-3.13.1-win64-x64.msi
2, CMake
3, VTK8.1.2, download vtk-8.1.2.zip, binary file, free to use.
First of all, install VS2017 and CMAKE two software, because the installation of these two software is very simple, this article is skipped, if you have problems can be Baidu or Bing, pay attention to install VS2017 MFC also installed.

:
:
:
:
:
:
:
:
:
:
:
: