Tag Archives: virtual machine

(EE) Failed to load module “fbdev” (module does not exist, 0)

Enter the command startx in the virtual machine:
The following error occurs.
(EE) Failure to load module “Video Electronics Standards Association” (module does not exist, 0)
(EE) failed to load module “fbdev” (module does not exist, 0)
(EE) failed to load module “evdev” (module does not exist, 0)
(EE)No driver matching evdev input
(EE) failed to load module “evdev” (module does not exist, 0)
(EE)No driver matching evdev input
(EE) failed to load module “evdev” (module does not exist, 0)
(EE) No input driver matches “evdev”Solution.
yum install xorg-x11-drivers

Install Xen virtual machine using virt-manager

directory
Install Xen Virtual Machine with Virt-Manager Install Xen Virtualization Install Virt-Manager check libvirtd service status Create Xen Virtual machine view issues encountered with virtual machine status

Install the Xen virtual machine using virt-Manager
This article focuses on how to install the Xen virtual machine on CentOS 7 using Virt-Manager. The following environments need to be prepared:
CentOS 7Xen virtualization Virt-managerVMware Workstation 12
Note: The desktop version of CentOS7 is installed on the same host as Xen virtualization and Virt-Manager for this environment


Install Xen virtualization
See my post on Installing Xen virtualization under CentOS 7 for details
Install the virt – manager
Use the following command to install

yum install -y virt-manager

Check the status of the libvirtd service
Use the following command to see that the service starts properly

systemctl status libvirtd


Create the Xen virtual machine
Open the virt-Manager interface

virt-manager


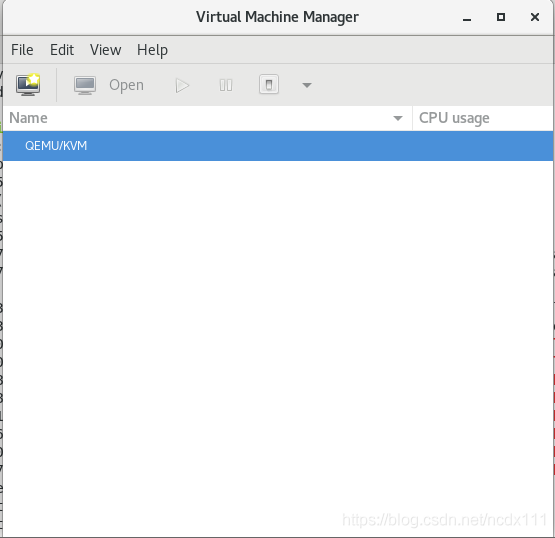
To connect to Xen virtualization, click File-> Add Connection, select Xen, where Hostname fill in Xen virtualization server IP
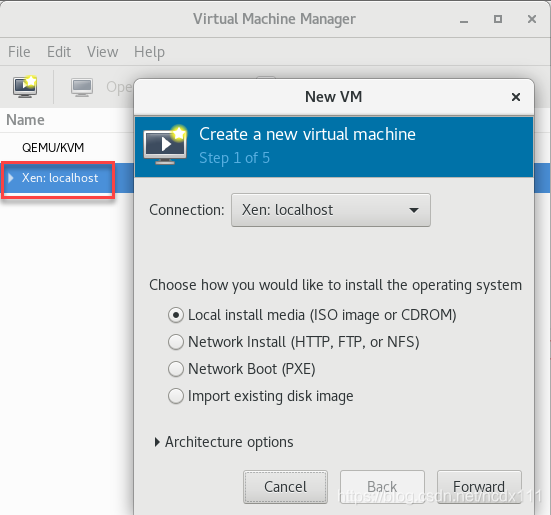
create virtual machine, right click Xen:localhost-> New opens the create page and selects the installation method specified.
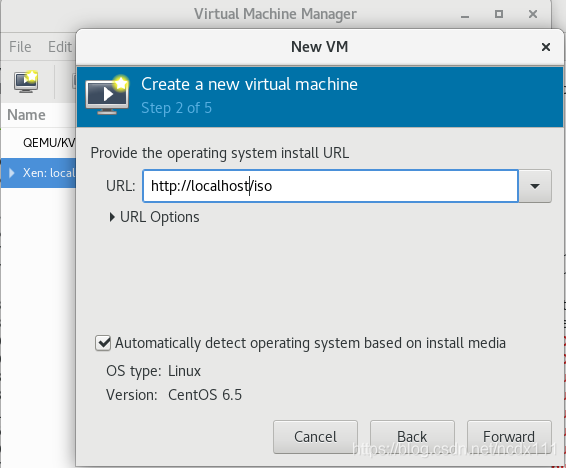
input Network Install Network Install installation address
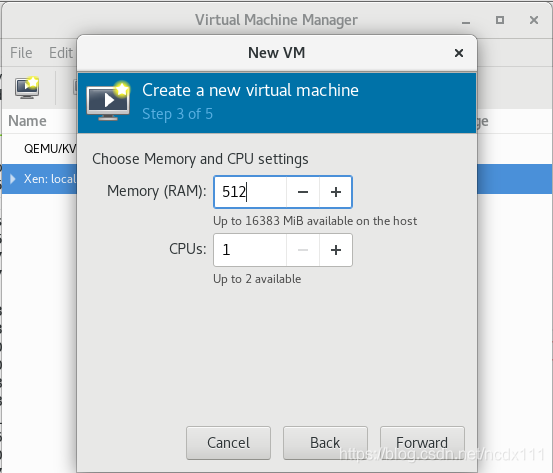
select the virtual machine memory and CPU configuration, the image installed in this paper is centos6.5-minnal version
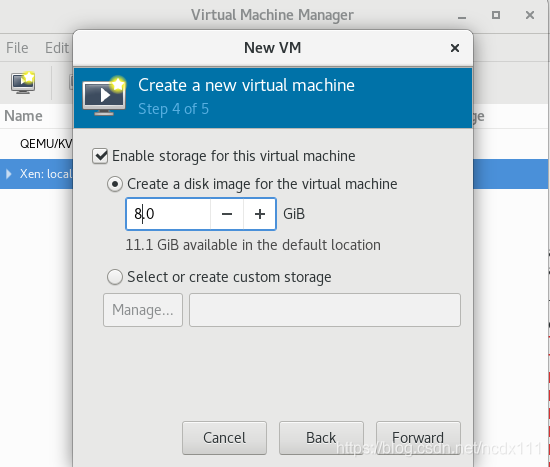
select the virtual machine disk size
confirm the installation information (including the selection of Network configuration, whether to customize the configuration information), Check the first red box in the figure below if there is a custom requirement.
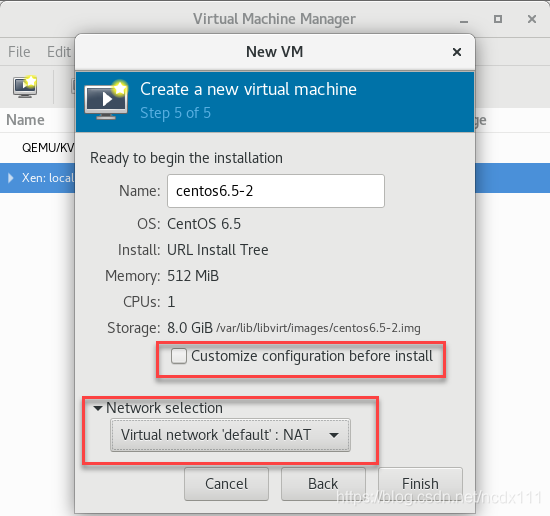
 
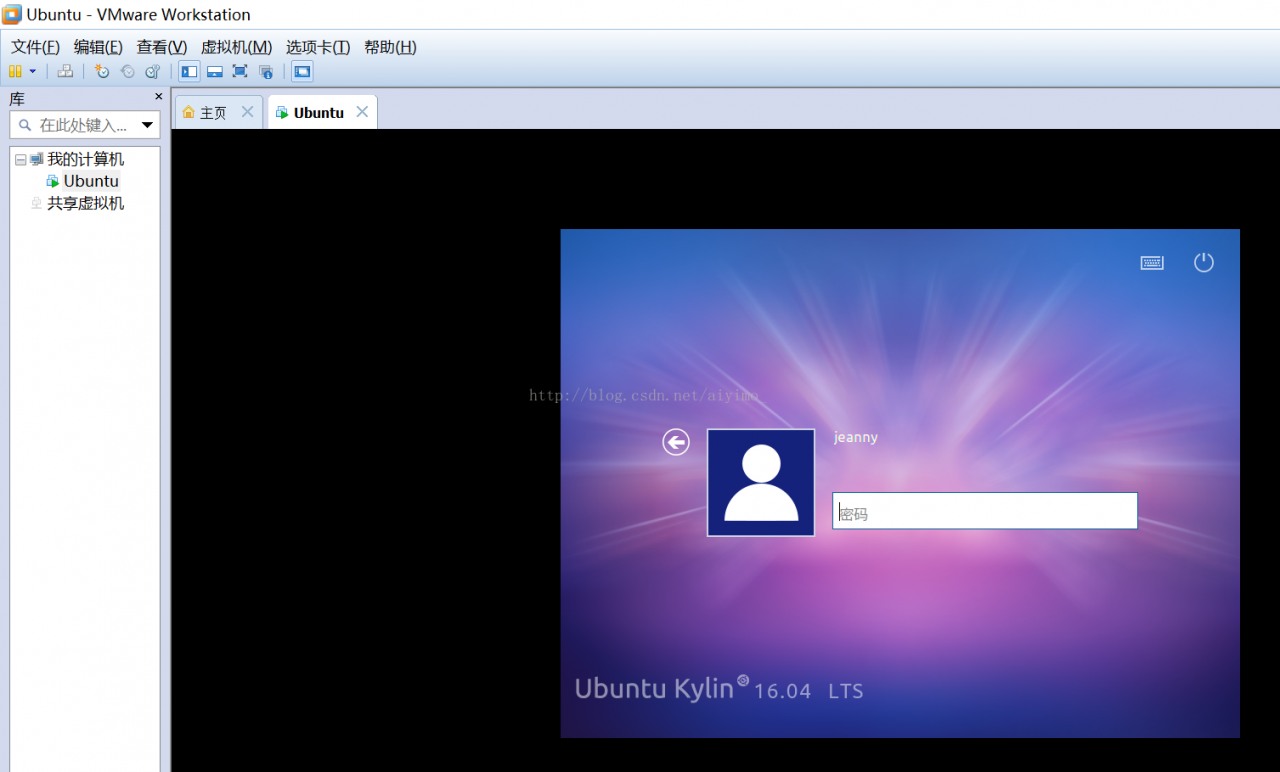
click Finish to enter the installation interface. Installation steps are not described in this article, but you can find the installation tutorial by yourself
View virtual machine status

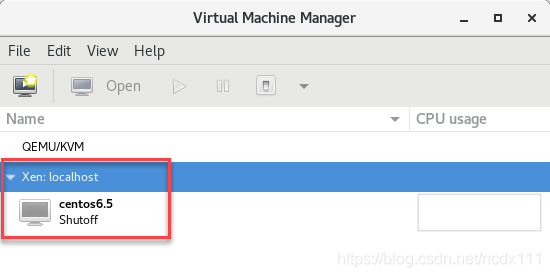
can be viewed through the virt-manager to enter the virtual machine command line by entering the following command

virsh


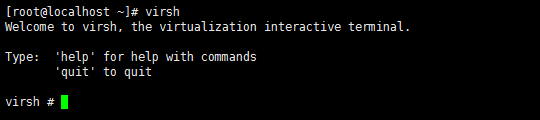
You can use help to view relevant commands. For example, enter the following command to see the virtual list and its status

list --all


Problems encountered
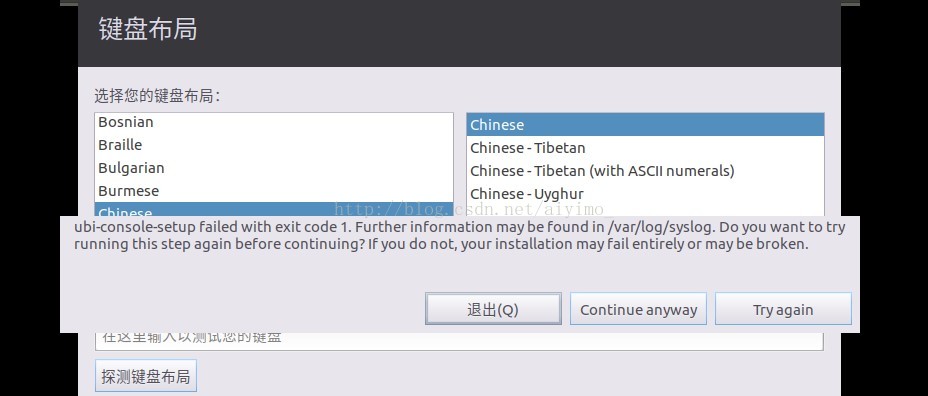
In the process of creating virtual machines using Virt-Manager, the following problems are encountered, and the solutions are attached for your reference.
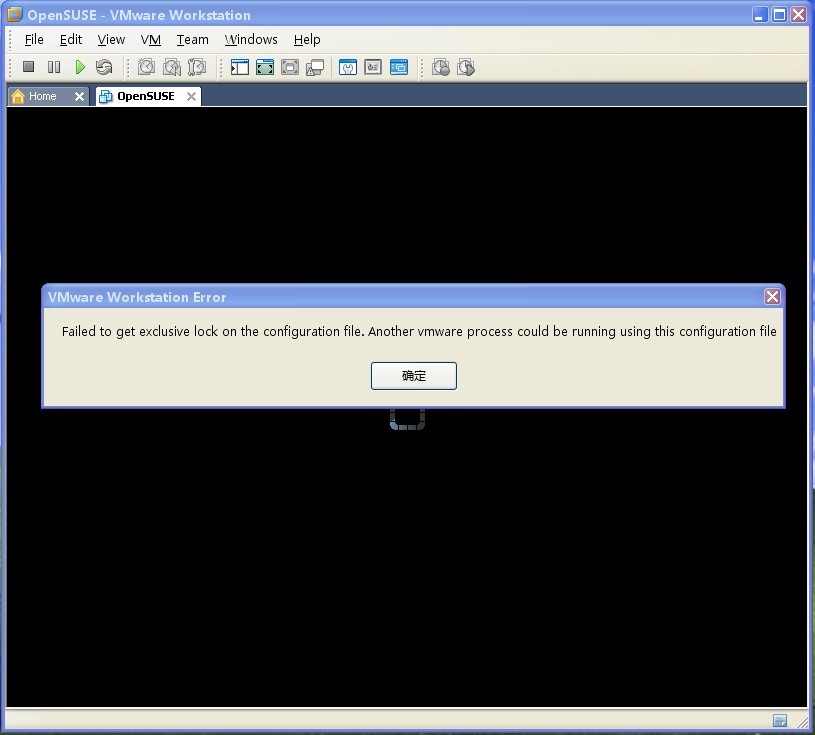
:'internal error:process exited while connecting to monitor:qemu:could not load PC BIOS 'bs-256k.bin ' Unable to complete install:’internal error:process exited while connecting to monitor:qemu:could not load PC BIOS’ bs-256k.bin ‘ Just create a BIOS -256k.bin file under seabios directory

cp /usr/share/seabios/bios.bin /usr/share/seabios/bios-256k.bin

incapable to complete install:'interbal error:libxenlight failed to create new domain 'centos6.5' 1. There is a centos6.5 virtual machine in the current virtual machine list. Rename the currently created virtual machine or delete the existing virtual machine to
2. Use the command yum update qemu-img to update the file
3. Determine if the memory and CPU of the virtual machine being created is greater than the memory and CPU of the host, and ensure that the virtual machine’s resources are smaller than those of the host

How to Fix VMware Taking ownership of this virtual machine failed

Today I used VMWare by mistake. When I logged in Windows 2003 Server, I needed to press Ctrl+Alt+Delete, and then I accidentally clicked where I went (I didn’t see it myself!!). , causing virtual machine deadlock. The following figure appears when the virtual machine is running:

After clicking Take Ownership, the following figure appears:

Google searched the fault, and it turned out to be the virtual machine deadlock caused by the system Crash:
When I clicked on the lock button (which had replaced VMWare Fusion’s normal “play” button), I got an error message sea-voyage “The virtual machine appears to be in use” :

Seeing as how I was not using The VM (… At least to the best of my knowledge), I clicked on “Take Ownership”, and got an error message that said “Taking Ownership of this virtual machine failed” :
What to do?I started googling for the error messages to see if I could find a resource or VMWare support document that described how to troubleshoot them, But to my surprise it took me awhile and some digging to find something. I helped myself, which in essence picked up VMWare’s lock files on the virtual machine.
In fact, every time the virtual machine is started, a.lCK folder is automatically generated, which can be found from the creation time of the mXXx.lCK file, which is the moment the virtual machine is started


After deleting all.lCK folders in the virtual machine, double-click the VMX file to run the virtual machine again. The problem is solved

System and host port mapping under virtualbox

Environment:
Virtualbox is installed under Ubuntu and XP is installed under VirtualBox,
 
Requirements:
Accessing xp Web services under Ubuntu,
 
Methods:
To do port mapping in Ubuntu, execute the following command (turn the virtual off before executing) :
VBoxManage setextradata “xp” “VBoxInternal/Devices/pcnet/0/LUN# 0/Config/web/Protocol” TCP
VBoxManage setextradata “xp” “VBoxInternal/Devices/pcnet/0/LUN# 0/Config/web/GuestPort” 80
VBoxManage setextradata “xp” “VBoxInternal/Devices/pcnet/0/LUN# 0/Config/web/HostPort” 8888
 
The operating system name of the “XP” virtual machine; Pcnet is a network type; The Web can be anything;
 
Completed: start the xp virtual machine, and then under the ubuntu browser to access the address is: http://www.test.com:8888/, 80 service will show the xp system.
 
Just to remind you, there’s one question that’s been bothering me for a long time:
Description:

NAT#0: configuration query for “HostPort” int failed (VERR_CFGM_VALUE_NOT_FOUND).
Unknown error creating VM (VERR_CFGM_VALUE_NOT_FOUND).
 
When using VBoxManage setextradata “xp” “VBoxInternal/Devices/pcnet/0/LUN# 0/Config/web/HostPort”, 8080, the above problems;
Later: 8080 into 8888 port IS OK.

Forced shutdown of VMware wrokstation error (failed to get exclusive lock on the configuration file —)

today I accidentally shut down the VMware. Exe process in the process. It doesn’t matter if I shut it down.

said that a running process was using the “configuration” file and was unable to obtain the lock for the configuration file, causing a failure.

know the error, we can solve the problem, there is a process using this file, then we go to the process to look, of course, the first thing we think of is, is the virtual machine process. Three virtual machine processes were actually found in the process manager,

vmware – usbarbibrator. Exe

vmware – unity – helper. Exe

vmware – VMX. Exe

my first instinct was vmware. Exe,kill it, really, the virtual machine is up.

Win10 system virtual machine installation of Ubuntu system failed, prompt: UBI language failed with exit code 1

yesterday I tried to install ubuntu under the virtual machine of win10 system on my new computer. As a result, I tried to install several versions of ubuntu one after another, but failed. “Ubi-language failed with exit code 1. Further information may be found in /var/log/syslog. Do you want to try running this step again before continuing?If you do not, your installation may fail entirely or be broken.

the bug report interface links: https://bugs.launchpad.net/ubuntu/+source/ubiquity/+bug/906015

solution: clear the current installation record, download ubuntu16.04 version, reinstall, install successfully.

Ubuntu download link: https://www.ubuntu.com/download/ubuntu-kylin
Reference the install link:

http://blog.csdn.net/jimmylincole/article/details/13168989