Multithreaded OpenGL failed to create a bitmap solution
July 08, 2010
[b]
[b]
[b]
Recently, I have been working on OpenGL multithreading. The problem I have encountered is that using OpenGL Glgentextures to draw bitmaps in multithreading is not effective. I searched on the Internet for three days and asked a lot of netizens and technical groups, but without exception, I did not get the answer.
Finally, I found relevant information when I searched the Internet yesterday. The solutions are as follows. If you also encounter this problem, I hope I can help you.
Translated from:
[b] [/ b] [b] http://zhidao.baidu.com/question/77393242.html [/ b]
You call it in your thread
wglMakeCurrent to connect the HDC to the currently available HGLRC. Remember, OpenGL’s HGLRC can only be used in one thread at a time, so it is thread-safe. You must call wglMakeCurrent before the thread terminates (NULL, NULL).
if this doesn’t work in your version
suggests you use it when entering threads
wglCreateContext (HDC);
wglMakeCurrent (HDC, HGLRC);
thread exit before use
wglMakeCurrent (NULL, NULL);
wglDeleteContext (HGLRC);
This is usually fine
= = = = = = = = = = = = = = = = = = = = = = = = = = = = = = = = = = = = = = = = = = = = = = = = =
This is fine if you create this control dynamically in your thread
if you are using message thread creation is not line, you can’t use in you create your own thread
= = = = = = = = = = = = = = = = = = = = = = = = = = = = = = = = = = = = = = = = = = = = = = = = =
the reason I said above, OPENGL is thread-safe, its rendering context cannot be used in multiple threads at the same time; In addition: to develop OpenGL procedures, if you use the MFC framework, it is recommended that you first understand MFC; If it is pure SDK development, it is necessary to focus on the study of OpenGL to the running environment requirements. Maybe you have a higher version of VS that provides a TIMER control. This is a TIMER control that sends a WM_TIMER message to your window every once in a while. If you are not familiar with Timer, I suggest you look into the Windows messaging mechanism first; Remember, OpenGL is not for beginners; There’s no basis, and even if you write code, you don’t know why it all works the way it does; And multithreading programming is a difficult point, not only to solve the synchronization problem, debugging is also very difficult, often encounter some puzzling problems. Just like your question, this problem is caused by your lack of clarity about the OpenGL implementation requirements.
Translated from:
[b] [/ b] [b] http://blog.sina.com.cn/s/blog_4bb59dc40100fa57.html [/ b]
wglMakeCurrent:
function sets OpenGL’s current thread (thread dependent) rendering environment. All subsequent OpenGL calls from this thread are drawn on the device identified by this HDC. You can also use the wglMakeCurrent function to change the current rendering environment of the calling thread so that it is no longer in the current rendering environment.
note:
HDC parameter must be drawn on an OpenGL enabled surface. It does not need to be the HDC that wGLCreateContext passed in when it created HGLRC, but it must be the same device and have the same pixel format. GDI-converted HDCs will not be supported by the rendering environment. The current render environment will use the HDC device environment until it is no longer the current render environment.
Before switching to the new render environment, OpenGL will wash out all render environments prior to the current calling thread.
A thread can have a rendering environment. So a multithreaded process can have multiple rendering environments. A thread must set up a current rendering environment before calling any OpenGL function. Otherwise all OpenGL calls will be ignored.
The render environment can only belong to one thread at a time. You cannot make a render environment belong to multiple threads at the same time.
An application can generate multiple drawings from different current rendering environments in different threads, and it supports device environments where each thread has its own rendering environment.
If an error occurs, the wglMakeCurrent function will make the render environment not the current render environment of the thread before returning.
Translated from:
[b] [/ b] [b] http://topic.csdn.net/u/20080408/17/54b76b63-1c46-4340-80ef-2b5bc4859f0c.html [/ b]
the original is because the OpenGL Context can only be one thread has at the same time, in the creation of OpenGL window was occupied by the main thread. The solution is to use the function wglMakecurrent (HDC HDC,HGLRC HGLRC), which can associate the OpenGL Context with the thread calling the function: add wglMakecurrent (NULL,NULL) to the main thread, unassociate it, and then use wglMakecurrent (HDC,HGLRC) at the beginning of the child thread to get the Context.
I am in a story about a multithreaded OpenGL English information, you may have seen the original mainly solve with two threads at the same time operating OpenGL: a rendering, create a display list. The way he uses it is that the render thread gets the Context at render time, releases it when it’s done, and another thread takes up the Context… And so on.
I reckon I can even use wglMakeCurrent switching, implement multiple threads at the same time to drawing on a window! Not exactly at the same time, of course, but in turns. This is not very efficient, though, except to prevent the user interface thread from being blocked by too much graphing.
— — — — — — — — — — — — — — — — — — — — — — — — — — — — — — — — — — — — — — — — — — — — — — —
= glgentextuples (1, (UINT*)& M_nTexID = m_nTexID = m_nTexID = m_nTexID = m_nTexID = m_nTexID
the original is in the child thread of hDC and hRC, and then the child thread running through return hDC and hRC, don’t know what I’m saying you understand don’t understand, don’t understand can you give me a message. Ha ha

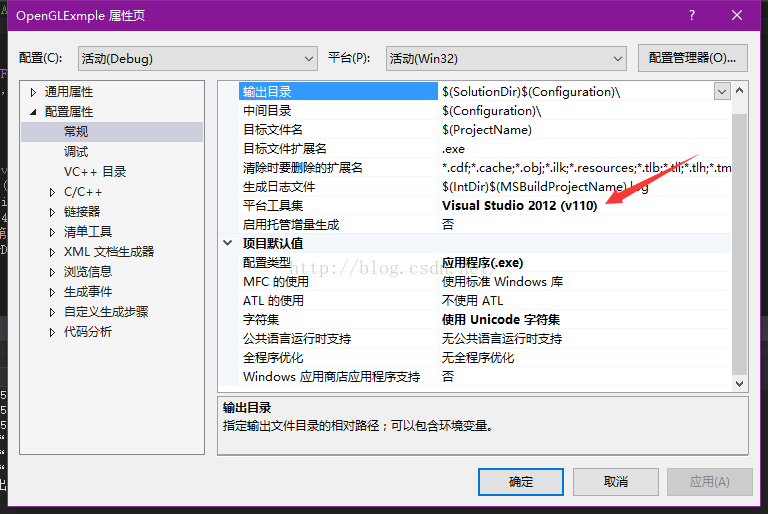



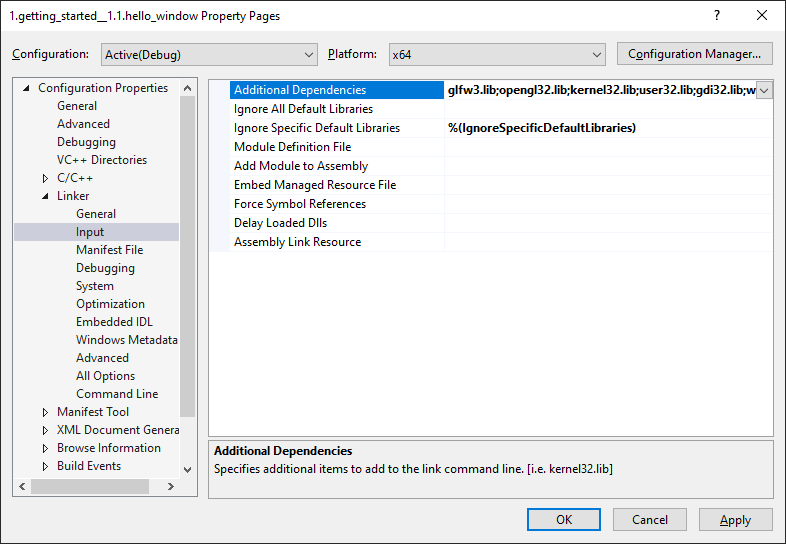
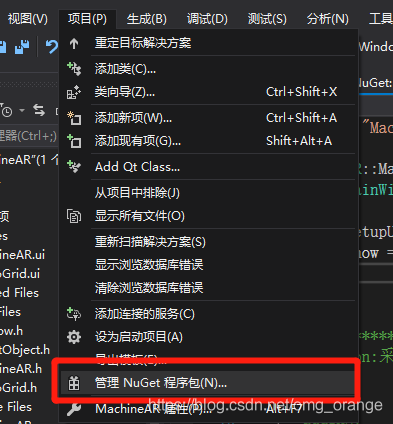
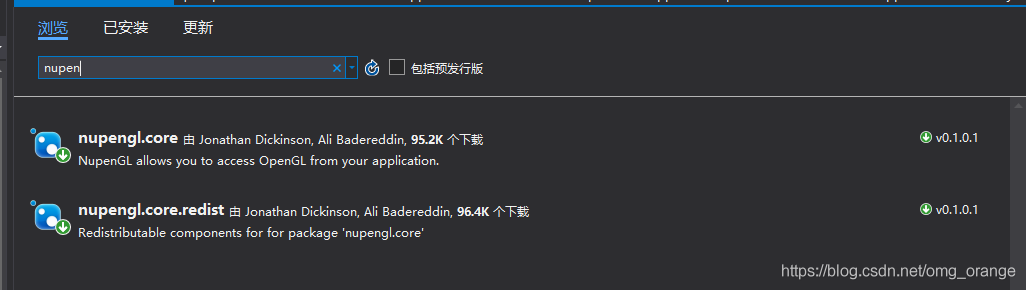 respectively selected two packages, click “install” on the right side. After installing both packages successfully, you will see that there are two more folders in the Packages folder under the project folder, which are the packages that we imported. Now you can use OpenGL functions by adding the corresponding header files in the program. There is no need to configure them in the project properties.