Open source network:
https://github.com/NVlabs/SegFormer
When you train segformer, you report an error:
“EncoderDecoder: ‘mit_ b1 is not in the backbone registry'”
The direct cause of this exception is:
Find MIT in the dictionary_ B1, throw exception if not found:
    obj_type = args.pop('type')
    if isinstance(obj_type, str):
        obj_cls = registry.get(obj_type)
        if obj_cls is None:
            print(obj_type)
            raise KeyError(
                f'{obj_type} is not in the {registry.name} registry')
mit_ B1 is a class,
@BACKBONES.register_module()
class mit_b1(MixVisionTransformer):
    def __init__(self, **kwargs):
        super(mit_b1, self).__init__(
            patch_size=4, embed_dims=[64, 128, 320, 512], num_heads=[1, 2, 5, 8], mlp_ratios=[4, 4, 4, 4],
            qkv_bias=True, norm_layer=partial(nn.LayerNorm, eps=1e-6), depths=[2, 2, 2, 2], sr_ratios=[8, 4, 2, 1],
            drop_rate=0.0, drop_path_rate=0.1)
Self simulation exception:
Method 1, put the class MIT_ If B1 is commented out, the above exception will be reported, MIT_ B1 not registered
Method 2:
In mmseg/Models/builder.py
Add test code:
bbb= BACKBONES.get(‘mit_ b2’)
print(“bbb”,bbb)
Complete as follows:
import warnings

from mmcv.utils import Registry, build_from_cfg
from torch import nn

BACKBONES = Registry('backbone')
NECKS = Registry('neck')
HEADS = Registry('head')
LOSSES = Registry('loss')
SEGMENTORS = Registry('segmentor')

bbb= BACKBONES.get('mit_b2')

print("bbb",bbb)
The result BBB is empty, MIT_ B1 not registered
Method 3:
# from mmseg.models import BACKBONES
from mmseg.models.builder import BACKBONES

bbb= BACKBONES.get('mit_b1')

print("bbb",bbb)
The result BBB is empty, MIT_ B1 not registered
Find and quote MIT again_ B1 file
mix_transformer.py
You can register successfully. The code is as follows:
Create a registry under the root directory_ Demo.py, the test code is as follows:
# from mmseg.models import BACKBONES
from mmseg.models.backbones import mix_transformer
from mmseg.models.builder import BACKBONES

# from .mix_transformer import *


bbb= BACKBONES.get('mit_b1')

print("bbb2",bbb)
bbb2 < class ‘mmseg.models.backbones.mix_ transformer.mit_ b1’>
Normal test method:
In the root directory,
Create a registry_ Demo.py, the test code is as follows:
If the registration is successful, bbb2 is not empty. If the registration is not successful, bbb2 is empty.
from mmseg.models import BACKBONES

bbb= BACKBONES.get('mit_b1')

print("bbb2",bbb)


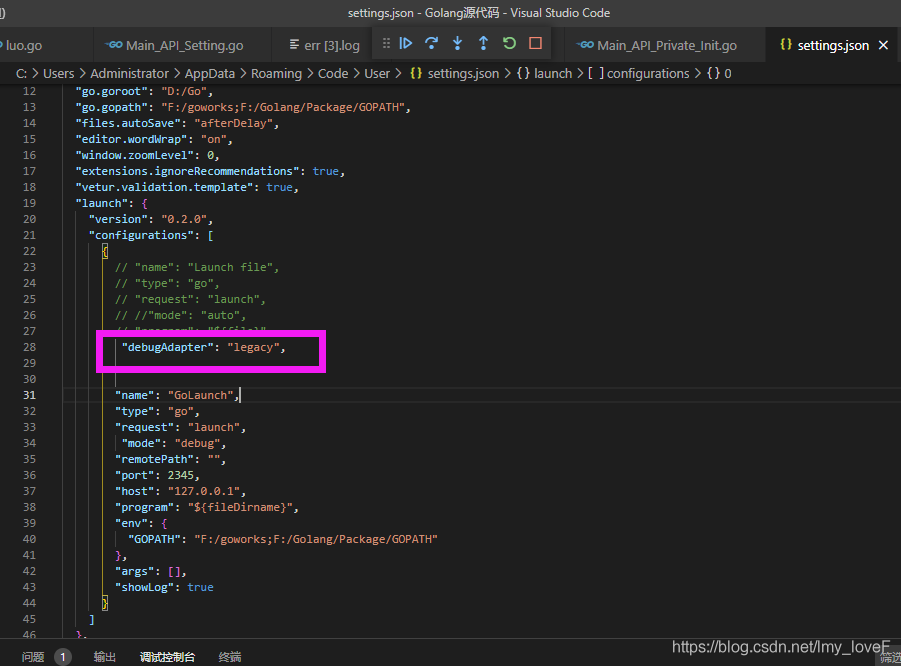
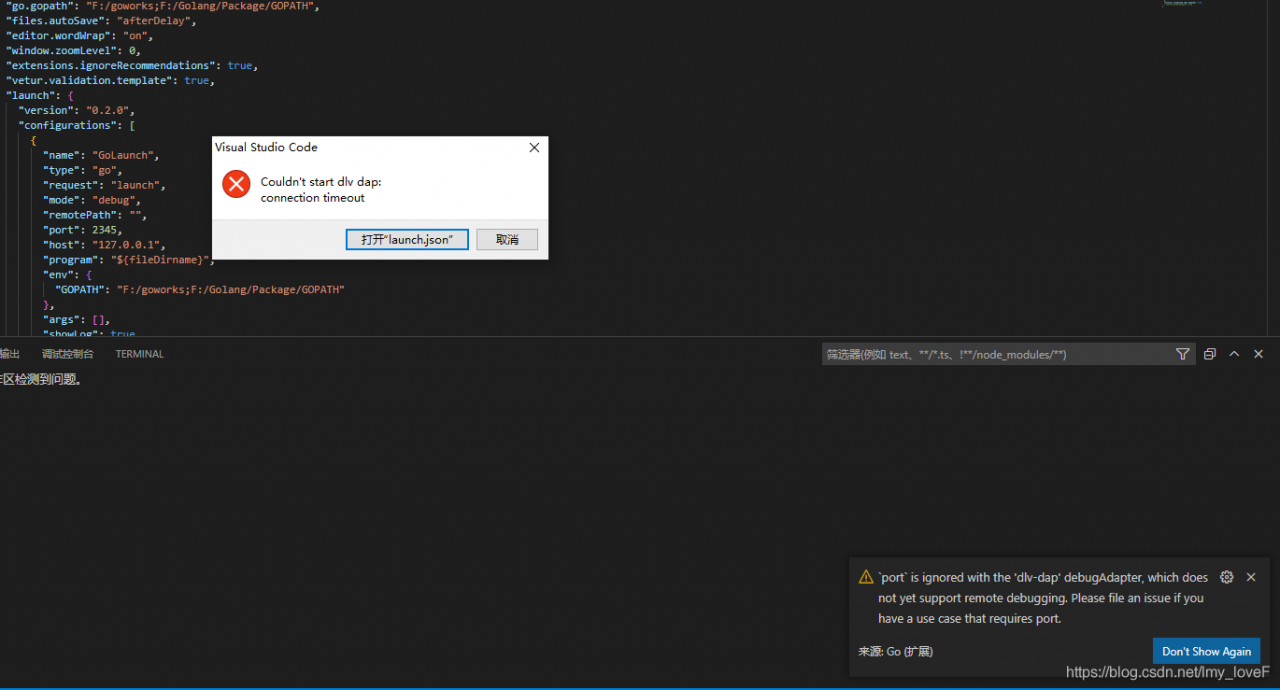 Solution: Add to the configuration file, “debugAdapter”: “legacy”,