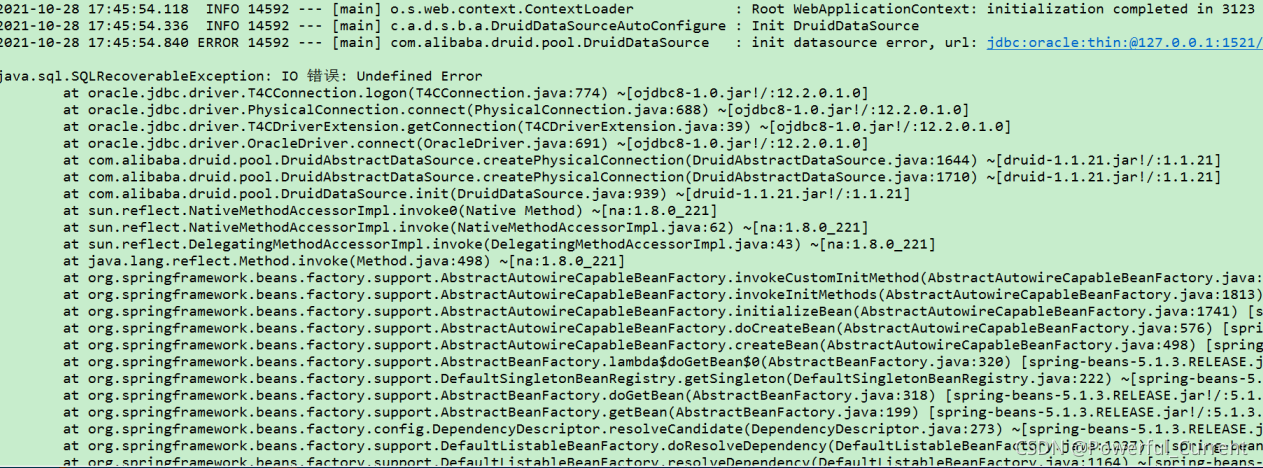
Run the project with idea today. When you want to package directly, the result is that the packaging fails and an error is always reported [ERROR] Malformed \uxxxx encoding.
After checking on the Internet, it has been said that there are paths that use errors when using slashes. It’s good to replace “\” with “/”, but there is no “\” in my configuration file and POM file.
In addition, let’s change the Maven warehouse and download the jar package again, but there are a lot of jars in my project, and some jars need to be imported manually. It must be unrealistic to download again with another Maven.
Until I saw an article later, MacOS – java.lang.illegalargumentexception: malformed \ uxxxx encoding while MVN install – stack overflow
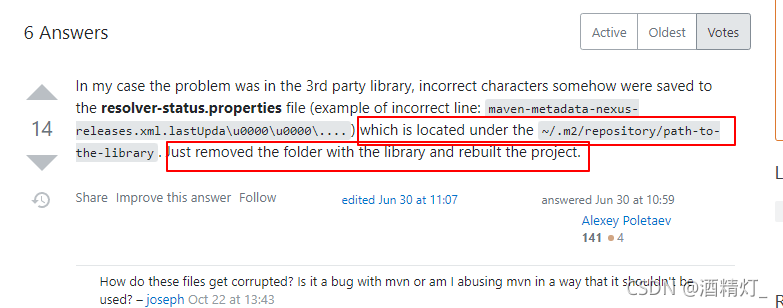
The solution given in the article is to find the path to the library in the./m2/folder and delete it.
But
I still don’t have this folder.
Later, I searched the resolver-status.properties file globally using everthing, and found several. And look at the generation time, it was generated in the process of my packaging failure.
When I opened the file, I found that the error information of each package was recorded, and some of them were garbled.
So I deleted all resolver-status.properties generated during my packaging failure,
Then MVN install again with idea, and the project is packaged successfully.
So unify the following online solutions
1. First, check whether there are path errors in the. Properties,. YML, pom.xml, logback and other configurations of the project
2. Update the Maven repository and download the jar package again
3. Delete the path to the library or resolver-status.properties file
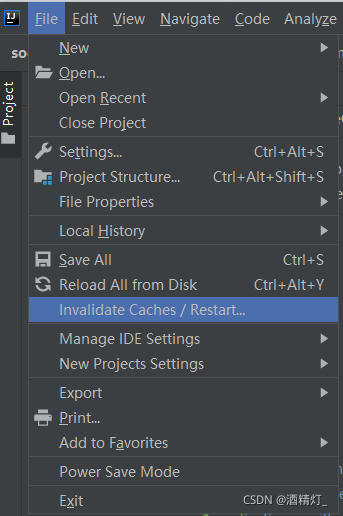
In either case, it is recommended to restart the editor. For idea, directly click the invalidate caches/restart button to clean up the cache and restart the idea
Like the second, it is unnecessary to update Maven warehouse. It is not necessary to download all jars again. You can download some jar packages that have not been downloaded successfully again.
How to judge whether the dependent download failed
Generally, unsuccessful downloading of dependencies will generate a file with the suffix not .Lastupdated. Once this file is generated, the dependencies will always fail to download. No matter how to reload Maven warehouse, the download will fail. It seems that when Maven checks the local library and checks the suffix file, it doesn’t seem to download the current dependency again.
Changing the Maven warehouse address is actually a new empty folder. In this way, the dependency will be downloaded again. Changing the dependent version is actually a new empty folder. Because the dependencies of each version will be placed in a separate folder
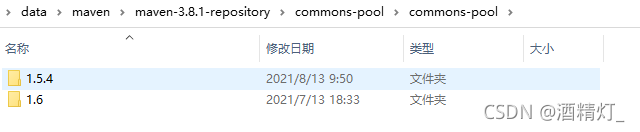
In this way, deleting files with the suffix .Lastupdated directly eliminates the need to update the Maven warehouse. In this way, successful downloads do not need to be downloaded again.
Of course, sometimes, we don’t know that the dependencies are not downloaded successfully, and only the .Lastupdated file is generated. Then, we can write a bat script to traverse all dependencies under the Maven warehouse, check whether the file suffix is .Lastupdated, and delete it if necessary. After the deletion is completed, use idea reload to the Maven warehouse again to download the dependencies again.
The script is as follows:
@echo off
::REPOSITORY_PATH replace with your own maven address
set REPOSITORY_PATH=D:\data\maven\maven-3.8.1-repository
echo %REPOSITORY_PATH%
for /f "delims=" %%i in ('dir /b /s "%REPOSITORY_PATH%\*lastUpdated*"') do (
    del /s /q %%i
)
pause
1. Create a new TXT file on the desktop, copy the contents above, and replace your Maven warehouse address.
2. Change the suffix of TXT file to. Bat and save the file
3. Double click to run the bat script.
This will delete all the .Lastupdated files in your Maven warehouse, and then you can download the jar package again
 at first, I thought it was my JDK version. The JDK version of Linux was 1.8 and my windows JDK version was 11.0. I changed the JDK environment variable to 1.8, but the problem remained the same after running.

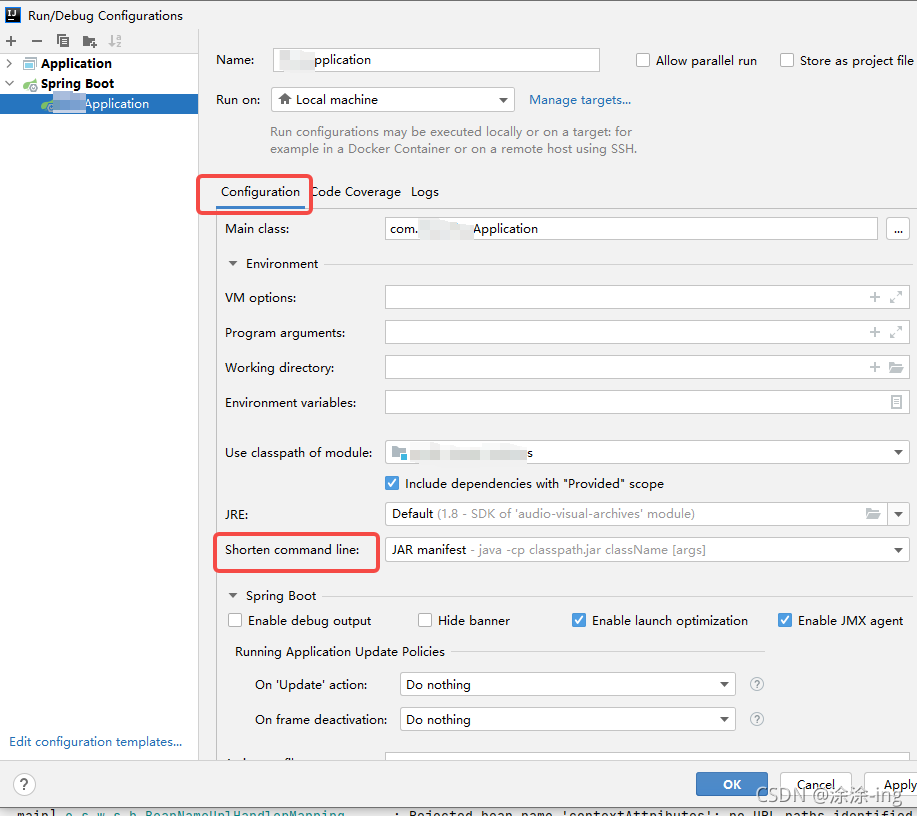 in the short command line option, select the jar manifest option, because the default is the first none,
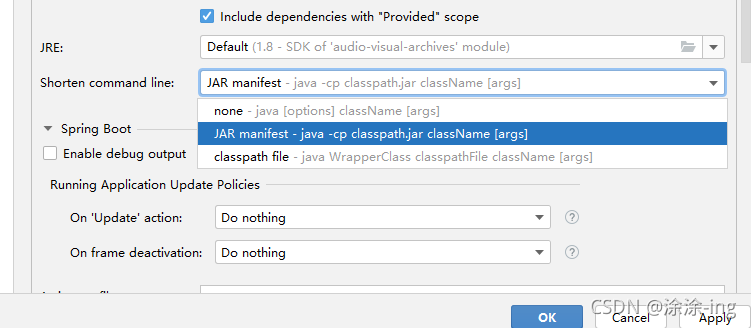

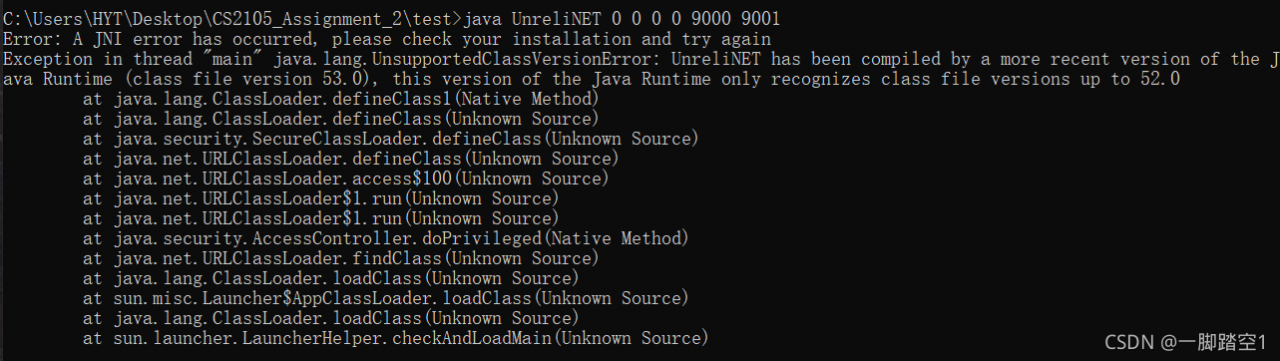
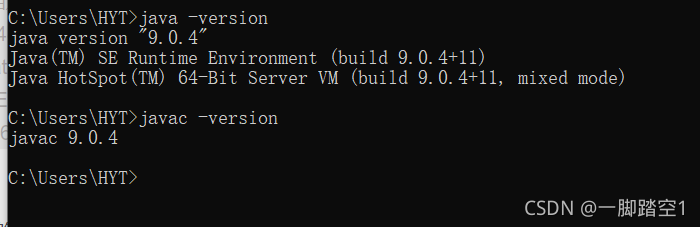
 java – version views the version of JRE (running environment). Javac – version looks at the version of JDK (compilation environment). Note: if you cannot successfully view the version by entering the above command, it indicates that there is a problem with the environment configuration. Please refer to here. Back to the point, if you find inconsistencies after checking the version, reconfigure the environment to ensure that the version is consistent and then recompile and run. It should be noted that I didn’t write the code here, and only got the compiled class file, so I can only solve this problem by changing the running java version. From the error message, we can know that after compilation, this code only supports the JRE environment of java version 52.0 or above. Even if we don’t know which java version 52.0 corresponds to, it must be higher than 1.8.0. In order to avoid problems in the future, I plan to directly update the entire java version, that is, replace JDK and JRE with a new version. Also, considering that 1.8.0 may be needed in the future, I will not delete the 1.8.0 version.
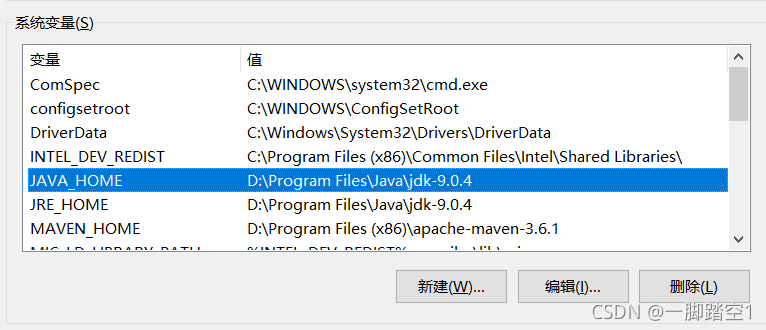
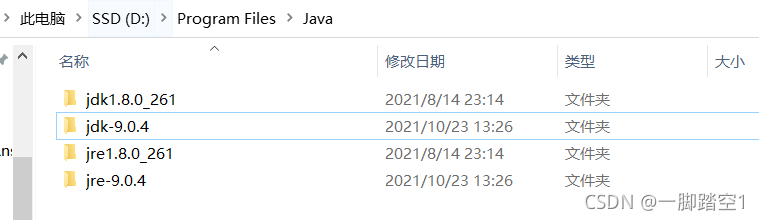 modify the original Java in the system variable_ Home and JRE_ Home path to point to the newly installed java version of 1.9 (if the way to configure the environment is different from mine, it doesn’t matter. In essence, it’s just that the path to point has changed. I suggest this way to configure it for management convenience. Please refer to the configuration link provided above). As shown below
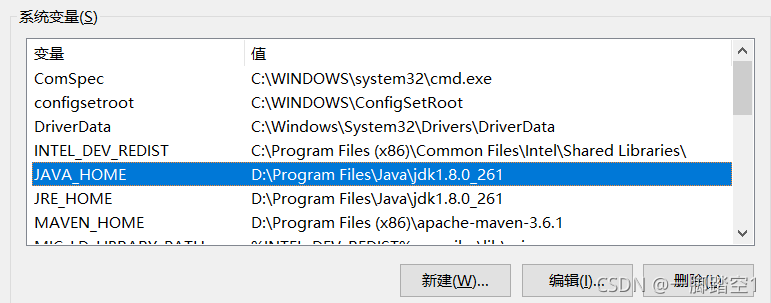
 run the code again and run successfully