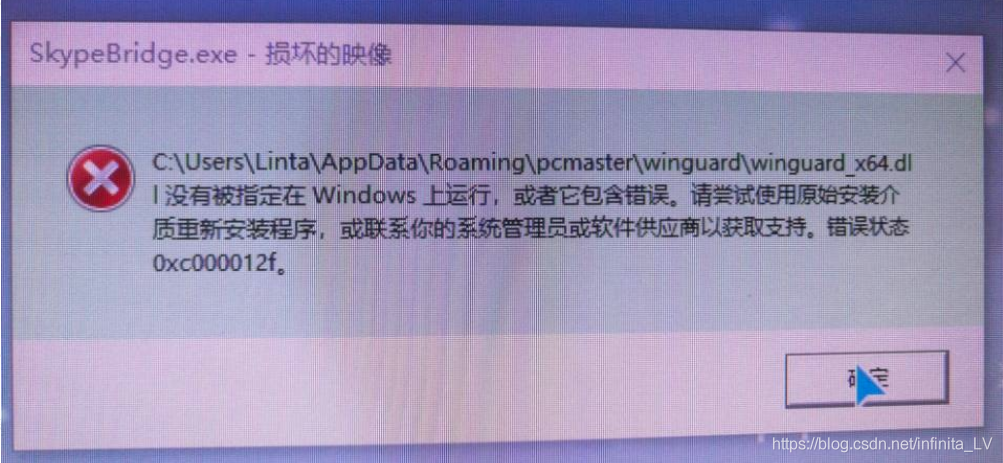
Open Settings from the Start menu, select Apps, find Skype in apps and functions, click on the Advanced options, and select Reset
Q:
psycopg2.OperationalError: SSL SYSCALL error: EOF detected
A:
exception psycopg2.OperationalError
Exception raised for errors that are related to the database’s
operation and not necessarily under the control of the programmer,
an unexpected disconnect occurs, the data source name is not
found, a transaction could not be processed, a memory allocation error
occurred during processing, etc.
an exception thrown for an error (not necessarily under programmer control) related to a database operation. An unexpected disconnect occurred, the data source name was not found, transactions could not be processed, memory allocation errors occurred during processing,
There are several possible causes of error reporting
1. Slow query
2. Process out of memory
3. Other queries are running, causing the table to be locked indefinitely
4. Insufficient disk space
5. Firewall
When the code successfully connected, but later an OperationalError occurred. Try to handle these broken connections in your code: the command to be executed is put into a try-catch block, and if the connection is broken, try to reconnect
Reference: https://stackoverflow.com/a/51764831/10051290
Node. js listen EADDRINUSE 127.0.0.1:3000 appears when running the app. The problem is that the set 3000 port is being used. Just modify the listening port.
Install CentOS 8.2- Error setting up Base Repository
Prepare to download the system image to make the U disk boot disk
CentOS 8 also came out for a while, replacing CentOS 8.2 on your computer from 7.6 with new, in keeping with the old principle. Removed the original system drive and installed a new 250G Samsung 850EVO. Prepare to install CentOS 8.2.
The preparatory work
Download system image
Direct downloads are not available on the CentOS official website and are required from a mirror. Can download directly, also can use thunderbolt and so on. For intramural traffic users, they can use uTorrent to use ipv6 and download it from the mirror of other universities (Shanghai Jiaotong University mirror station) to avoid heavy traffic. CentOS 8.2 provides boot, dvd1 and minimal installation methods. For convenience, the DVD1 image package (i.e., Cenos-8.2.2004-x86_64-dvd1.iso) was downloaded.
Make U disk starter disk
Cenos-8.2.2004-x86_64-dvd1.iso images are huge, at 7.66 GB, compared with about 4 GB for CentOS 7.6. It is recommended to prepare a larger USB flash disk for the startup disk. A 64GB or larger USB flash disk is recommended. I started to use a 16-g USB flash disk to make the startup disk. In the installation process, Error setting up the base Repository would occur. At one point, I thought it was a mirror file error and dropped it three times from three different mirror sources. It turns out that installing directly with virtual machines. Iso mirroring is not problematic, while ultraISO usb flash drives are. It took a 64GB USB stick to make the error go away. If you have doubts about your usb flash drive or are worried that you are not familiar with the installation process, you can use the virtual machine to install the usb flash drive first, then install it on a physical machine.
When using a normal USB flash drive for Installation, the Software-Installation Source will become Local media. 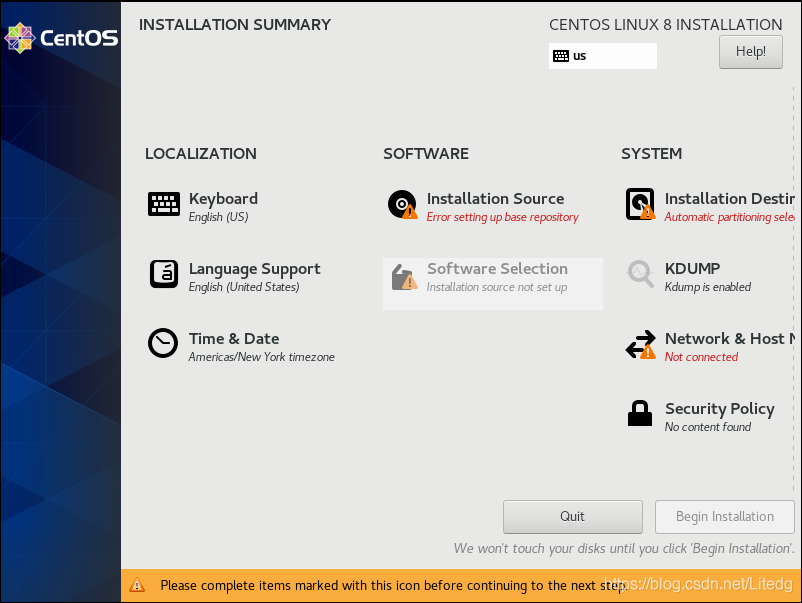
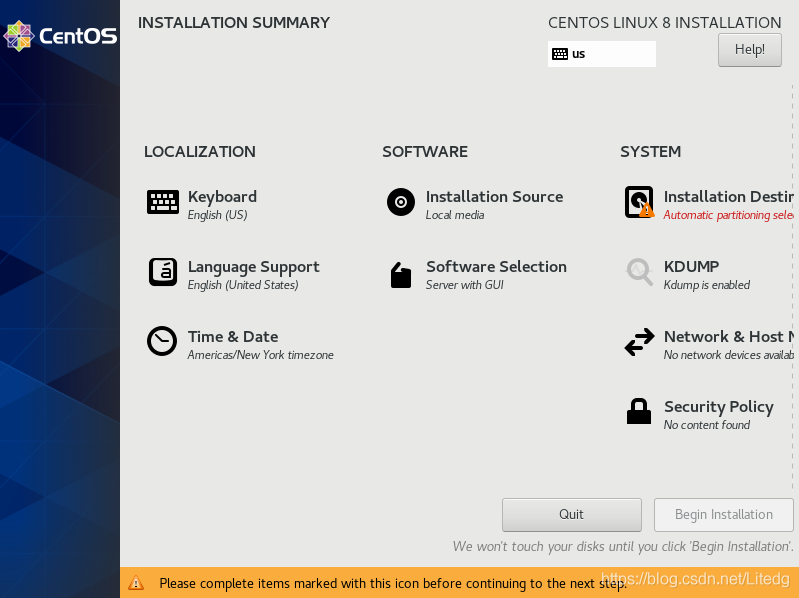
in this way, only need to select the SYSTEM partition in system-installation Destination, usually just select /boot and/and swap. No other partitions are selected.
is then installed normally.
1. Install the software package
sudo apt-get install tftpd tftp xinetd
2. Create a profile
Set up a configuration file TFTP under /etc/xinetd.d/
sudo vi /etc/xinetd.d/tftp
The following
Service TFTP
{
Socket_type = dgram
Protocol = udp
Wait = yes
User = root
Server =/usr/sbin/in TFTPD
Server_args = -s /tftpboot // This is the location of ubuntu’s TFPT directory and the current one is in the root directory.
Disable = no
Per_source = 11
The CPS = 100 2
Flags = IPv4
}
3. Establish TFTP service file directory
In the above configuration, server_args = -s /tftpboot, where /tftpboot is where the files are uploaded and downloaded.
Sudo mkdir /tftpboot — Create /tftpboot in the root directory
Sudo Chmod 777/tFTpboot-r — set permissions to 777
4. Restart TFTP service
Sudo /etc/init.d/xinetd restart — RESTART the TFTP server
5, test,
Sudo netstat -a | grep TFTP — to see if the startup was successful, you can see udp 0 0 *: TFTP *:*
But mine is special
Udp60 0 *: TFTP [] :*
But it’s still installed correctly.
And then install this thing
apt-get install inetutils-inetd
What service management is said to be TFTP server
The following
I entered TFTP 192.168.1.205-G-R ABC in the development board
// 192.168.1.205 is my Ubuntu address
-g is for download
-r stands for remote file download
ABC is the test file I placed in the virtual machine TFTP
TFTP 192.168.1.205-p-r ABC
tftp: server error: (2) Access violatio
Encountered this problem TFTP: Server Error: (2) Access Violatio
Server_args = -s /tftpboot // (now I share TFTP directory, set in the root directory)
2: In the configuration file to set the path, but also to create the corresponding directory.
3: Then authorize the Shared directory
Chmod 777/tftpboot:
4: In the virtual machine/tFTpboot we create a file and write anything in it
Touch the ABC
gedit abc
And authorization
chmod 766 abc
5: Where do I type on the development board
[root@gec210 /] TFTP 192.168.1.205-G-R ABC
tftp: server error: (2) Access violatio
6: Again, we are in the current directory of the development board
Touch ABC // Create a file with the same name as the file we want to download // re-authorize it
chmod 766 abc
7: [root@gec210 /] TFTP 192.168.1.205-G-R ABC again
8: Successful ~~~~// success is not shown at all. You can only cat a file on the virtual machine to see if it’s your own.
Upload from the development board (to upload, you must first create a file with the same name in the VIRTUAL machine TFTP, permission is still 766, because the upload is covering write, you need to create a corresponding file name first.)
The first time failed
/ root @ GEC210/TFTP 192.168.1.205 – p – r ABC
0% ABC | | 0 – stalled –
TFTP: a timeout
Once again successfully uploaded ~ ~ ~ ~
/root @ GEC210/TFTP 192.168.1.205 – p – r ABC
100% ABC | * * * * * * * * * * * * * * * * * * * * * * * * * * * * * * * | 16 0:00:00 ETA
2. Open the command prompt window,
Right click on the icon in the upper left hand corner –& GT; Attributes – & gt; Check “Use Older Console” –& GT; determine
Then close the Command Prompt window and reopen it
English is as follows:
Open “Command prompt”
Right click over title “Command prompt” and select “Properties”
select “Use legacy console (require relauch)”, Then “Accept”
Close and re-open “Command prompt” to test.
The official website replies with the following link
https://answers.microsoft.com/en-us/insider/forum/insider_wintp-insider_update/16-bits-applications-not-working-at-all/a776a720-ff62-4848-96b1-81b4371cff2c
Latest post: Virson’s Blog
Using the xfreerdp [ServeripAddress] command, the connection to XP/Windows 2003 is normal, but the connection to Win7/2008 is always wrong:
; ——————————————————————————–
Root @pg-vm:/etc/ld.so.conf.d# xfreerdp 192.168.7.195-u empt-p 123456
connected to 192.168.7.195:3389
Password:
SSL_read: Failure in SSL library (protocol error?)
SSL_read: error:14094419:SSL :SSL3_READ_BYTES:tlsv1 alert access denied
credssp_recv() error: -1
Authentication failure, check credentials.
If credentials are valid, the NTLMSSP I Either mplementation may be to blame.
; — — — — — — — — — — — — — — — — — — — — — — — — — — — — — — — — — — — — — — — — — — — — — — — — — — — — — — — — — — — — — — — — — — — — — — — — — — — — — — — —
how to solve?
A: When freerDP connects to Win7/2008, you need to specify the user name in the command line. Note the parameters of FreerDP
The above error is due to the wrong order. Please use the following command line to connect:
Xfreerdp-u Empty-P 123456 192.168.7.195
————————–
References:
[1] [Freerdp-devel] Authentication Failure with Win2008 with Current Security Updates (worked some time ago)
http://sourceforge.net/mailarchive/forum.php?Thread_name = 4 fa84187. 40 8060009% wp. Pl& forum_name=freerdp-devel
Reproduced in: https://www.cnblogs.com/mawanglin2008/p/3493108.html
The thumbnail appears A TimThumb error has occuredWordPress solution
Nowadays, many sites like to use Timthumb to automatically crop thumbnails, but it often fails to occured. The error will be “A timthumb error has occured”.
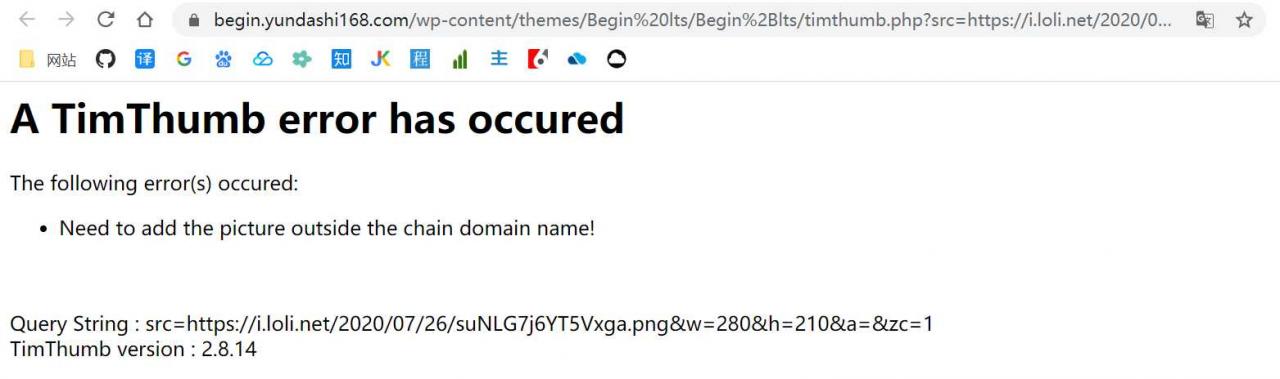
Now this situation is generally due to the reference of the external link image (that is, not their own site image) caused, the solution is also very simple, just need to add the corresponding external link domain name to the $ALLOWED_SITES in the timthumb. PHP file in the following format. The details are as follows:
if(! isset($ALLOWED_SITES)){
 $ALLOWED_SITES = array (
'www.zmki.cn',
'zmki.cn',
'a-oss.zmki.cn',
'pic.licaibiji.com ',
);
 }
The occured occured error of A TimThumb has occured not only because of the occured image, but also because of the occured image of the site. So the safest thing to do is to add the domain name of your site to $ALLOWED_SITES in the TimThumb. PHP file according to the above method.
If you add the external link address and your own domain address, you still cannot display the thumbnail properly
If you add the outer chain after the address and domain name or not normal display thumbnails, then it may be to store the thumbnail cache folder cache (PS: direct open can now use the theme folder is generally see the cache folder, Z – Blog theme is inside the theme folder template folder) without written permission. All we need to do is set the cache folder permissions to 777. Generally through the FTP link after the right folder can modify the permissions, or log in the corresponding server or virtual host file manager to set.
For those who don’t know how to use the Pagoda panel to build wordpress sites, take a look at the previous section:
Tutorial pagoda panel (1) based on the cloud server build pagodas panels most complete tutorial, a pagoda tutorial (2) add a WordPress site detailed graphic tutorials pagoda pagoda panel panel tutorial (3) based on the pagoda panels successfully configured web site SSL security certificate pagoda tutorial (4) the WordPress site backup and restore (pagoda panel)
The original address: http://tencent.yundashi168.com/683.html
configure:3866: $?= 0
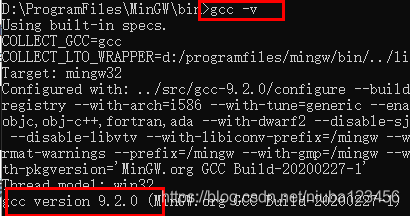
configure:3855: gcc -V >&5
gcc: error: unrecognized command line option '-V'
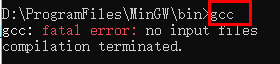
gcc: fatal error: no input files
compilation terminated.
configure:3866: $?= 1
configure:3855: gcc -qversion >&5
gcc: error: unrecognized command line option '-qversion'; did you mean '--version'?
gcc: fatal error: no input files
compilation terminated.
Similar errors include:
error: ac_nonexistent.h: No such file or directory,Such a mistake should be ignored. Keep looking down.