1. Web framework
Web framework (Web framework) is a development framework used to support the development of dynamic Web sites, Web applications and Web services. Most of these Web frameworks provide a set of ways to develop and deploy web sites, as well as a common set of methods for Web behavior. The Web framework has already implemented many functions, and developers can quickly develop Web applications by using the methods provided by the framework and completing their own business logic. The browser and server communicate based on the HTTP protocol. It can also be said that the Web framework is in the above dozens of lines of code base extension, there are a lot of simple and convenient use of methods, greatly improve the efficiency of development.
2. Web application background
By understanding the HTTP protocol and HTML documents, we understand the essence of a Web application: </font b>
The browser sends an HTTP request; server receives a request to generate an HTML document; The server sends the HTML document to the browser as the Body of the HTTP response; browser receives the HTTP response, pulls out the HTML document from the HTTP Body and displays it.
3. WSGI Protocol
the simplest Web application is to save the HTML with a file, use an off-the-shelf HTTP server software, receive user requests, read HTML from the file, return. Common static servers such as Apache, Nginx, Lighttpd, and others do just that.
if you want to generate HTML dynamically, you need to do the above steps yourself. However, accepting HTTP requests, parsing HTTP requests, and sending HTTP responses are all hard work, and if we write the underlying code ourselves and haven’t started writing dynamic HTML yet, we’ll have to spend months reading the HTTP specification.
The correct approach is that the underlying code is implemented by specialized server software, and we focus on generating HTML documents in Python. Because we don’t want to touch the TCP connection, HTTP raw request and response formats, we need a unified interface, and let’s focus on writing Web business in Python.
This Interface is the WSGI: Web Server Gateway Interface.
WSGI, (Web Server Gateway Interface), is a Web Server Gateway Interface standard/protocol that implements Python parsing. It is a simple and common Interface between a Web Server and a Web application or framework.
4. Wsgiref module
The wsgiref module is a service module developed by python based on wsgi protocol. It is a reference implementation of wsgi server written in pure python. A “reference implementation” means that the implementation is fully compliant with the WSGI standards, but does not consider any operational efficiency, and is used only for development and testing purposes.
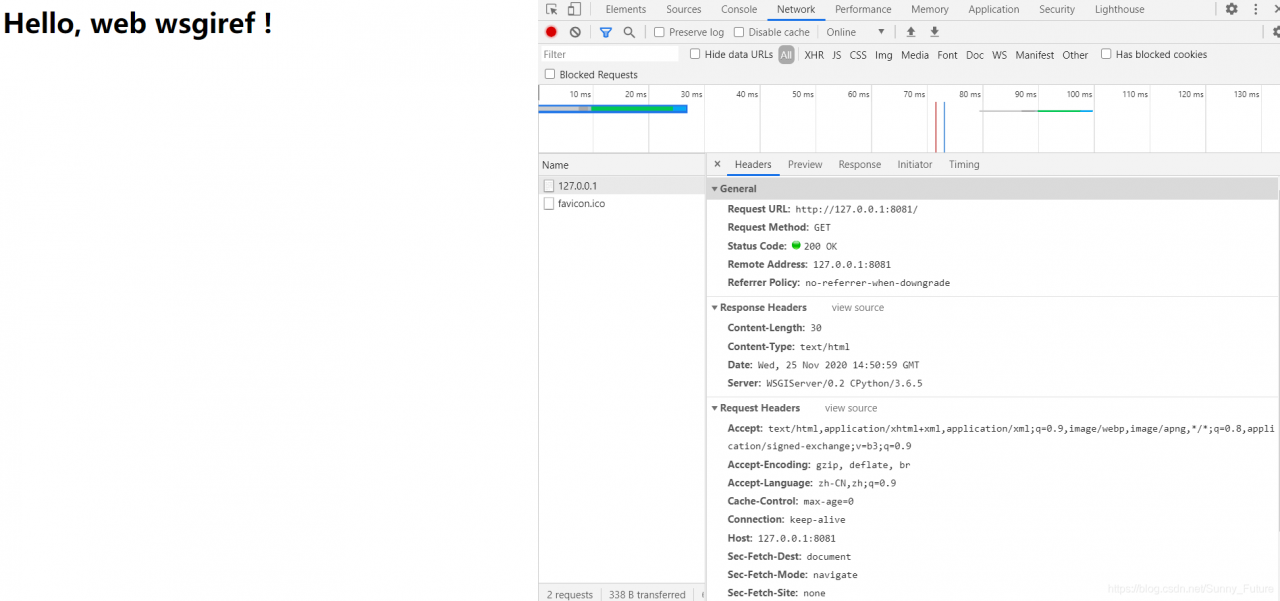
from wsgiref.simple_server import make_server


def application(environ, start_response):
    start_response('200 OK', [('Content-Type', 'text/html')])
    return [b'<h1>Hello, web  wsgiref !</h1>']


httpd = make_server('', 8081, application)

print('Serving HTTP on port 8081...')
# Start listening to HTTP requests:
httpd.serve_forever()
5. DIY a Web framework
in order to make a dynamic website, we need to extend the functions, such as the user accesses the url through a login page when the path is login, and responds to a front page when the path is index.
5.1 Startup file: manager.py
from wsgiref.simple_server import make_server
from views import *
from urls import urlpatterns


def application(environ, start_response):
    # print("environ",environ)
    start_response('200 OK', [('Content-Type', 'text/html')])
    # Get the current request path
    print("PATH_INFO",environ.get("PATH_INFO"))
    path=environ.get("PATH_INFO")
    # Branches
    func = None
    for item in urlpatterns:
        if path == item[0]:
            func = item[1]
            break
    if not func:
        ret = notFound(environ)
    else:
        ret = func(environ)
    return [ret]


httpd = make_server('', 8080, application)
# Start listening to HTTP requests:
httpd.serve_forever()
5.2 URL control file: URls.py
from views import *

urlpatterns = [
    ("/login", login),
    ("/home", home),
]
5.3 View file :views. Py
# View Functions
def home(environ):
    with open("templates/home.html", "rb") as f:
        data = f.read()
    return data


def login(environ):
    with open("templates/login.html", "rb") as f:
        data = f.read()
    return data


def notFound(environ):
    return b"<h1>404...</h1>"
5.4 Templates file Templates
login.html:
<!DOCTYPE html>
<html lang="en">
<head>
    <meta charset="UTF-8">
    <title>Title</title>
</head>
<body>
<form action="http://127.0.0.1:8080/home" method="post">
    Username <input type="text" name="user" placeholder="user">
    Password <input type="password" name="pwd"  placeholder="pwd">
    <input type="submit">
</form>
</body>
</html>
home:
<!DOCTYPE html>
<html lang="en">
<head>
    <meta charset="UTF-8">
    <title>Title</title>
</head>
<body>
<h3> GOOD JOB!! This is home!</h3>
</body>
</html>
5.5 Start the Web framework and request access
Start the manage. Py files, listen on port 8080
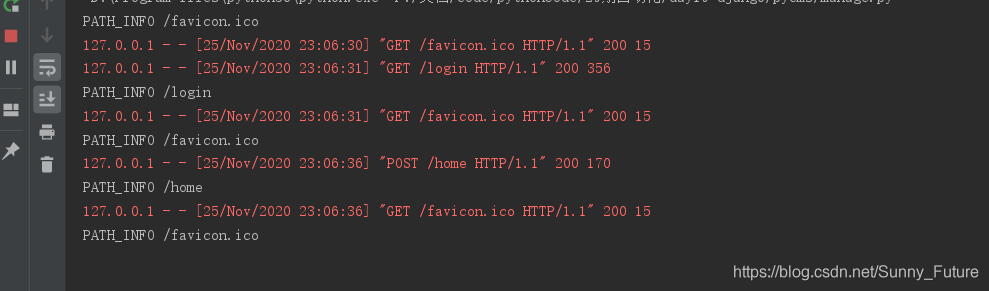 visit http://127.0.0.1:8080/login
 will redirect after login the home page, http://127.0.0.1:8080/home

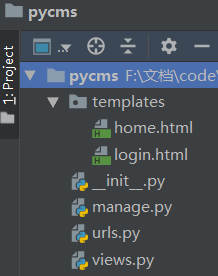
5.6 Framework application
At this point, the PyCMS package is a Web framework, and once this framework is built, it is easy to add business functions. For example, if we add a time view page, we only need to complete two parts:
(1) Add:
("/timer", timer),
(2) Add in views. Py:
def timer(request):
    import datetime
    now=datetime.datetime.now().strftime("%Y-%m-%d %X")
    return now.encode()
Isn’t that easy! With the web framework, no longer has to start line after line of code from creating a socket!
At this point, exclamation, Django framework really sweet!!