I. Purpose of this paper:
I these days in the installation of dual systems, Win7 + Ubuntu, Linux and system layer is not very familiar with me, and indeed encountered a lot of problems. This paper is mainly aimed at the “system boot” aspects of the problem to do some sorting. This article provides an approach to system boot. Specific problems are described as follows:
1. The original system of my PC is Win7 system, and then I want to install an Ubuntu system.
2. The process of installing the system is arranged in another blog, please refer to here for details.
3, problem, case 1: after I install the system and restart, but the system directly into the original Windows 7 system, and there are no choice system interface (GRUB is start the implementation specification, which allows a user can have multiple operating systems at the same time inside a computer, in the startup of computer, want to run the operating system).
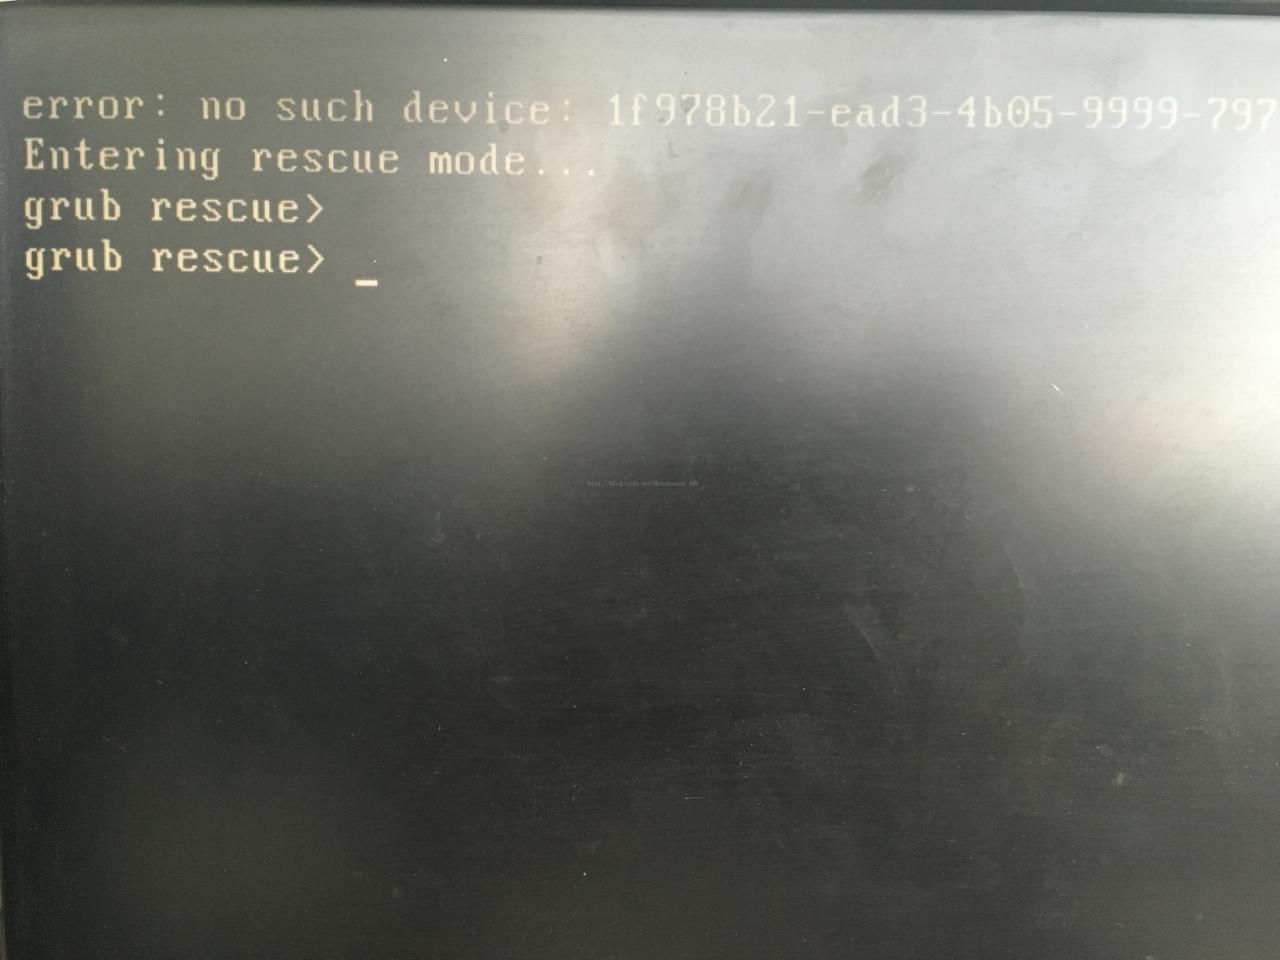
4. Case II: I made a similar mistake in another situation, and the solution I used was similar, so I put it together. The situation is described as follows: in the case of successful installation of two systems, I entered the win7 system disk management, and then the Ubuntu system related to the deletion of the disk, equivalent to the deletion of the formatting of the Ubuntu system. The problem comes, restart the computer, can not enter the win7 system, the following interface appears :(because of the previous operation, the system boot file has been deleted).
2. Solution:
1. Plug in the USB drive that has been successfully burned into the system, then choose to try Ubuntu and enter the Ubuntu system interface. (The item without UEFI was selected for this article)
2. Make sure the machine is connected to the Internet, open the terminal and enter the following command:
sudo -i
add-apt-repository ppa:yannubuntu/boot-repair && apt-get update
apt-get install -y boot-repair && boot-repair
The first line indicates entering root account mode.
line 2 adds the software source and updates the system.
third action install boot-repair and start the software after the installation is complete.
3. Input relevant instructions according to prompts. Part of the process diagram is shown below.
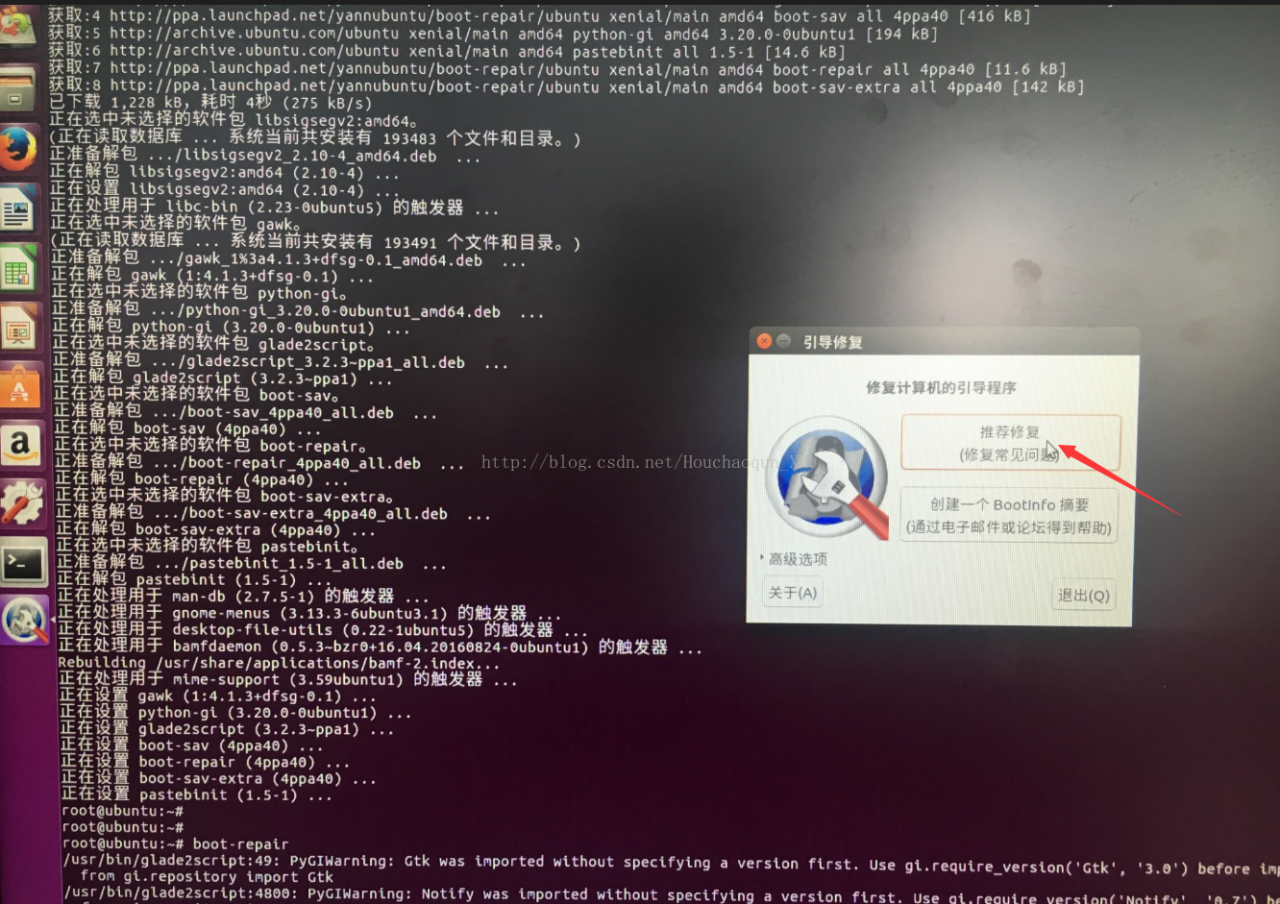
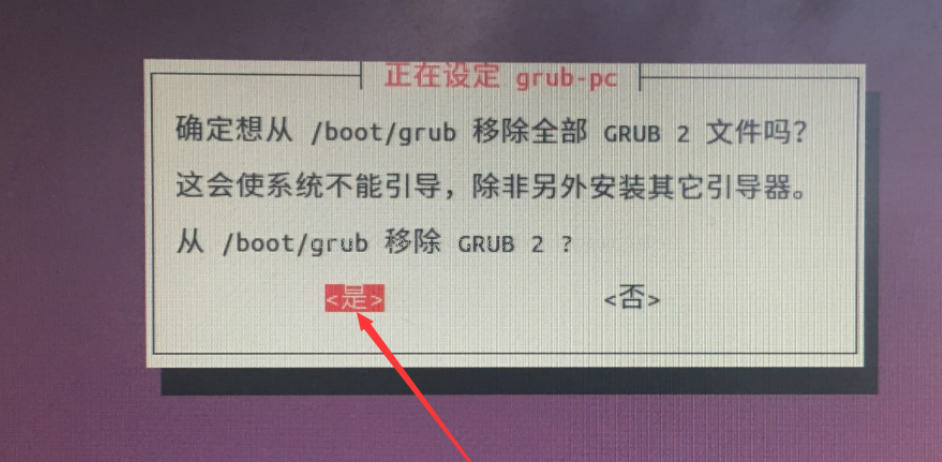
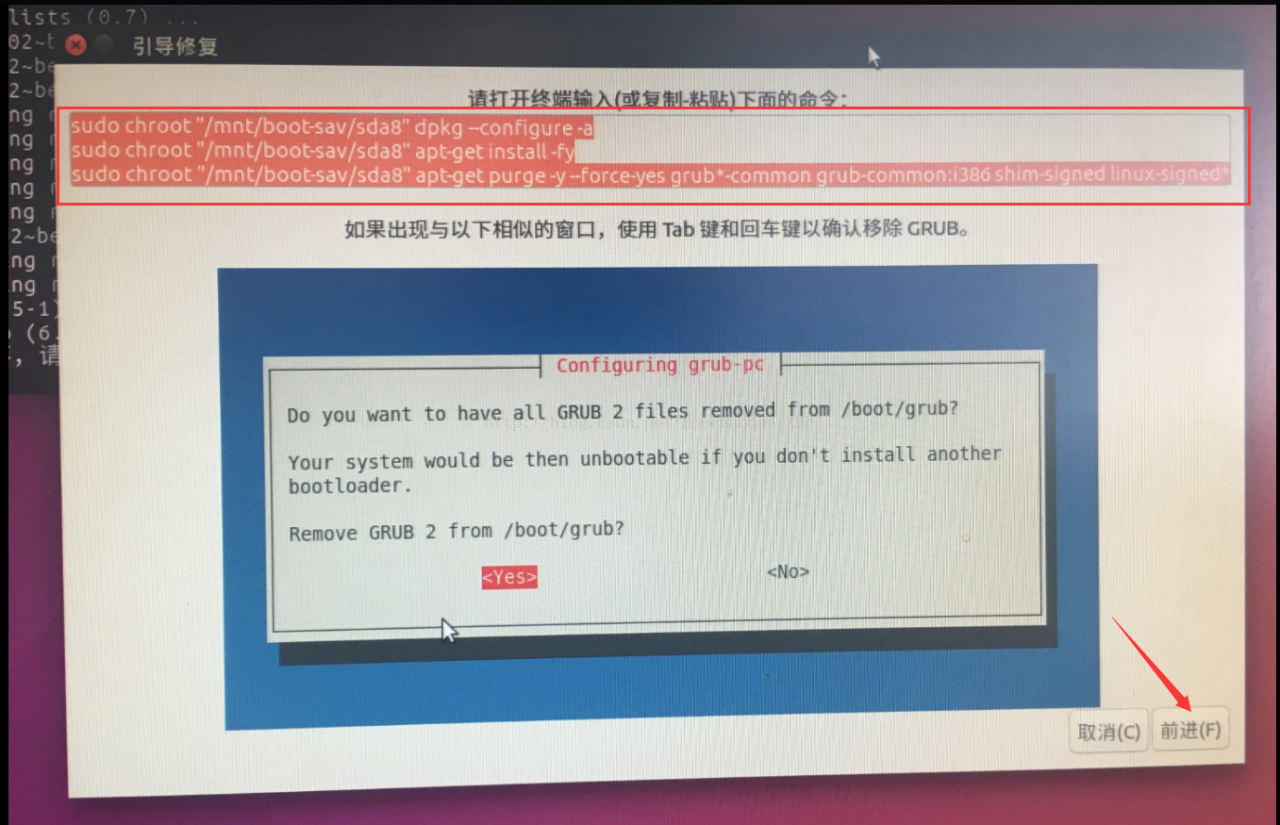
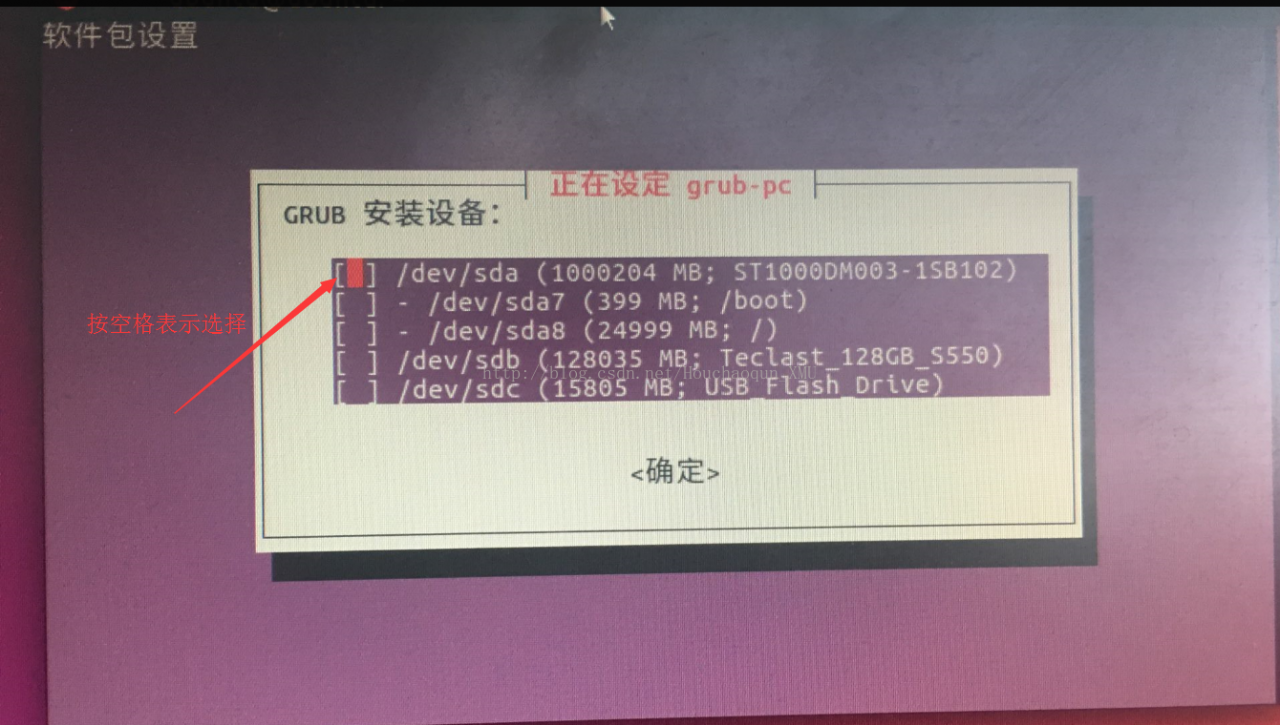
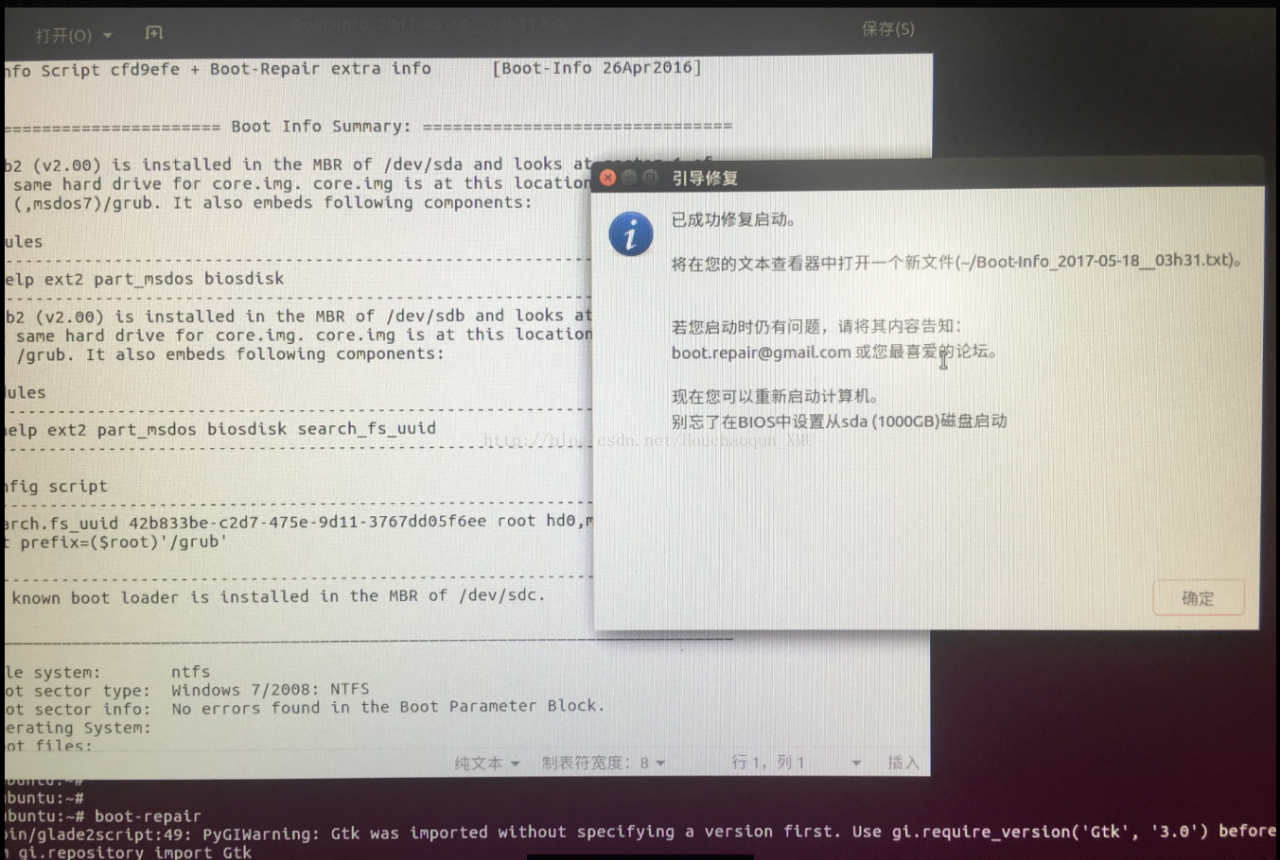
4, restart the computer, if successful, the system boot interface has come out, you can choose the required system.
3. Reference materials for this paper
1, use the Boot – repair repair double system: http://jingyan.baidu.com/article/5553fa82cd48a765a23934ae.html?qq-pf-to=pcqq.c2c