1. Problem description
A piece of Python code runs normally on the local ide. After it is deployed to the server for operation, a modulenotfounderror: no module named ‘xxx’ error occurs.
2. Cause of problem
The package of other files (self written package, not installed by PIP) is introduced into the code. What’s the problem import that line.
The reason for the error is that the path on the server side is different from our local path.
3. Solution example
To solve this problem, you can add the following code at the top of your code:
import sys
import os
sys.path.append(os.path.dirname(sys.path[0]))
perhaps
import sys
import os

BASE_DIR = os.path.dirname(os.path.dirname(os.path.abspath(__file__)))
sys.path.insert(0, BASE_DIR)
4. The above codes of sys.Path.Append() and sys. Path.Insert() can ensure that you can switch to the directory where the currently executed script is located at any time, which can be adjusted according to the directory structure where your script is located.
Used in Python programs import xxx, the python parser will search XXX in the current directory, installed modules and third-party modules. If it fails to search, an error will be reported.
sys.path The module can dynamically modify the system path. The path imported by this method will become invalid after the python program exits.
sys.path It’s a list, so it’s easy to add a directory in it. After adding, the new directory will take effect immediately. In the future, every time import operation may check this directory.
1. sys.path.append()
In the sys.path temporary end of the list to add the search path, convenient and concise import other packages and modules. The path imported by this method will become invalid after the Python program exits.
Example:
import sys

sys.path.append('..') # Indicates to import the upper directory of the current file into the search path

sys.path.append('/home/model') # absolute path

from folderA.folderB.fileA import functionA
2. sys.path.insert()
You can define the search priority. The sequence number starts from 0, indicating the maximum priority, sys.Path.Insert() is also a temporary search path, which will become invalid after the program exits.
Example:
import sys

sys.path.insert(1, "./model")

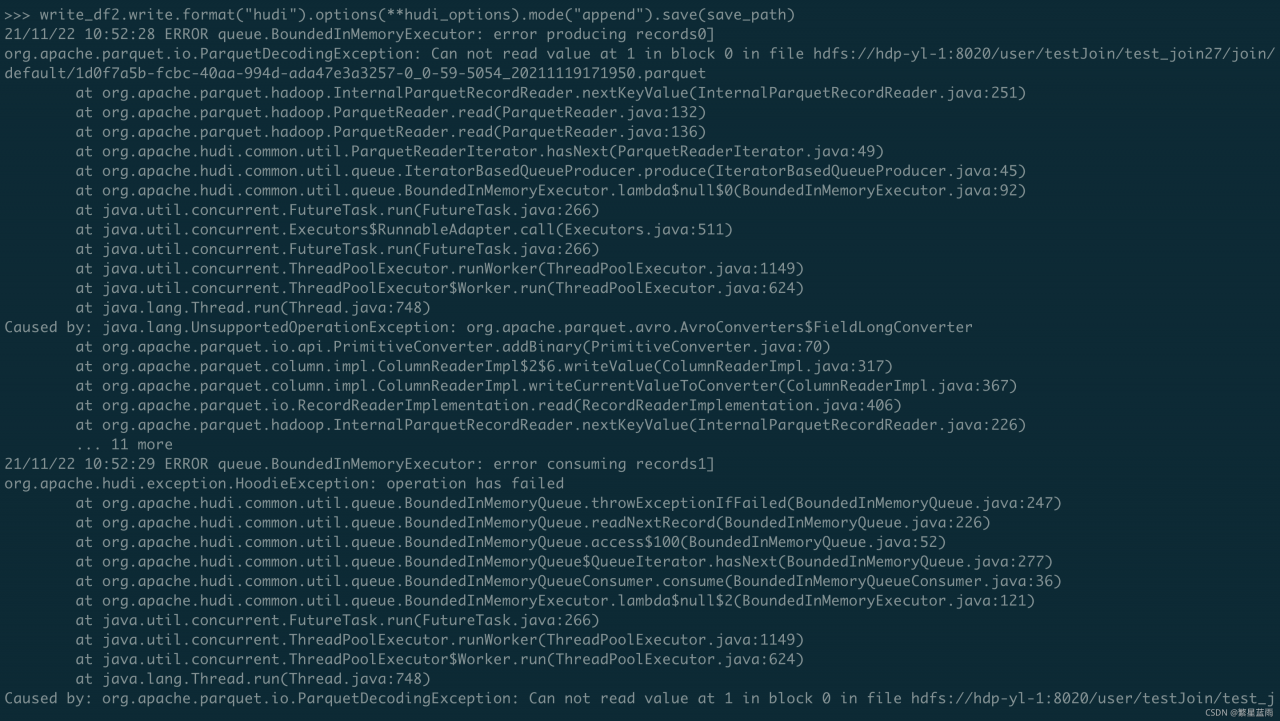


 again
again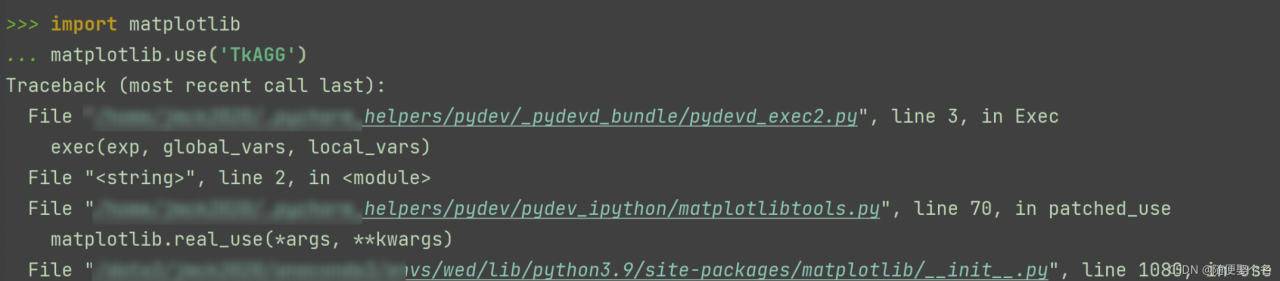


 is reported again.
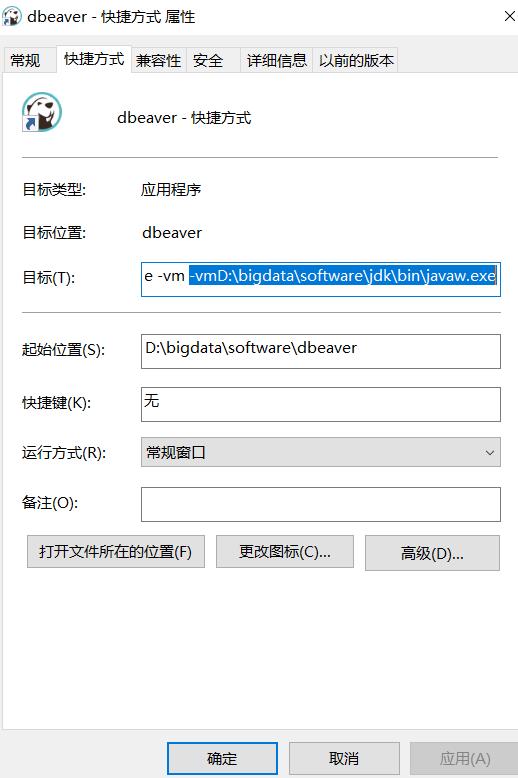
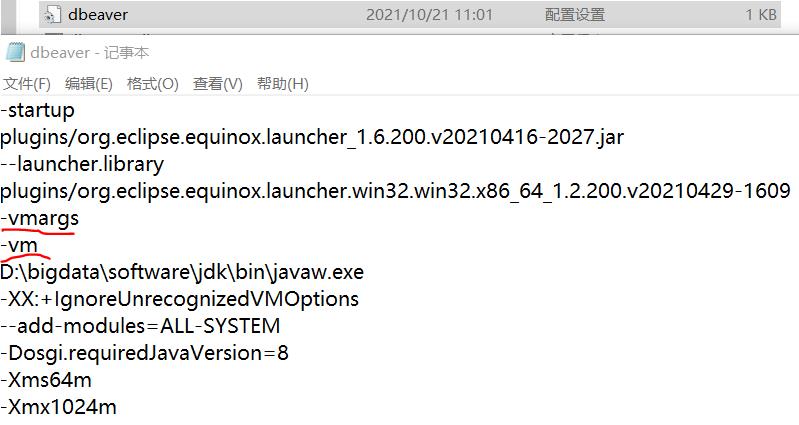
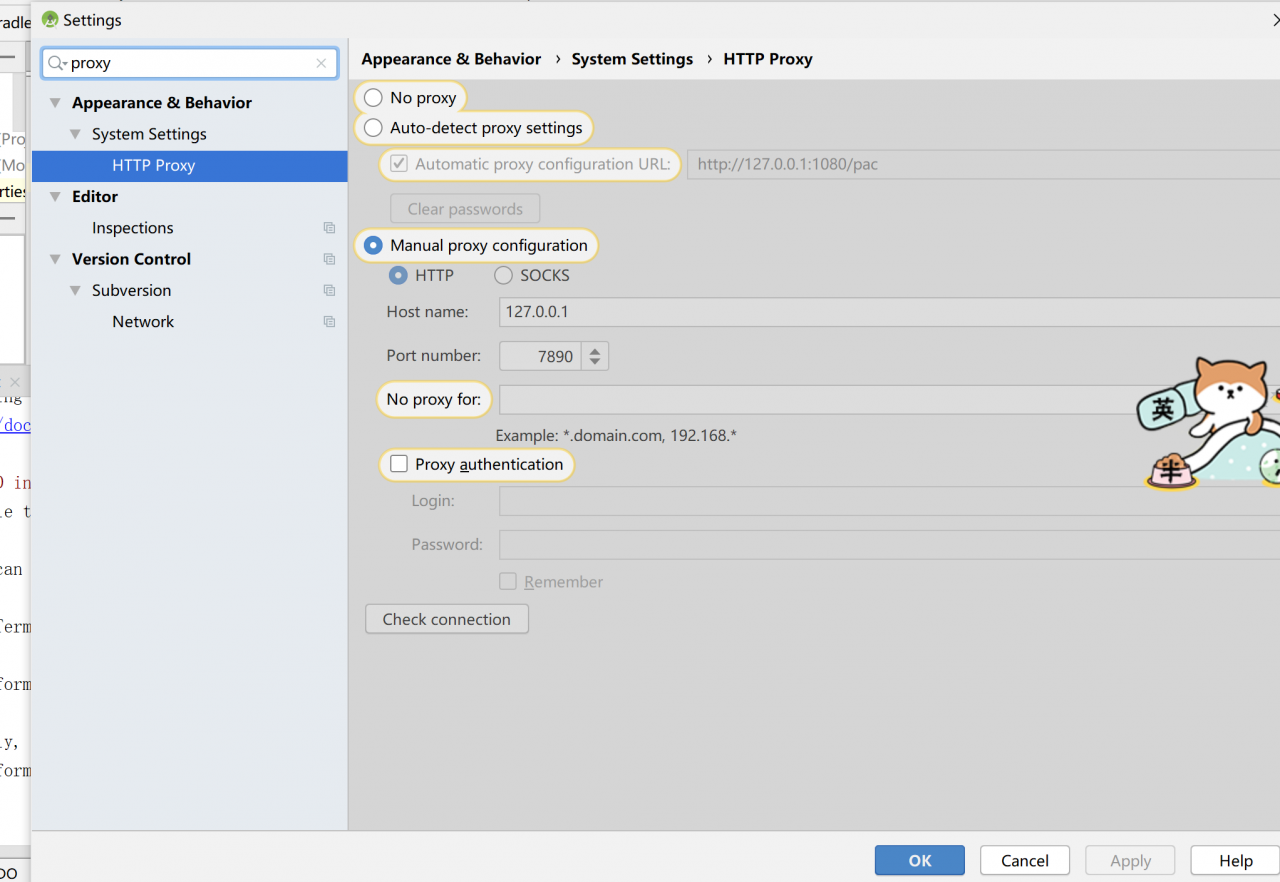
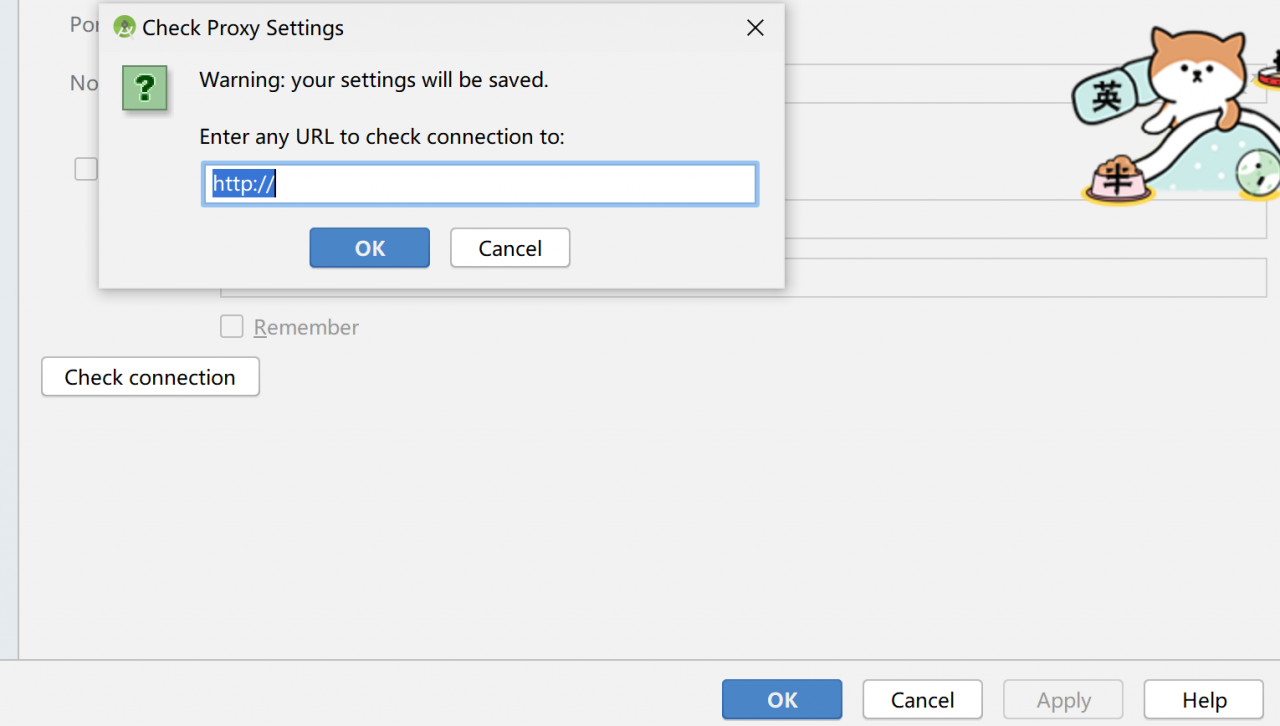
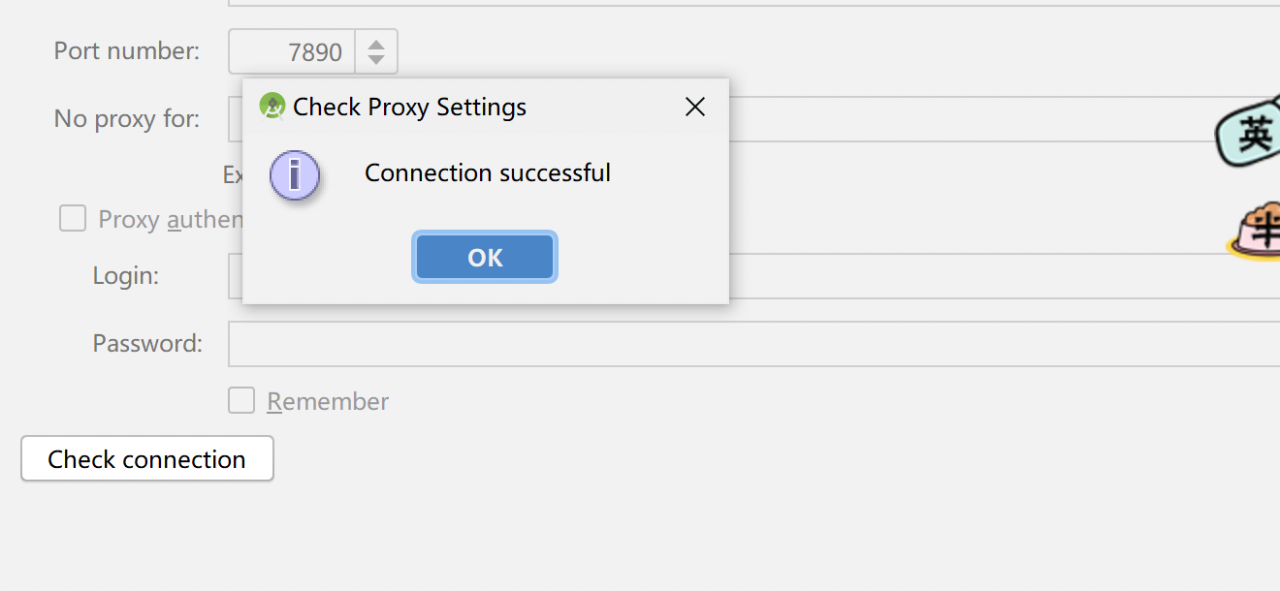
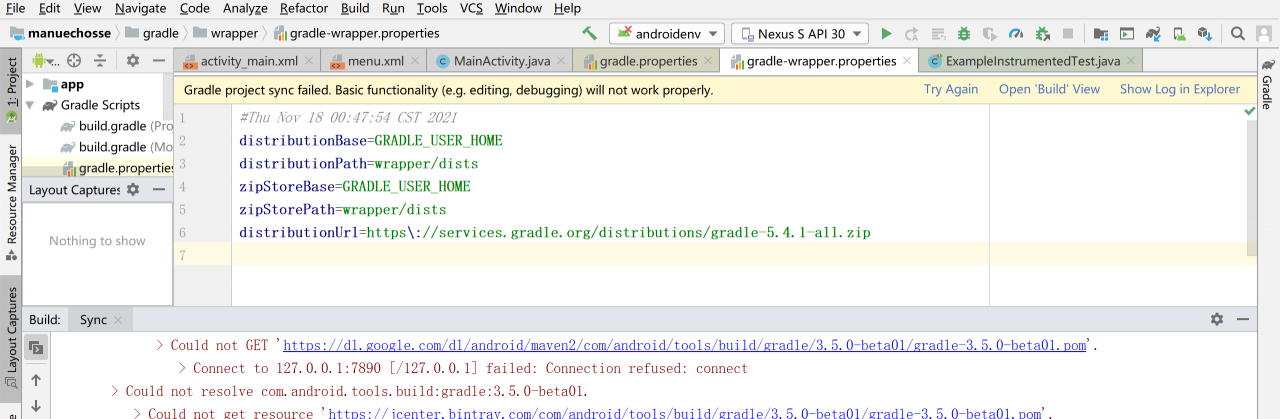

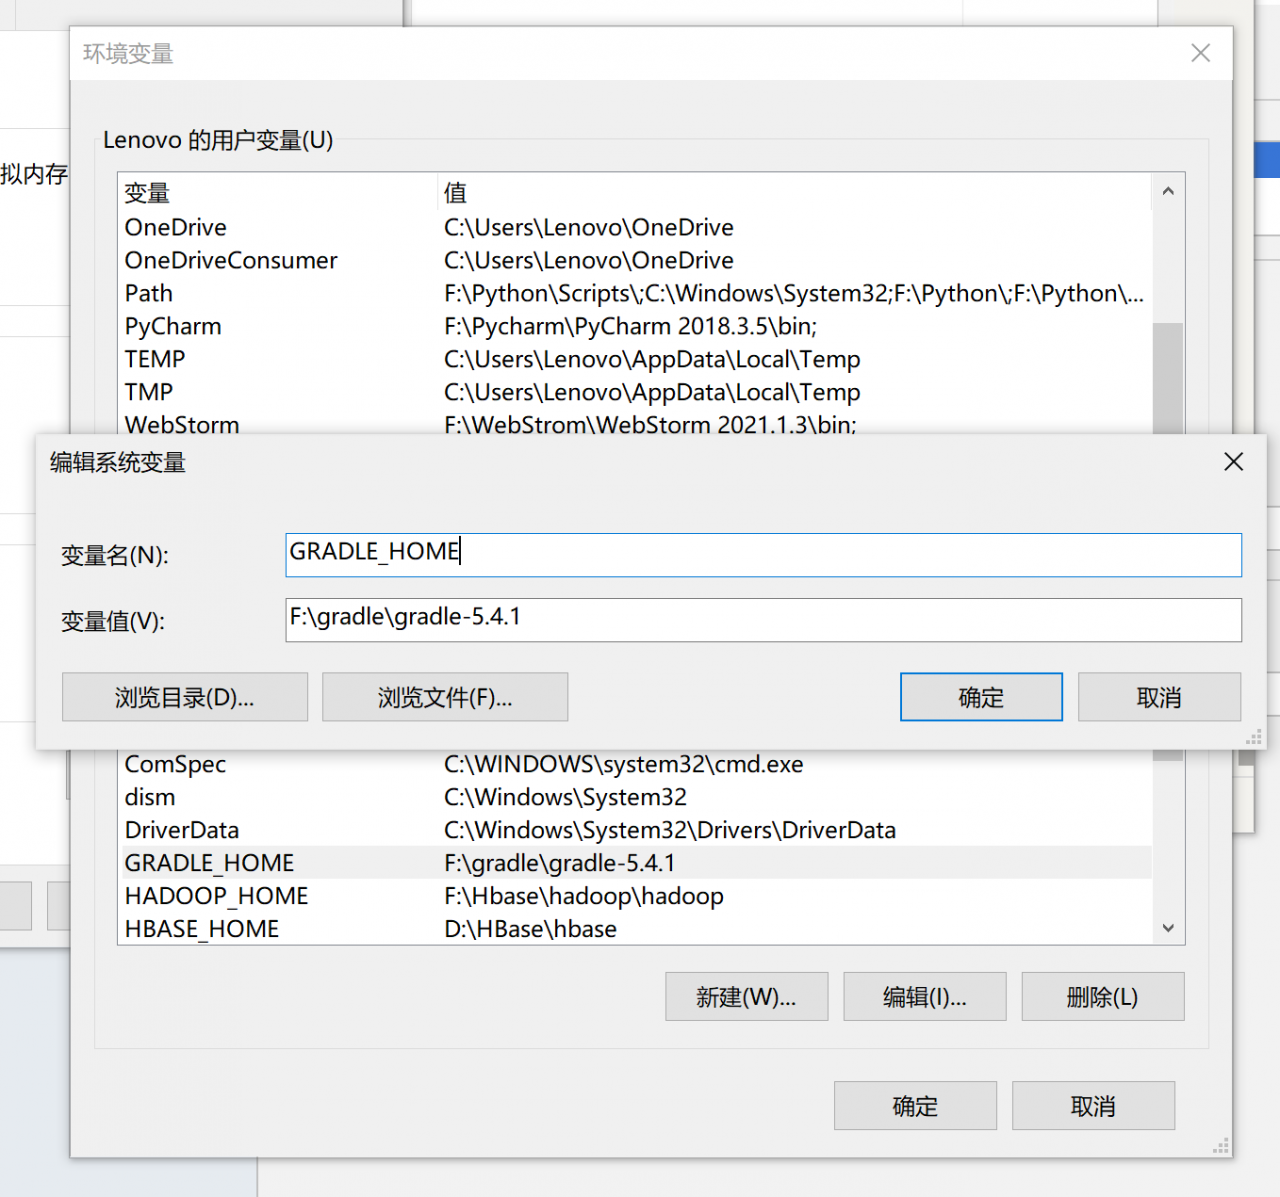
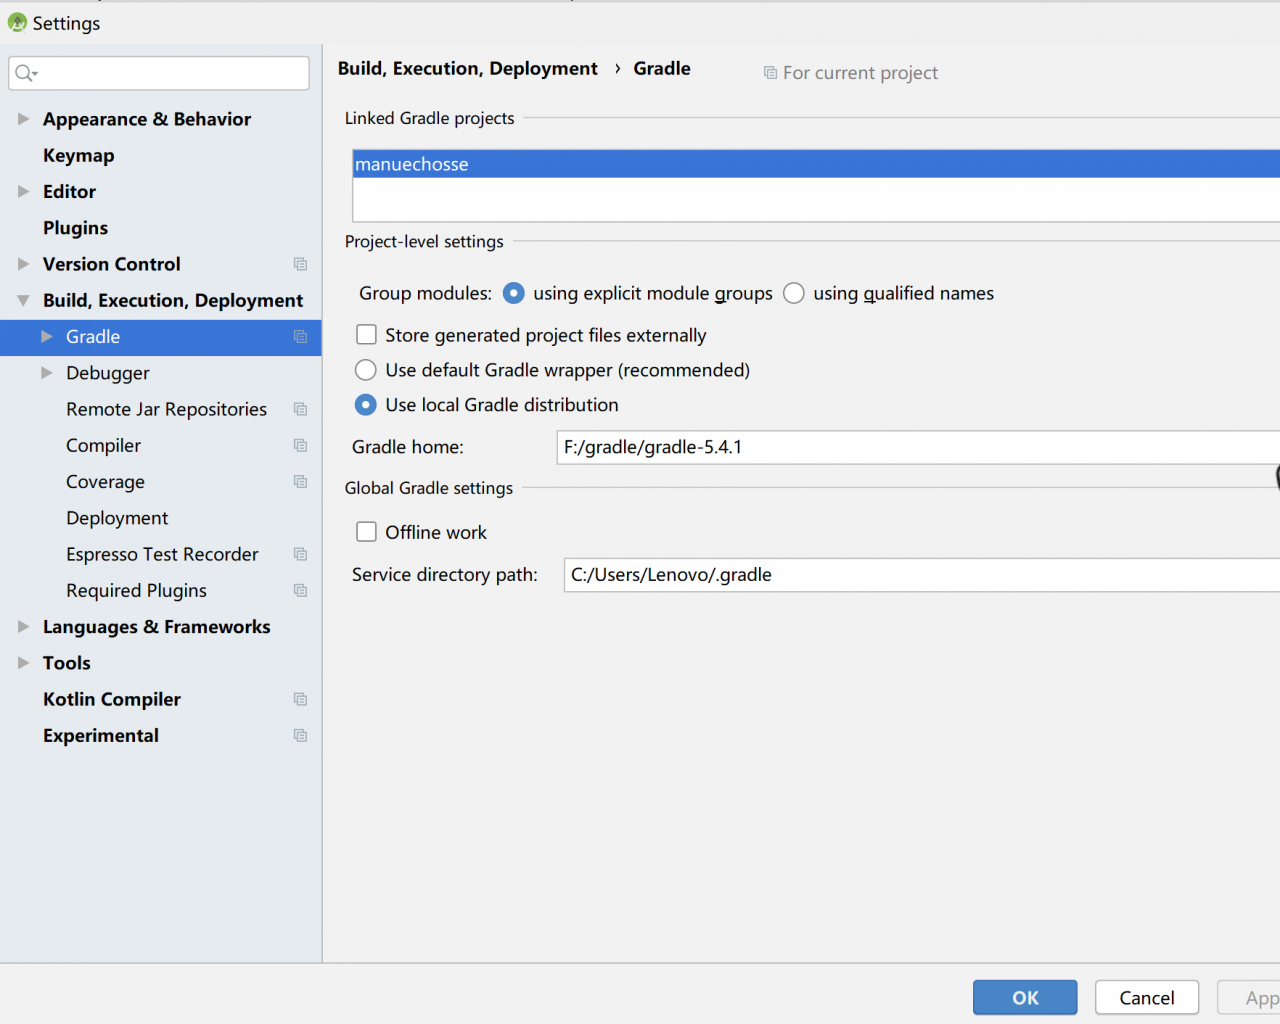
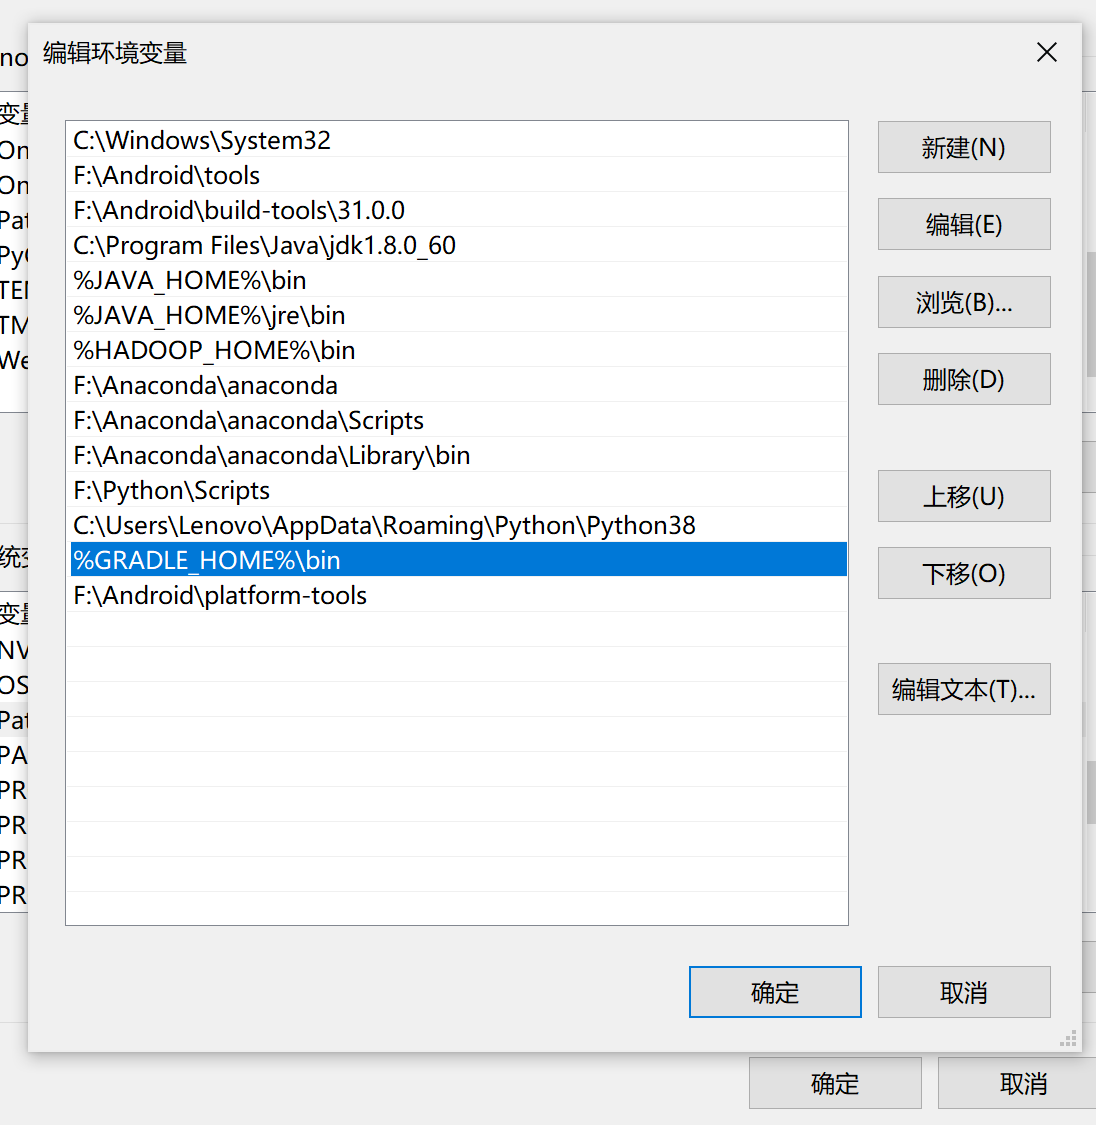 3.4 modify the compilation environment configuration