ERR! 426 Upgrade Required
Solution:
Update the node version to above 14.18.0.
Then upgrade NPM to the latest version
npm install -g npm@latest
npm config set registry https://registry.npmjs.org/
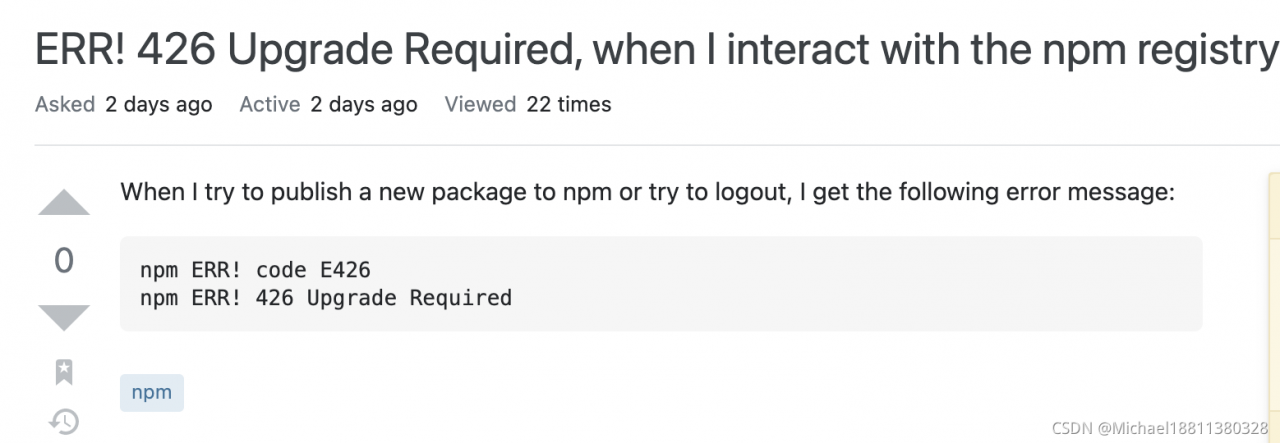
When I try to publish a new package to npm or try to logout, I get the following error message:
npm ERR! code E426
npm ERR! 426 Upgrade Required
Reason: After October 4, 2021, npm websites and npm registry must use TLS Secure Sockets Layer version 1.2, so you need to upgrade the corresponding version
Beginning October 4, 2021, all connections to npm websites and the npm registry—including for package installation—must use TLS 1.2 or higher.
Source
What I did:
upgrade Node (0) to its current recommended version: 14.18.0 LTSupgrade npm with npm install -g npm@latest
In my case, I had to manually set the registry to use https instead of http as well:
npm config set registry https://registry.npmjs.org/
(0) When using nvm, that’s what you need to do:
nvm install 14.18.0
nvm use 14.18.0
nvm alias default 14.18.0
Link:
https://stackoverflow.com/questions/69448082/err-426-upgrade-required-when-i-interact-with-the-npm-registry