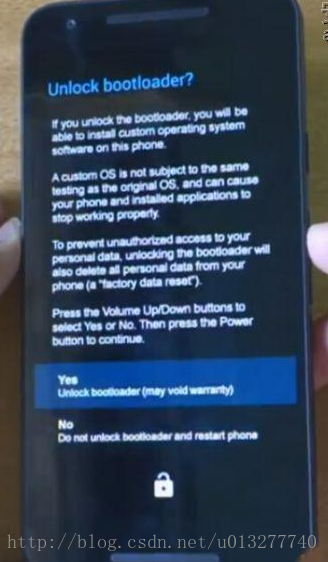
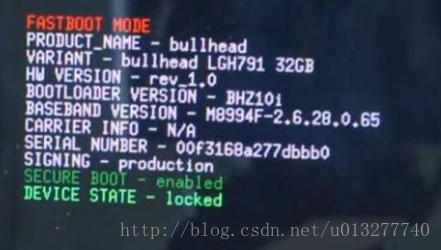
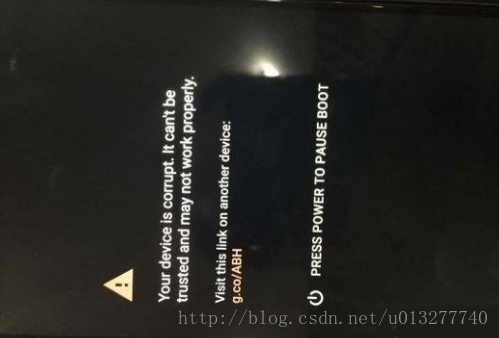
When I woke up this morning, my N6 suddenly couldn’t start. I was very confused and tried all kinds of methods to no avail
The final decision is to brush the machine
Since you’ve been manually root before, let’s briefly describe the process.
Reference: http://www.muzisoft.com/shuaji/85161.html
First: You need tools
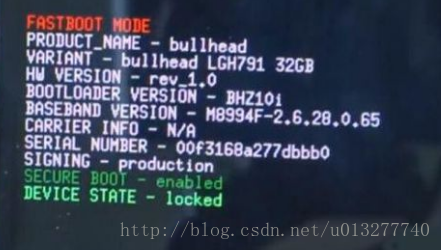
First need to enter Fastboot mode: http://jiyouhui.it168.com/thread-435764-1-1.html
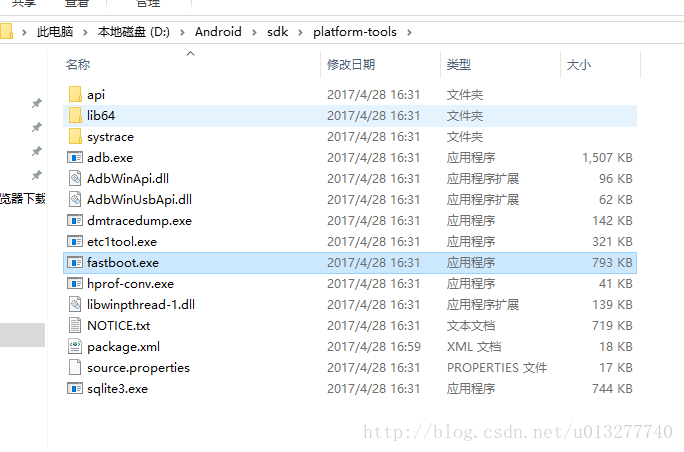
Nexus6 can use Fastboot tool: http://jiyouhui.it168.com/thread-435762-1-1.html
this tutorial applicable models:
– the Nexus 6
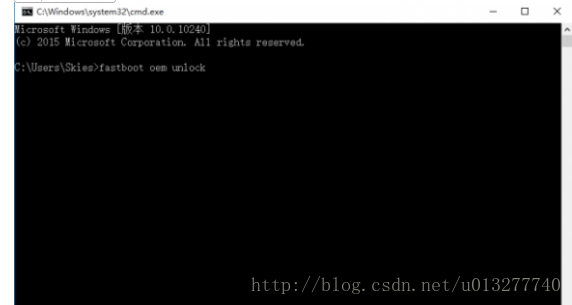
a: Use the Fastboot command to write the mirror parts of the system:
The corresponding partition to be painted & GT; < The image to be painted in a directory & GT;
tip:
brush mirror, due to the use of the CMD command, the computer is not intelligent, you must put the mirror in the fastboot tool root directory to be able to brush… It’s a hassle. What can I do?!
Remember the fastboot space flash space system space, do not mistake, the space must be entered, do not enter the space will report an error!
If the driver doesn’t connect: Download the MOTO driver
When the driver connection enters the fastboot mode normally, it will be found that when the machine is swiped,
Error: update package missing system.img reports this error
This is because there is a problem with loading img images when swiping. Google compressed most img images into a zip compression package, the file name is image-hammerhead-lrx21o. Zip
.
brush command as follows:
fastboot flash recovery recovery.img
fastboot flash boot boot.img
fastboot flash system system.img
fastboot flash cache cache.img
fastboot flash userdata userdata.img
fastboot reboot
So I simply modified the code for fastboot-all.bat
@ECHO OFF
:: Copyright 2012 The Android Open Source Project
::
:: Licensed under the Apache License, Version 2.0 (the "License");
:: you may not use this file except in compliance with the License.
:: You may obtain a copy of the License at
::
::      http://www.apache.org/licenses/LICENSE-2.0
::
:: Unless required by applicable law or agreed to in writing, software
:: distributed under the License is distributed on an "AS IS" BASIS,
:: WITHOUT WARRANTIES OR CONDITIONS OF ANY KIND, either express or implied.
:: See the License for the specific language governing permissions and
:: limitations under the License.

PATH=%PATH%;"%SYSTEMROOT%\System32"
fastboot flash bootloader bootloader-shamu-moto-apq8084-71.08.img
fastboot reboot-bootloader
ping -n 5 127.0.0.1 >nul
fastboot flash radio radio-shamu-d4.0-9625-02.98.img
fastboot reboot-bootloader
ping -n 5 127.0.0.1 >nul
::fastboot -w update image-shamu-lmy47e.zip
fastboot flash recovery recovery.img
fastboot flash boot boot.img
fastboot flash system system.img
fastboot flash cache cache.img
fastboot flash userdata userdata.img
echo Press any key to exit...
pause >nul
exit
Restart after the run is over, OK! After a long afternoon, I hope I can help you


