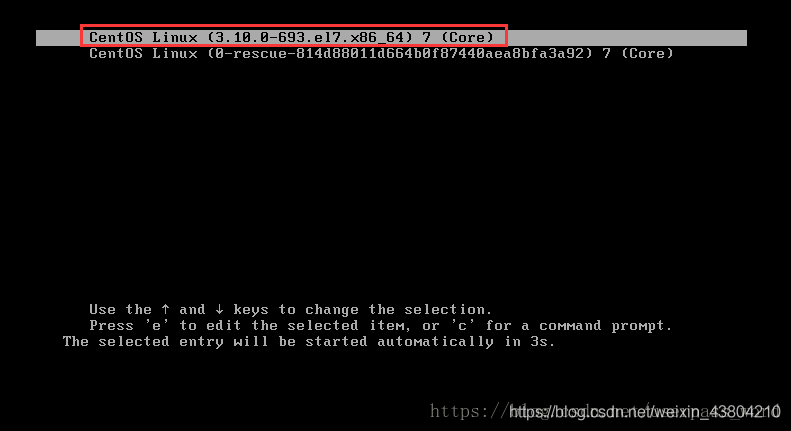
1. First, start the system, enter the power-on interface, and press “e” in the interface to enter the editing interface. As shown in figure:
2. Next, go to the edit screen and use the up and down keys on the keyboard to move the cursor down to the number of lines starting with “Linux16”. At the end of the line, type init=/bin/sh. As shown in figure:
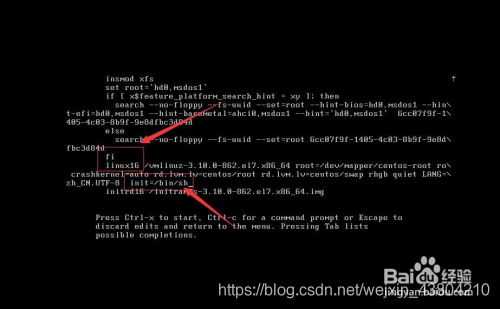
3. Then, after typing, press the shortcut key: Ctrl+x to enter the single-user mode.
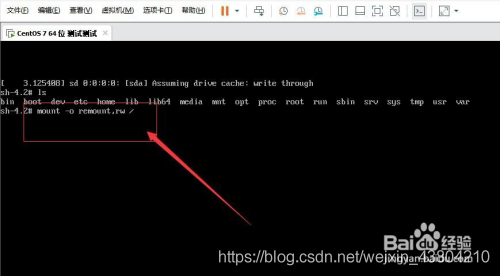
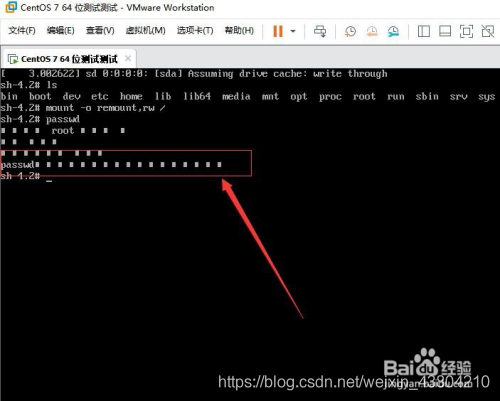
4. Next, in the position where the cursor is flashing (the position of the last line), type: mount -o remount,rw/(note: there is a space between mount and -o and a space between rw and /, cannot be omitted), and press Enter on the keyboard when finished. As shown in figure:
5. Then, in the pop-up is to change the password in the content of operation, in the position of the cursor blink Enter a new password (password when the input is not show, just like have no reaction, only need to remember your input password is correct, the password must be no less than 8 bits, otherwise it will fail to modify), after the completion of the press of the keyboard Enter key (Enter). As shown in figure: 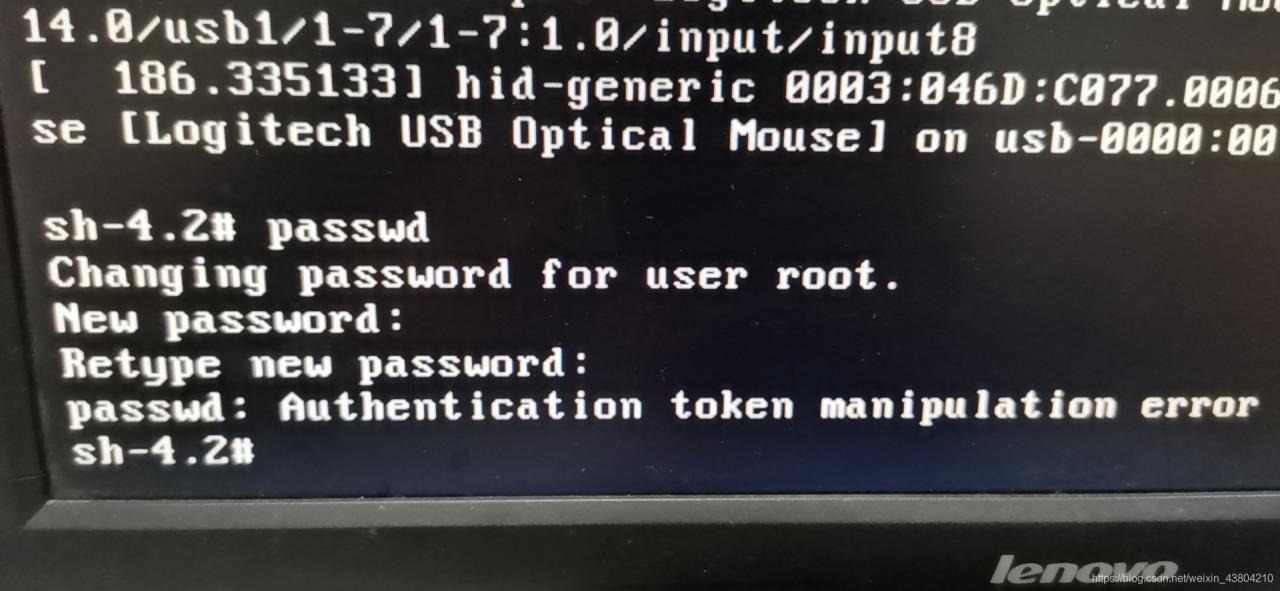
solves this problem by linking
6. Then, after the password change is successful, passwd… , indicating that the password was changed successfully.
Next, in the position where the mouse is blinking (in the last line) type: touch /. Autorelabel (note: touch and/followed by a space). When finished, press the Enter key on the keyboard
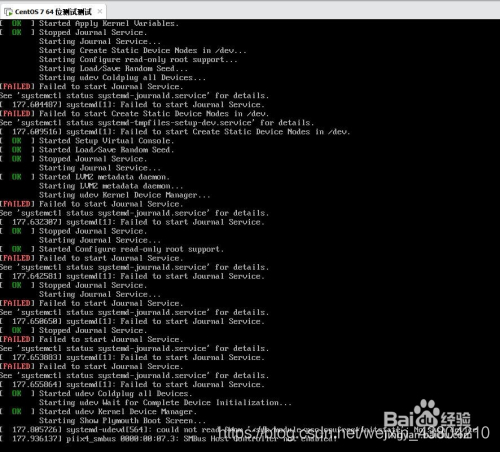
8. Password changed successfully, you can log in
successfully