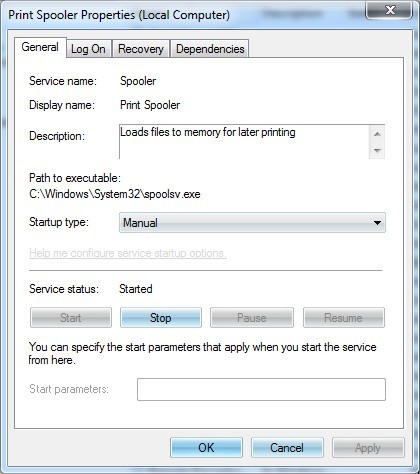
1. Make sure the Spooler service is up and running first
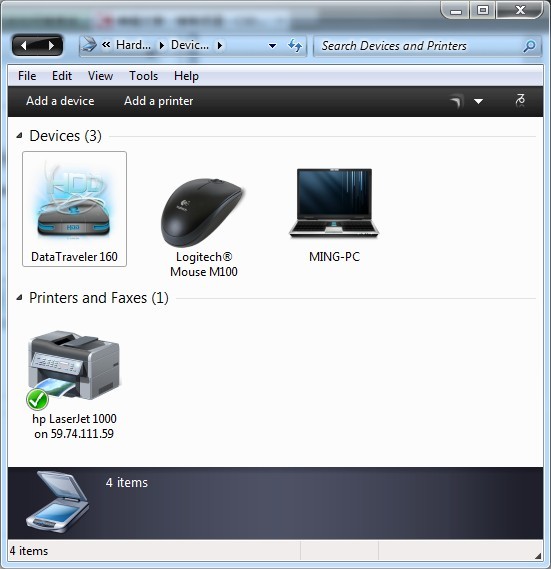
2. Find a random place to add a printer. I found it in the Control Panel
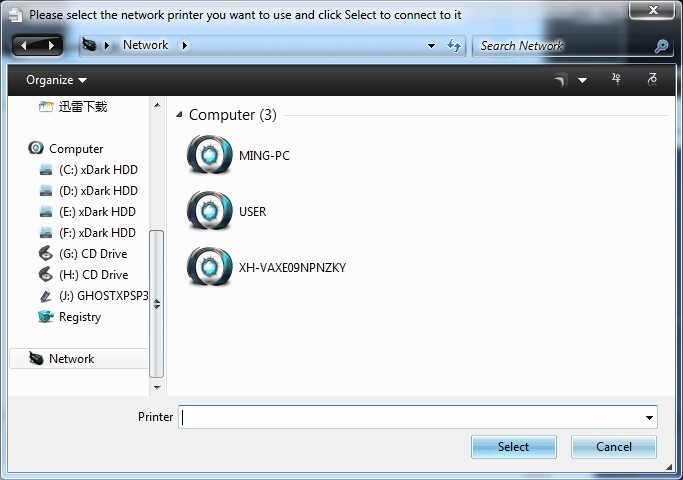
3. Click “Add printer” and select “Add network printer” (Generally, you can not find the printer you want to connect), then click “The printer I want to connect is no longer in the list”, click “Select a printer by sharing” and then. Click “Browse” (usually we still can’t find the printer we want to connect to), as shown below:
4. Enter the printer IP and printer name you want to connect to :\\59.74.111.59\hpLaserJ2, as shown below:
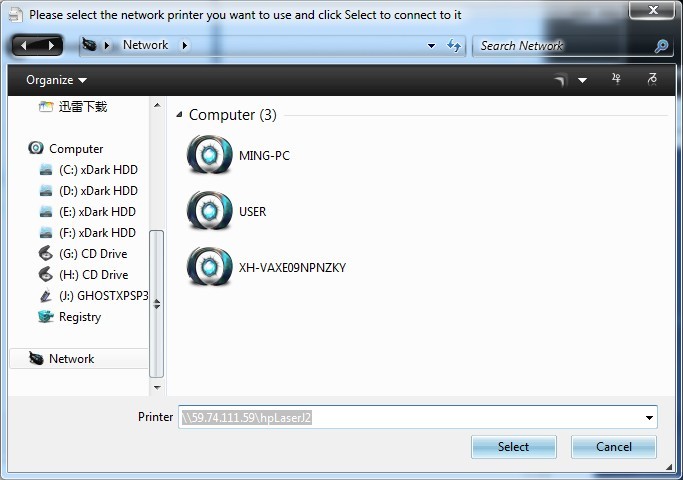
Then click select, the next step, the next step on the line, when the password input password…
2. Find a random place to add a printer. I found it in the Control Panel
3. Click “Add printer” and select “Add network printer” (Generally, you can not find the printer you want to connect), then click “The printer I want to connect is no longer in the list”, click “Select a printer by sharing” and then. Click “Browse” (usually we still can’t find the printer we want to connect to), as shown below:
4. Enter the printer IP and printer name you want to connect to :\\59.74.111.59\hpLaserJ2, as shown below:
Then click select, the next step, the next step on the line, when the password input password…